Virtual Tour
Immersive Banner
Overview
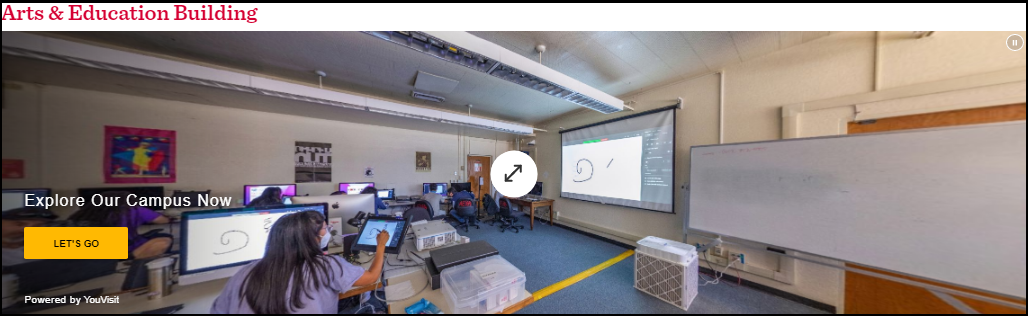
One of the two content types offered in the Virtual Tour content type is the Immersive Banner. Both interior and landing pages can use the immersive banner. The virtual tour's curated locations are displayed in the immersive banner options. Once this spot has been selected, an immersive banner will be placed there on the page.Example
Hyperlink
Overview
The Hyperlink is the second selection for the Virtual Tour content type. Both the interior and landing pages have hyperlinks. Rows of three hyperlinks can be arranged side by side. The hyperlink options show the curated locations for the virtual tour. Once this location has been chosen, a hyperlink will be added to the page.
How to Add An Immersive Banner
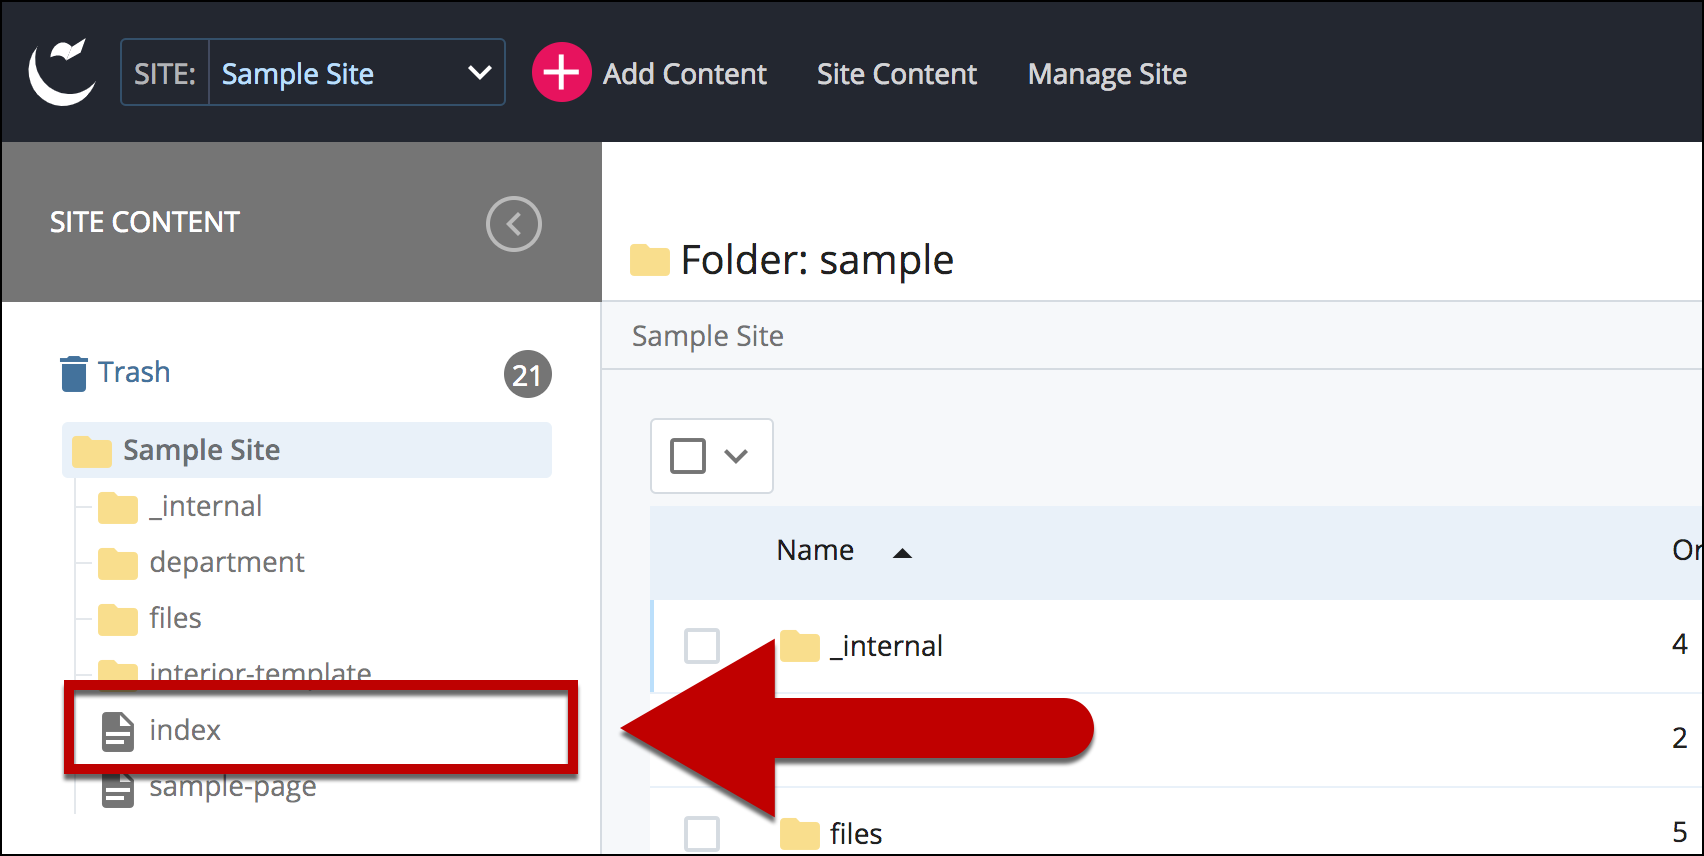
1. Log into Cascade CMS and select your site.
2. Navigate to the page where you would like to add your Immersive Banner.
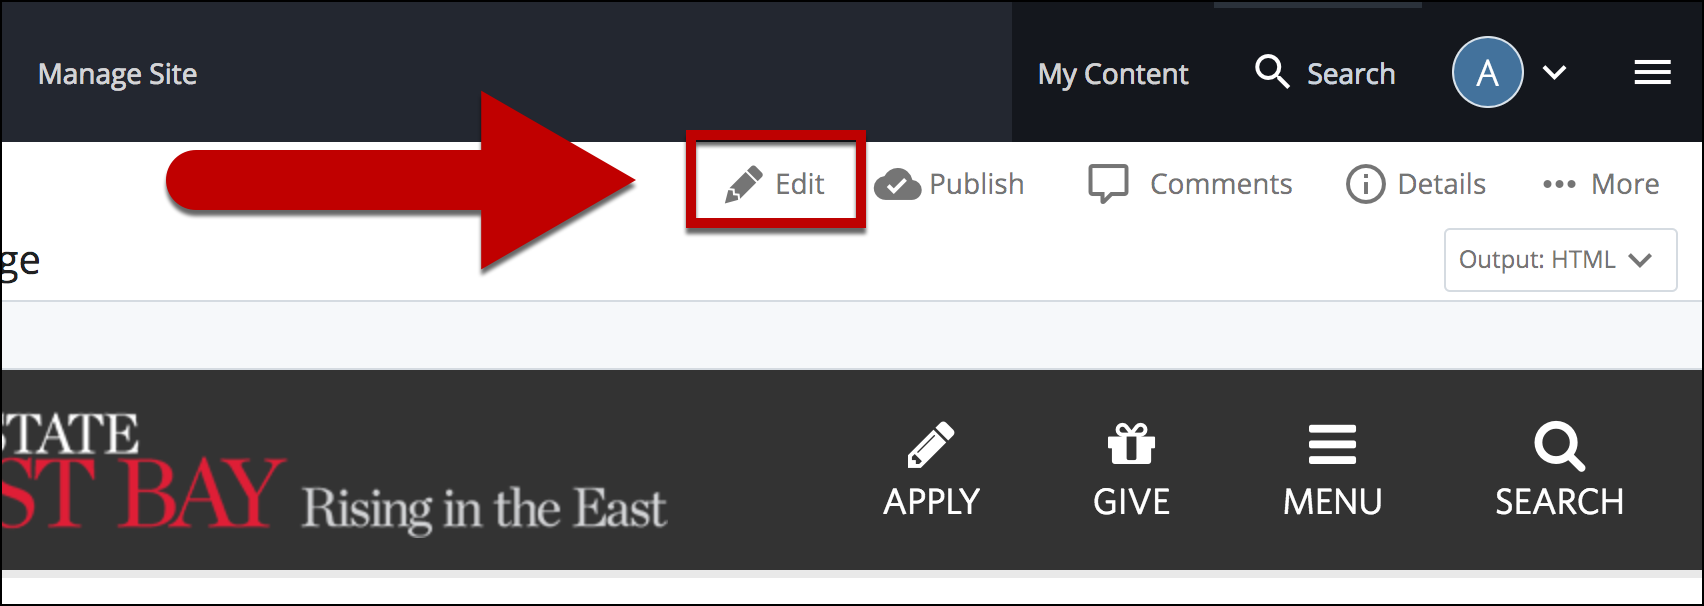
3. Select Edit.
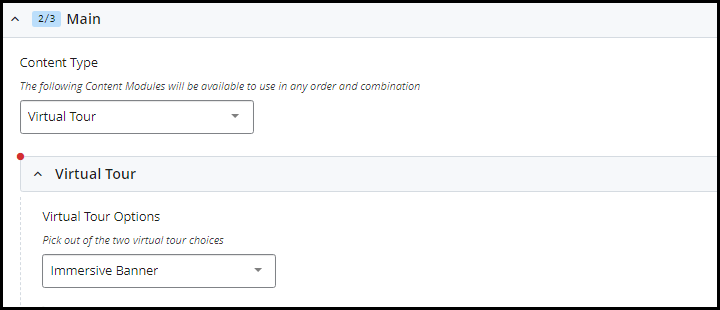
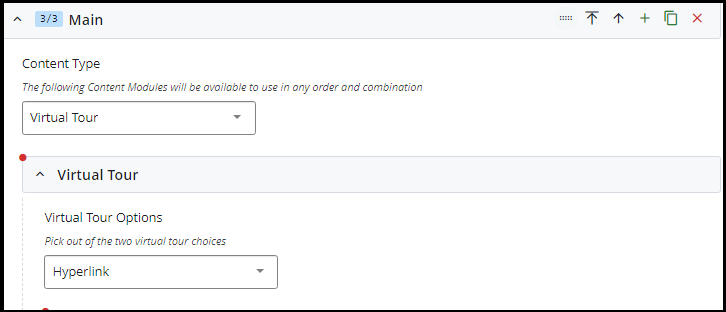
4. Select Virtual Tour as the content type
- After picking the Virtual Tour content type you will be met with a second option to pick between Hyperlink or Immersive Banner. In this case pick Immersive Banner.
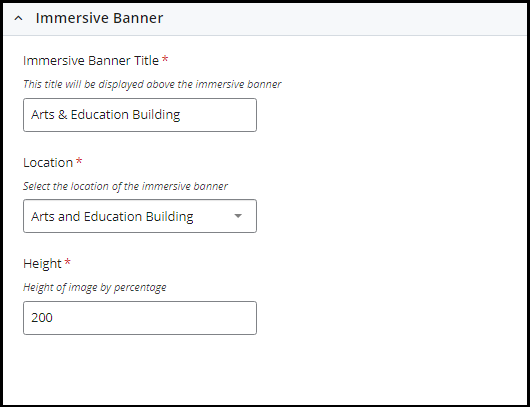
5. Once Immersive Banner has been selected you'll be given some options to fill out for the immersive banner
- Immersive Banner Title
- This will be the title places above the immersive banner
- Location
- This is the location of the first stop on the virtual tour, and the location that will be shown on the revolving immersive banner. These are a predefined list of curated locations.
- Height
- This is a variable height that can be adjusted to meet the want of the content editor.
6. Click Preview Draft

7. Below is an example of our Immersive Banner with the options above selected
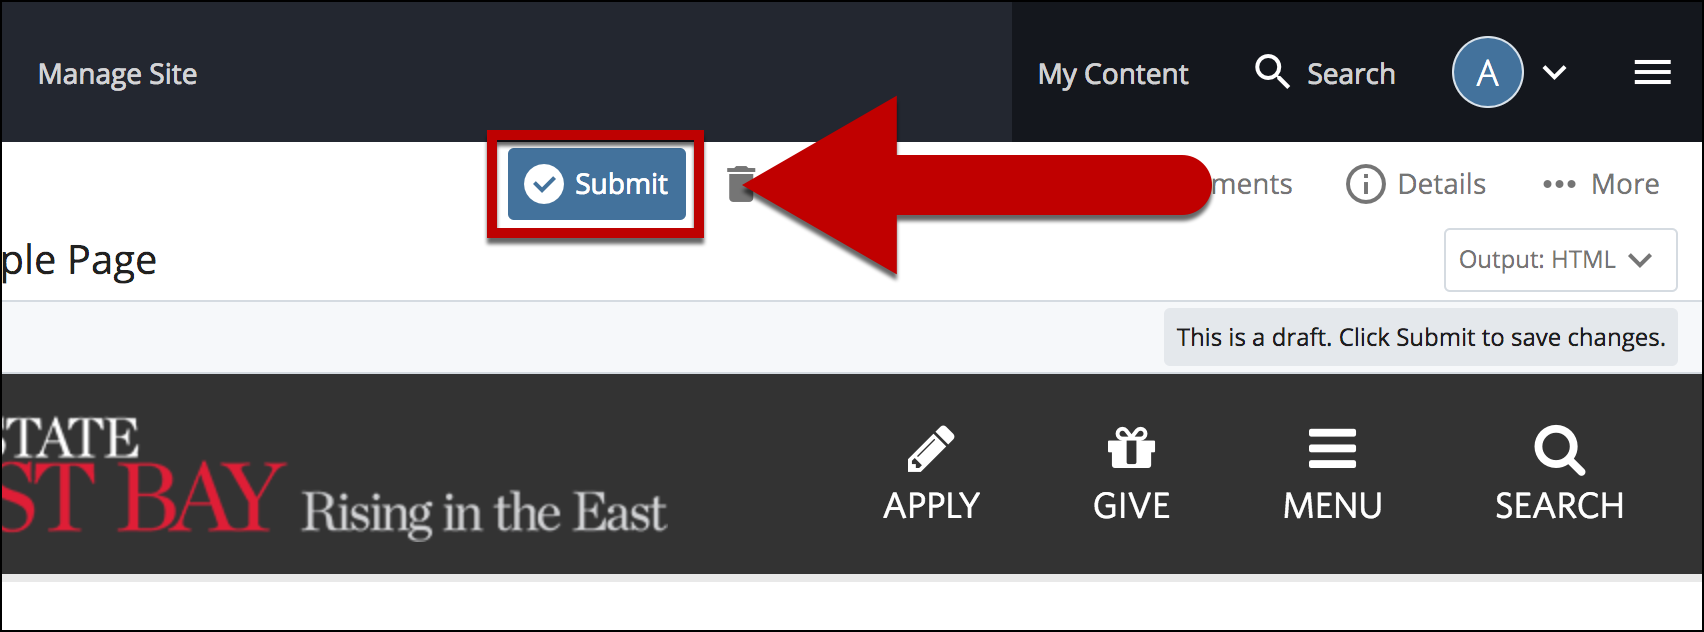
8. Select Submit
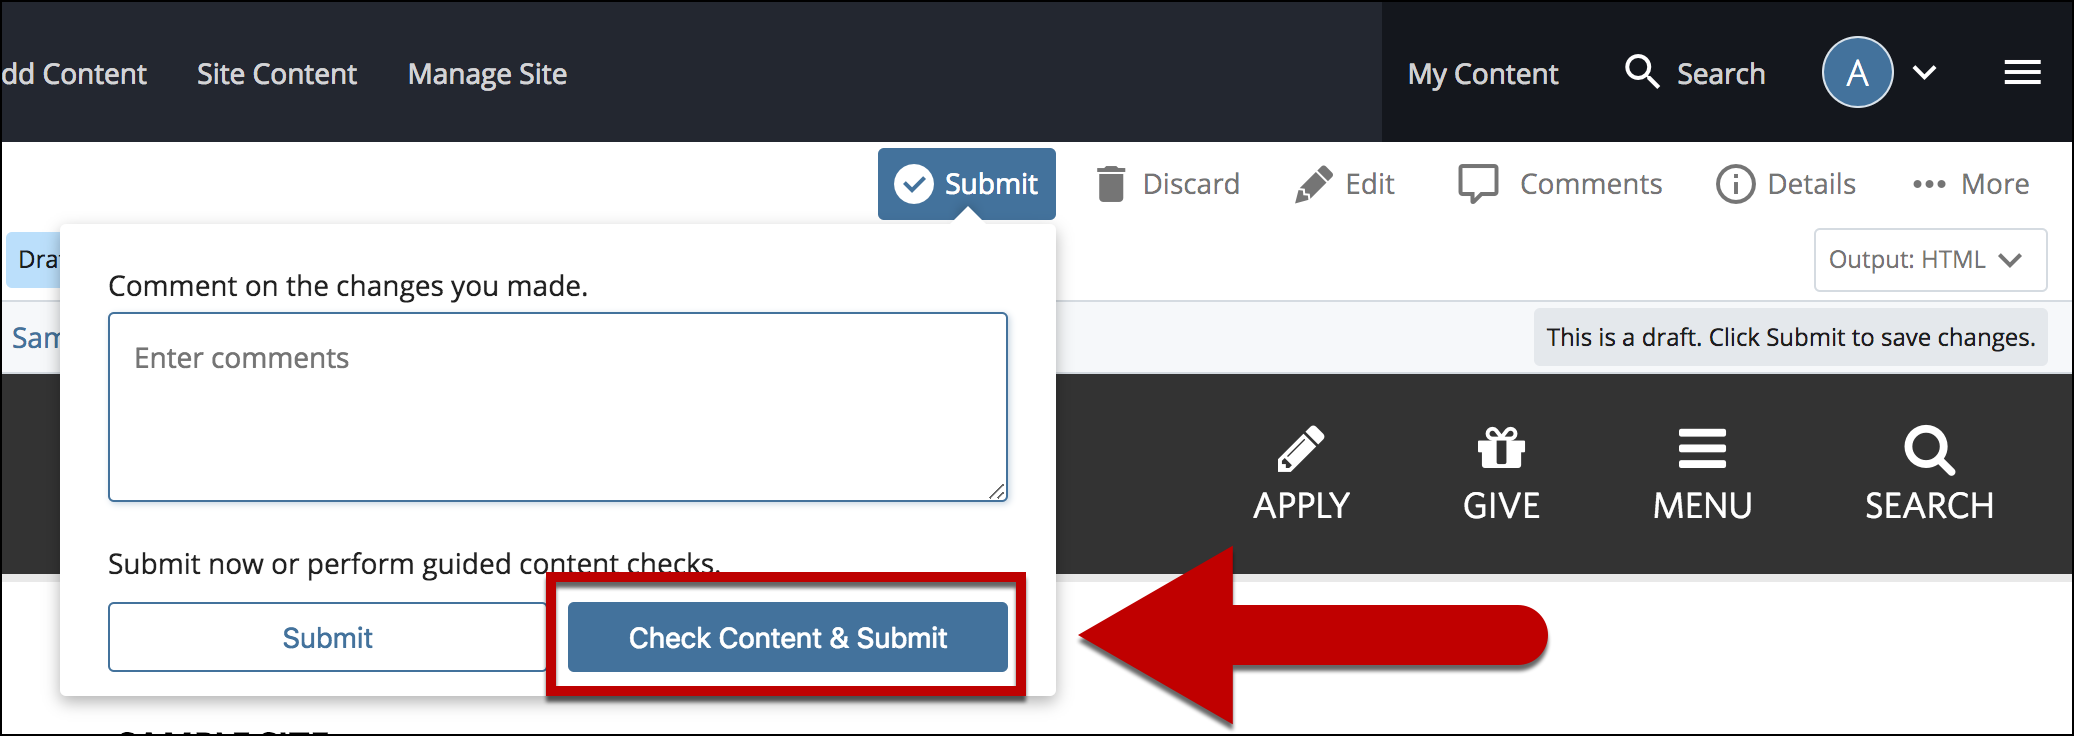
9. Enter Comments for the changes made. Select Check Content & Submit to add changes to the site.
10. When you're ready to go live, the last step is to publish the changes
How to Add A Hyperlink
1. Log into Cascade Server and select your site.
2. Navigate to the page where you would like to add your Hyperlink.
3. Select Edit.
4. Select Virtual Tour as the content type
- After picking the Virtual Tour content type you will be met with a second option to pick between Hyperlink or Immersive Banner. In this case pick Hyperlink.
5. Once Hyperlink has been selected you'll be given some options to fill out for the hyperlink.
- Location
- This is the location of the first stop on the virtual tour. These are a predefined list of curated locations.
- Link Text
- This text will be placed on as a banner ontop of the image the will be selected for the Hyperlink
- Image
- This image will be shown as behind the banner
- Please note that the required size for the image is 770w x 476h pixels for proper formatting
- Alt Text
- This is the alt text for the image chosen.

6. Click Preview Draft
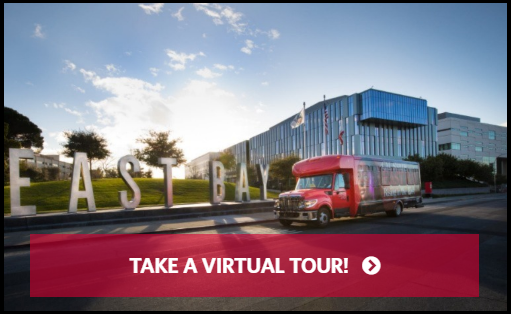
7. Below is an example of our Hyperlink with the options above selected
8. Select Submit
9. Enter Comments for the changes made. Select Check Content & Submit to add changes to the site.
10. When you're ready to go live, the last step is to publish the changes