Flip Tiles
Overview
The Flip Tiles content type is an image area that contains multiple columns worth of images of varying dimensions. Each of the images contains a title. When the image is selected, it will rotate to show additional information. Flip Tiles are available for both the landing and interior pages.
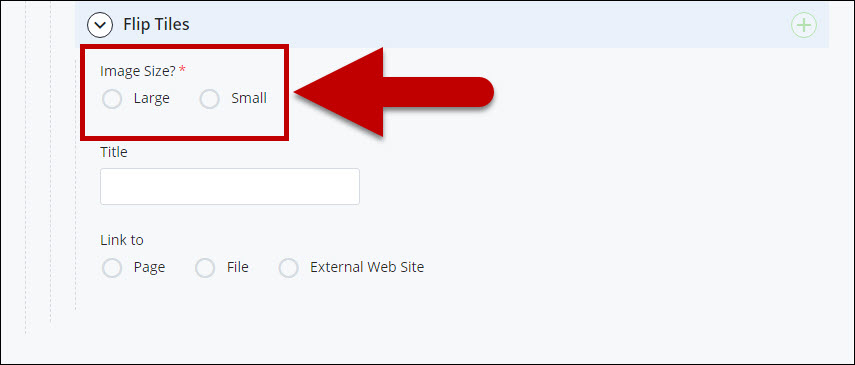
Flip tiles are available in two sizes: large and small. The required size for large flip tiles is 390w x 390h pixels, and the required size for small flip tiles is 190w x 190h pixels. See a table of all template image size requirements.
Example


No Link - Description Only


Flip Tile without link
How To Add Flip Tiles?
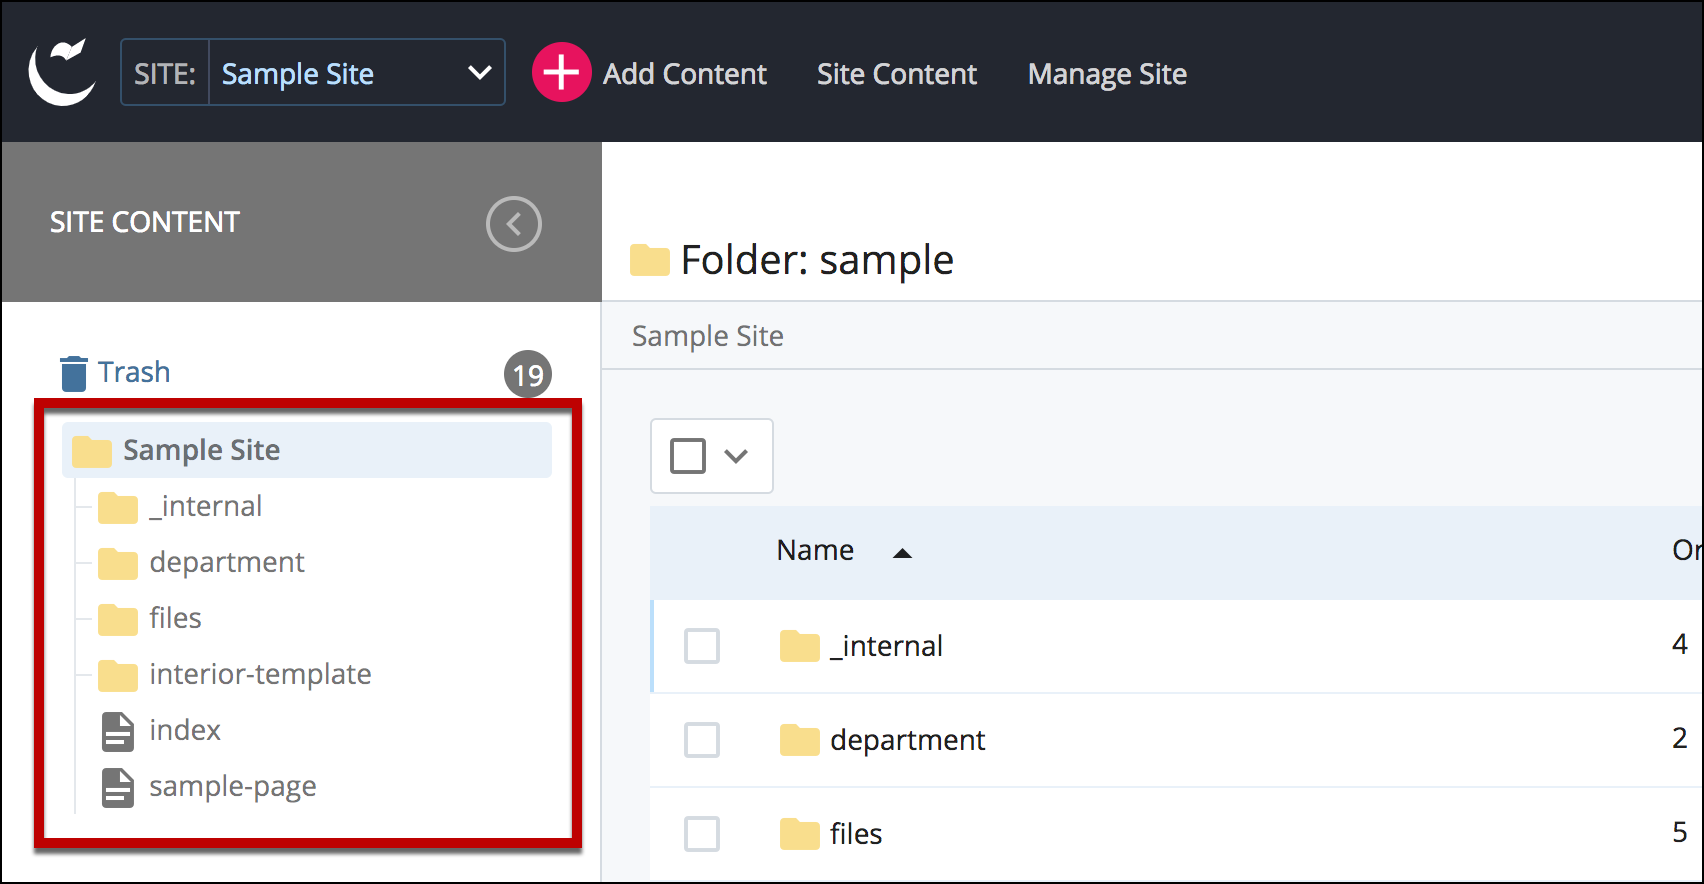
- Log in to Cascade CMS and select your site.
- Navigate to the page where the Flip Tiles will be added.
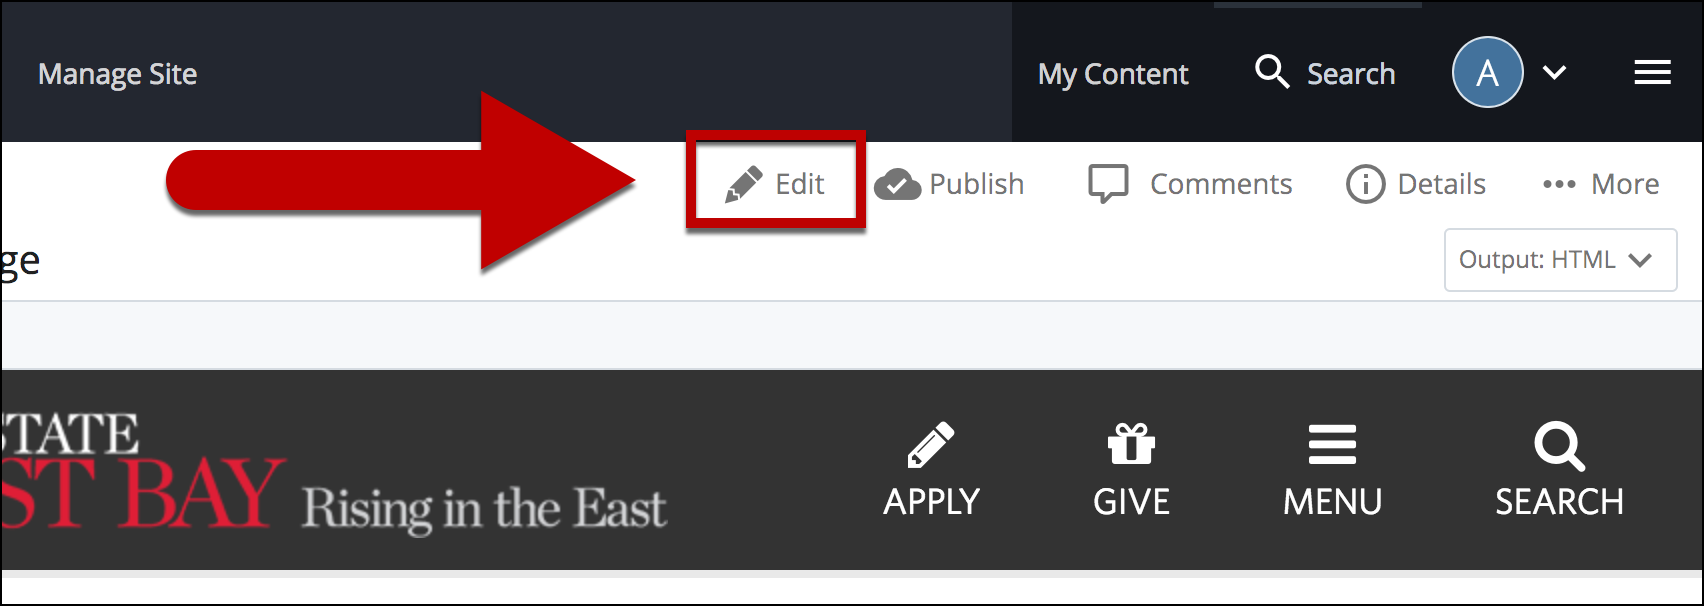
- Select Edit.
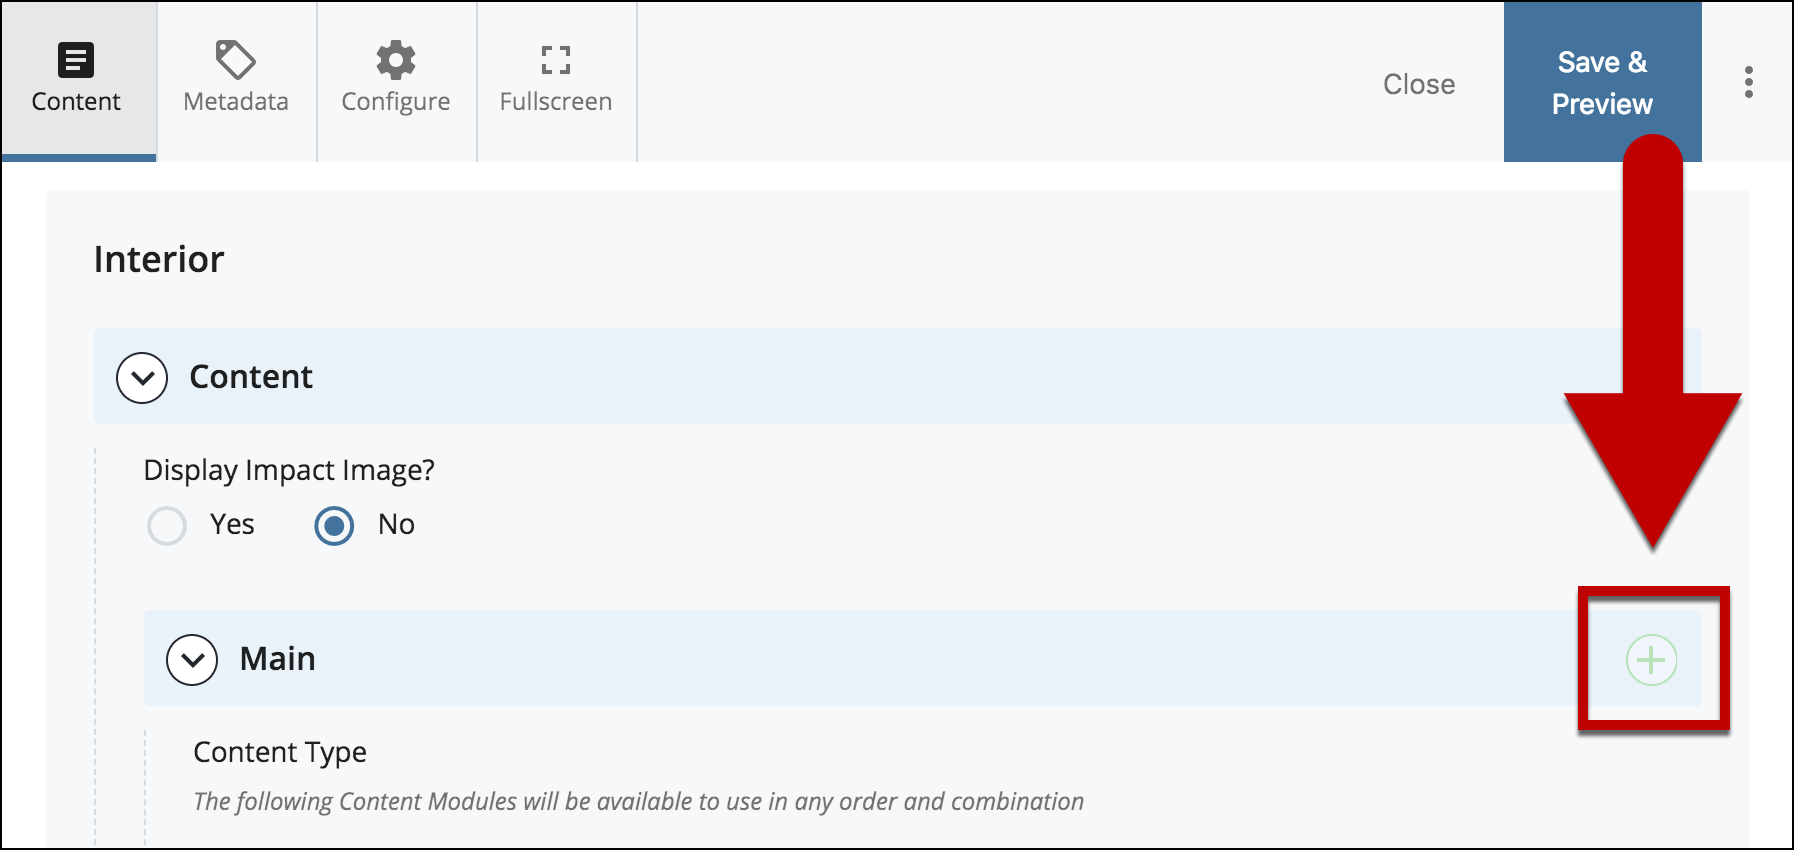
- Select + icon on Main to add a new content type.
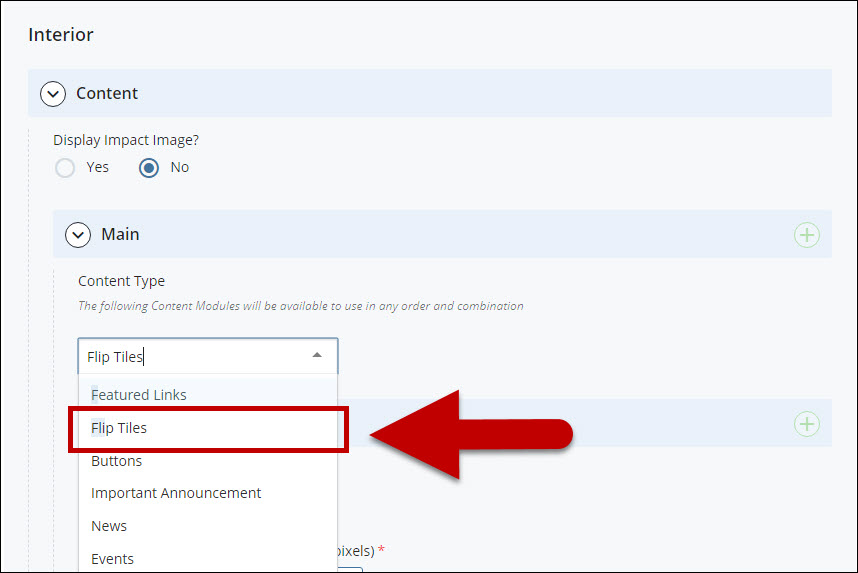
- Select Flip Tiles in the newly added content type.
- Expand Content > Main > Flip Tiles.

- Select the preferred Image Size. (Large: 390 x 390 px | Small: 190 x 190 px).
- Select Choose File to add an image for Flip Tiles.
Enter a short description for the image in the ALT Text field.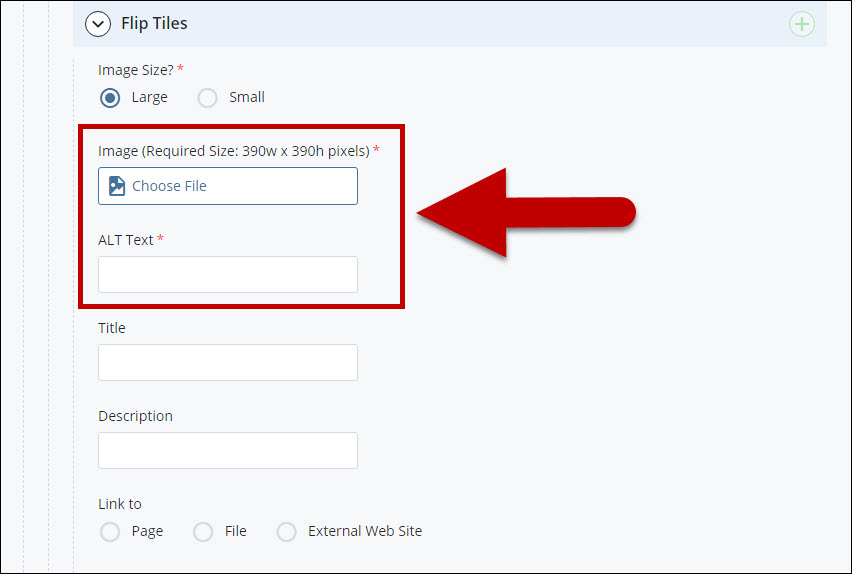
- Add Title and Description for the Flip Tiles.
*Note: Leave the Description Field blank if you do not want a flip effect.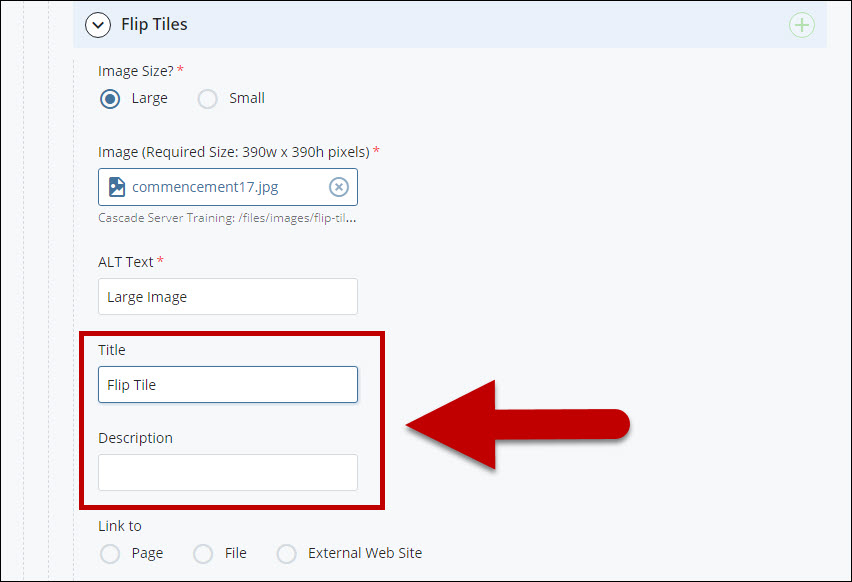
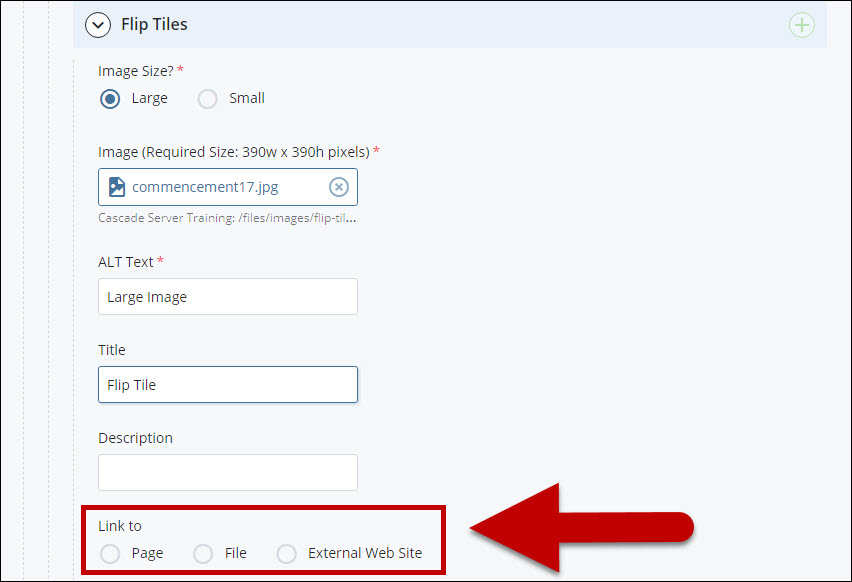
- Add a link to the Flip tile by selecting:
- A Page, A webpage within Cascade Server
- A File such as a Word document or a PDF document
- An External Web Site outside of Cascade Server
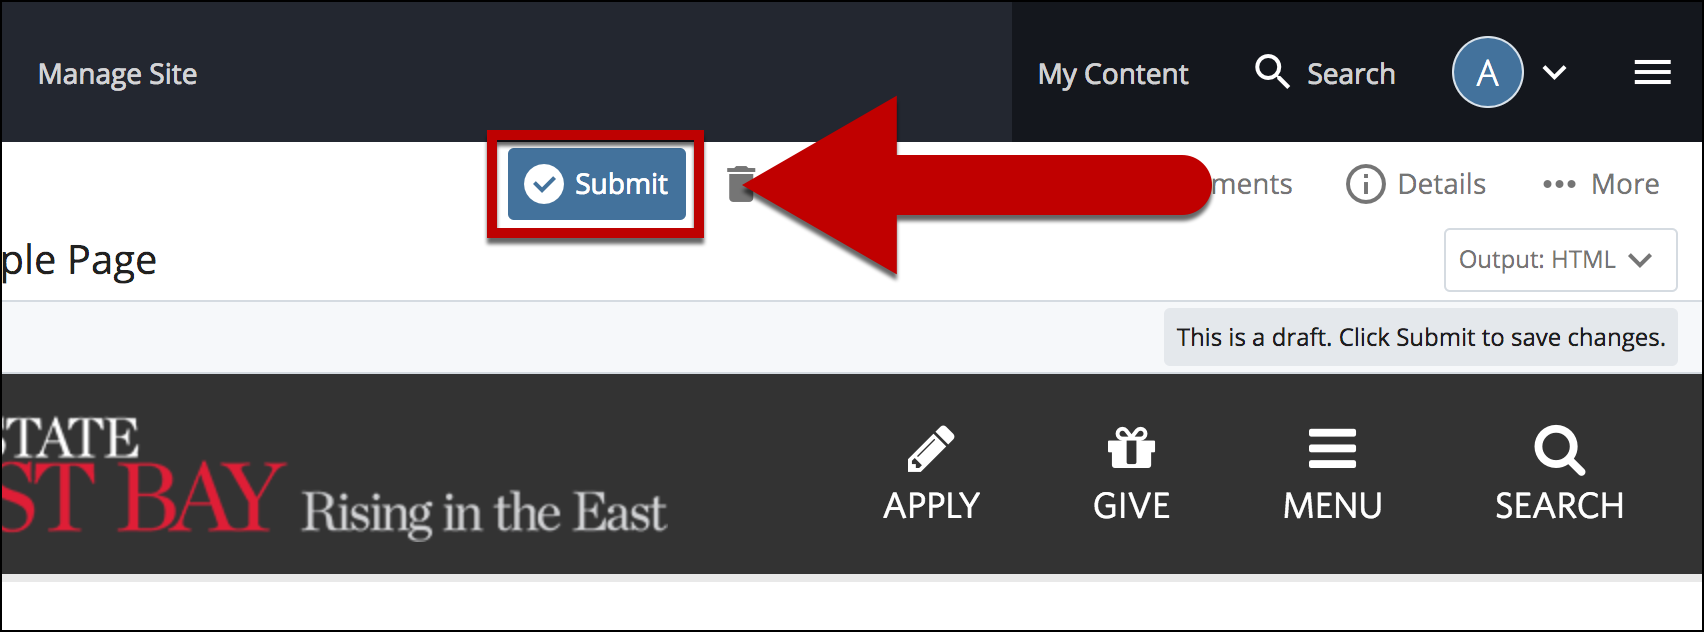
- Select Preview Draft.

- After previewing changes made on your draft, select Submit.
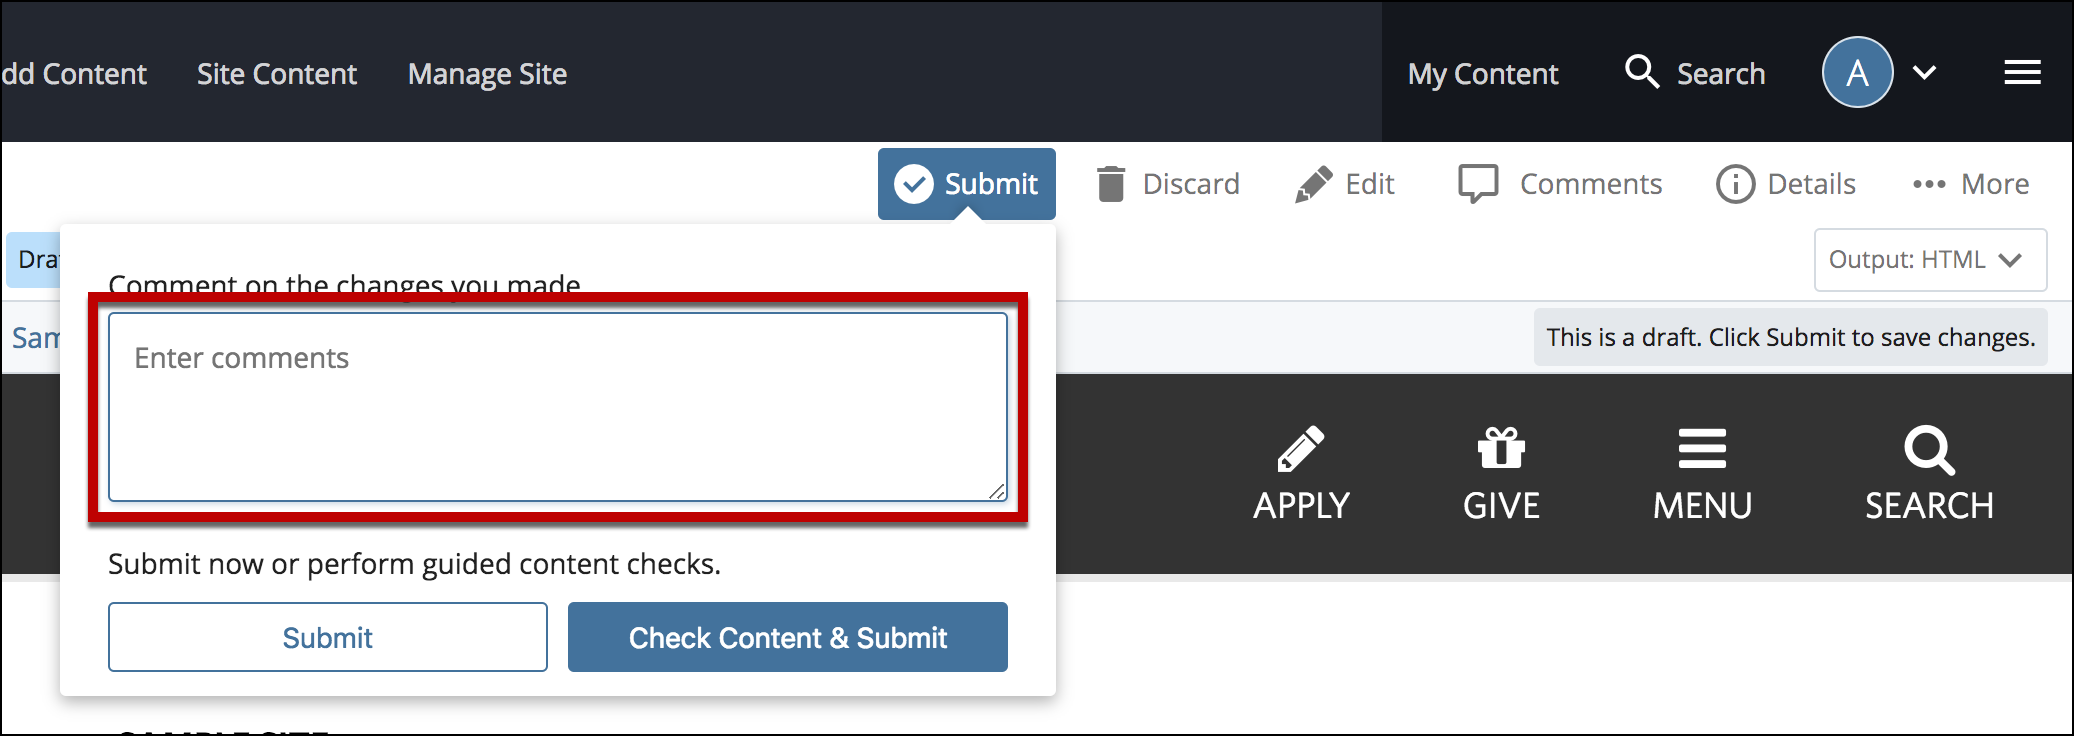
- Enter Comments for changes made.
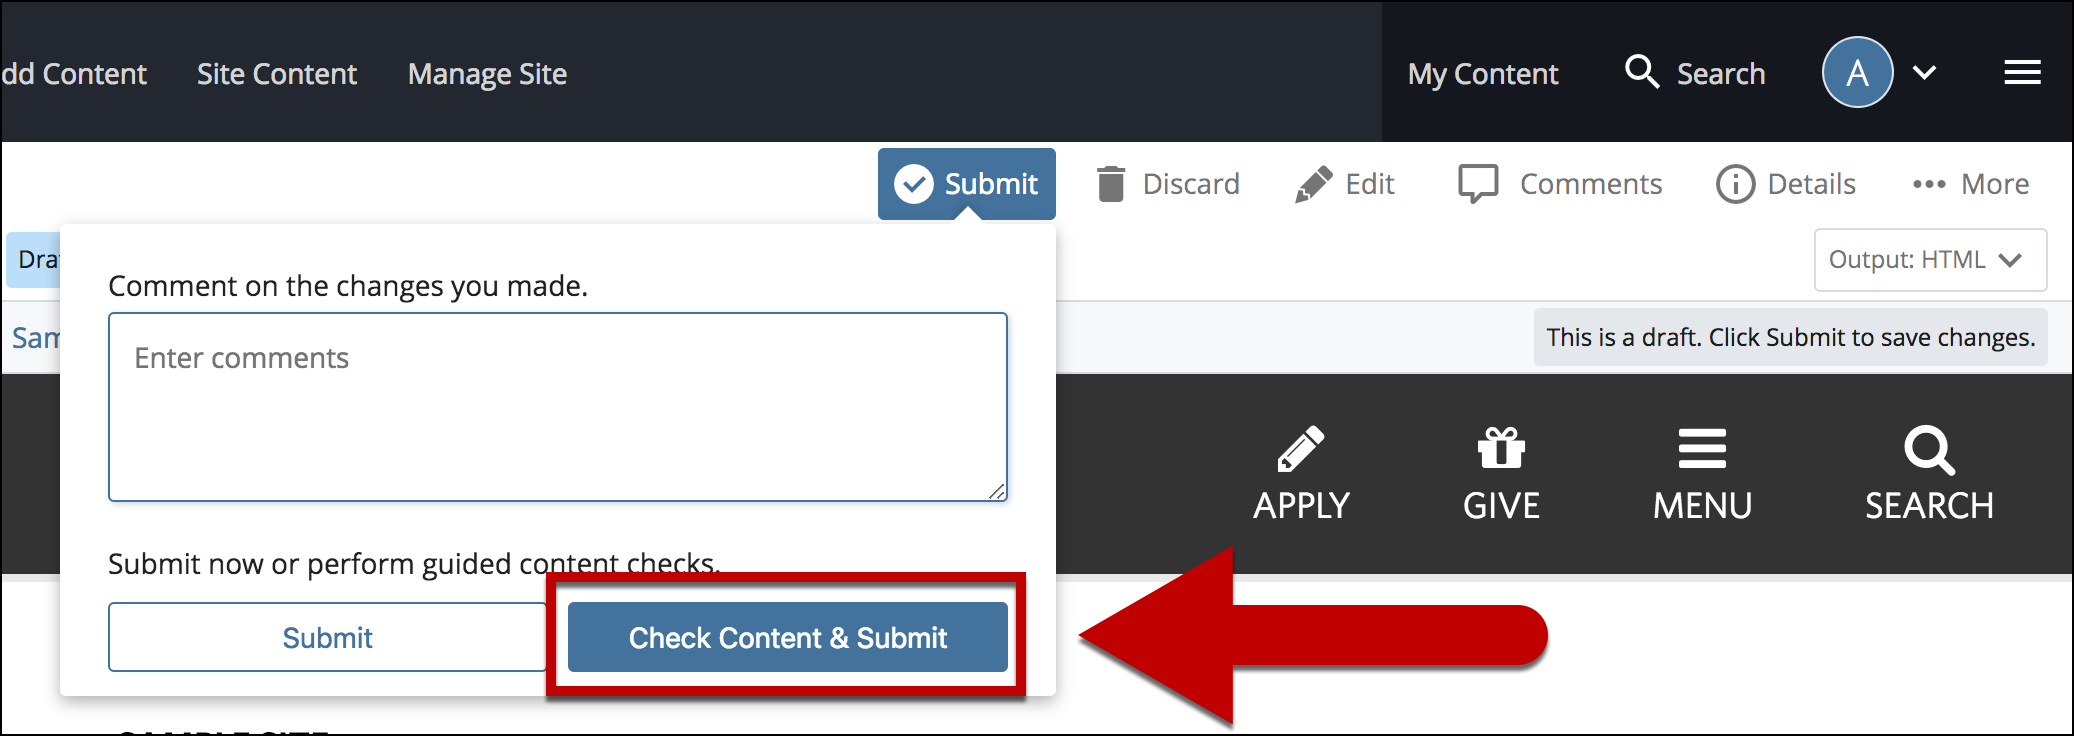
- Select Check Content & Submit to add changes to your site.
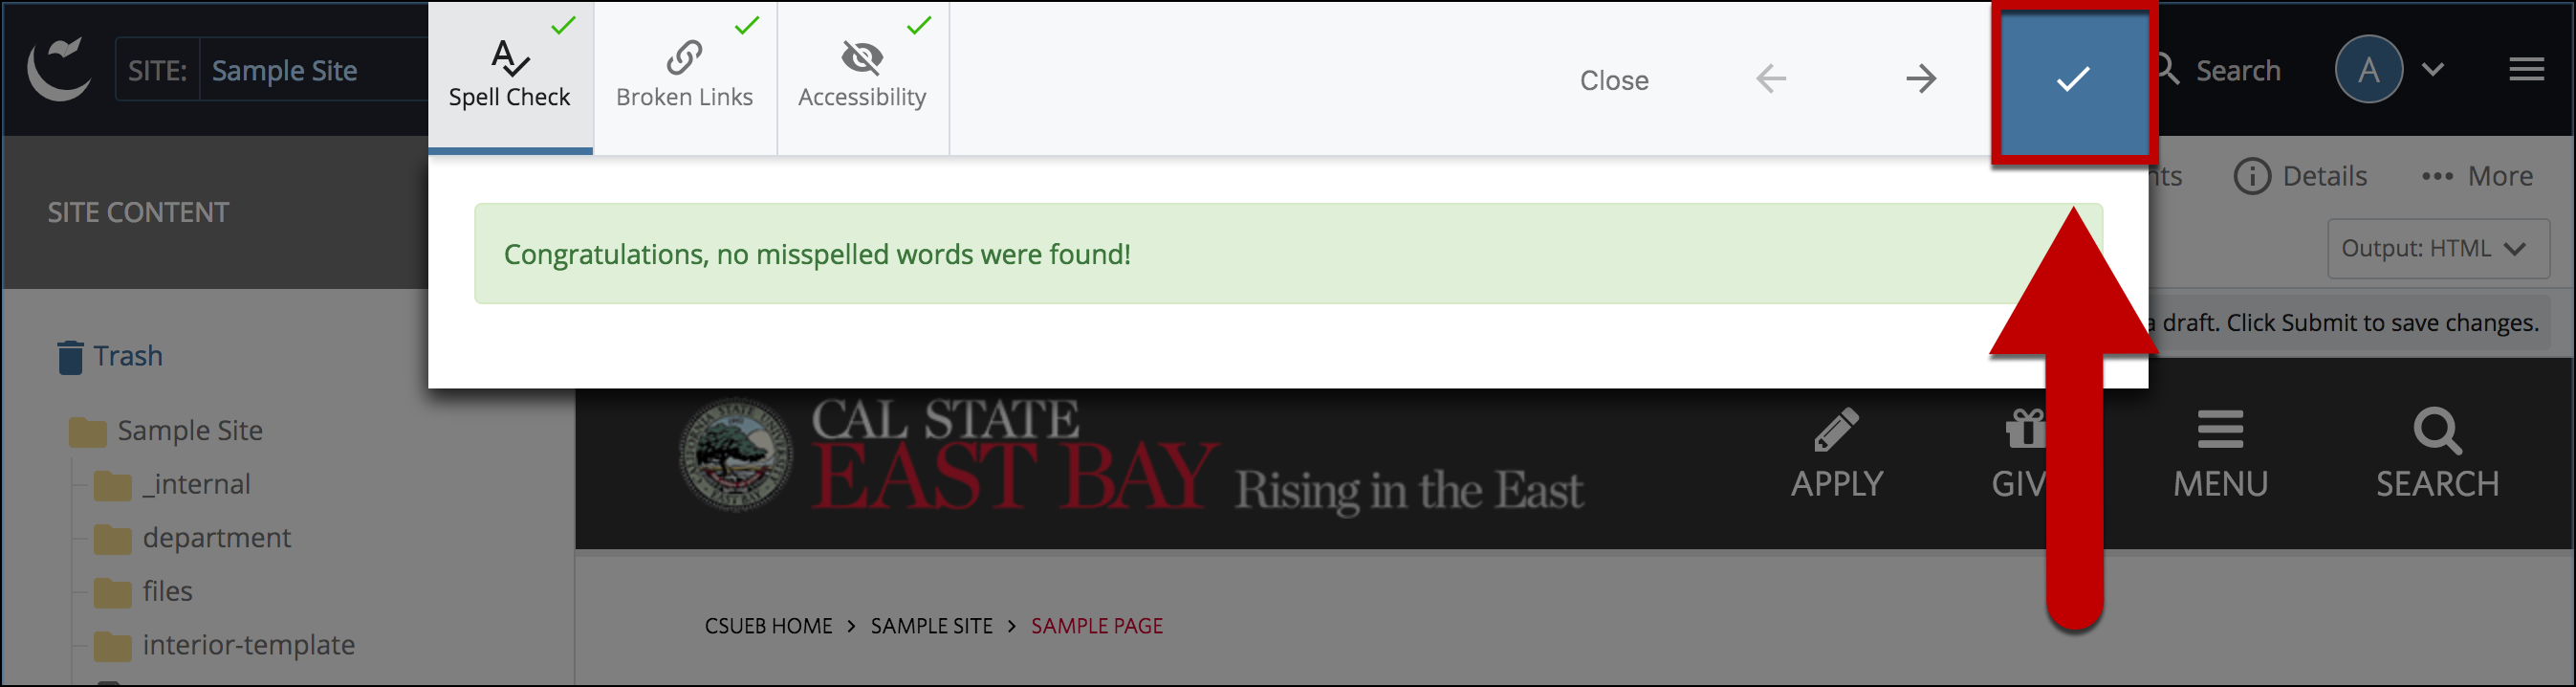
- Select the Check Box.
- When you're ready to go live, the last step is to publish the changes.