Update an Image
Image Size
Before an image can be updated on Cascade CMS, confirm that the image has the appropriate size and dimension for the respective content type. For example, a banner image needs to be 1900w x 920h. If an image is too large, too small, or has the wrong dimension, it needs to be resized. You can resize an image with the help of image editing tools. Follow the table below ensure correct image size.
Size Requirements
| Content Type | Width (in pixels) | Height (in pixels) |
|---|---|---|
| Landing Page Banner | 1900 | 920 |
| Content Area Banner | 1200 | Any |
| Content Area Multi Columns Banner | 770 | Any |
| Feature Links | 770 | 476 |
| Flip Tiles (Large) | 390 | 390 |
| Flip Tiles (Small) | 190 | 190 |
| Image Gallery | 1000 max | Any |
| News | 770 | 476 |
| Photo and Descriptions | 230 | 308 |
| Impact Image | 1200 | Any |
| Message Area* | 1900 | 1200 |
* Message Area Parallax Background Image only available in Landing Page Template
How to Update an Image?
- Log into Cascade CMS and select your site.
- Navigate to the image that needs to be updated, select the image.
Note: All images are located at [Base Folder] > files > images.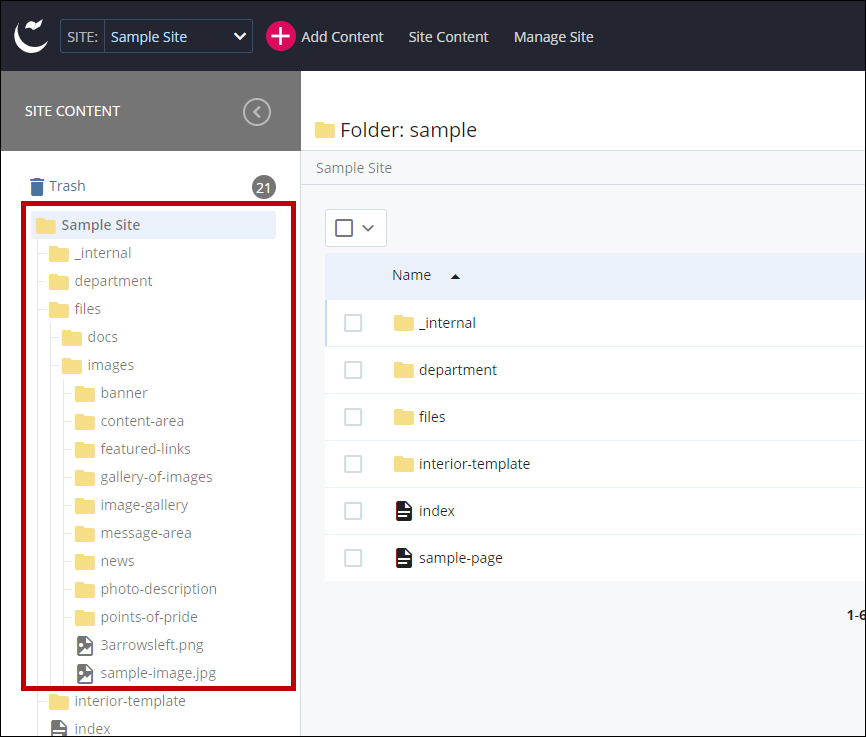
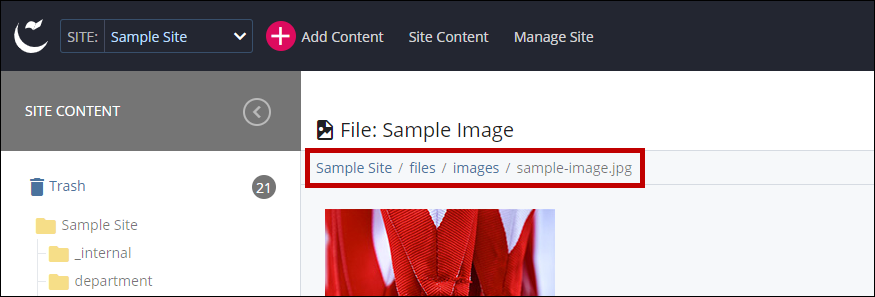
- Ensure that the correct image is selected by checking the file path.
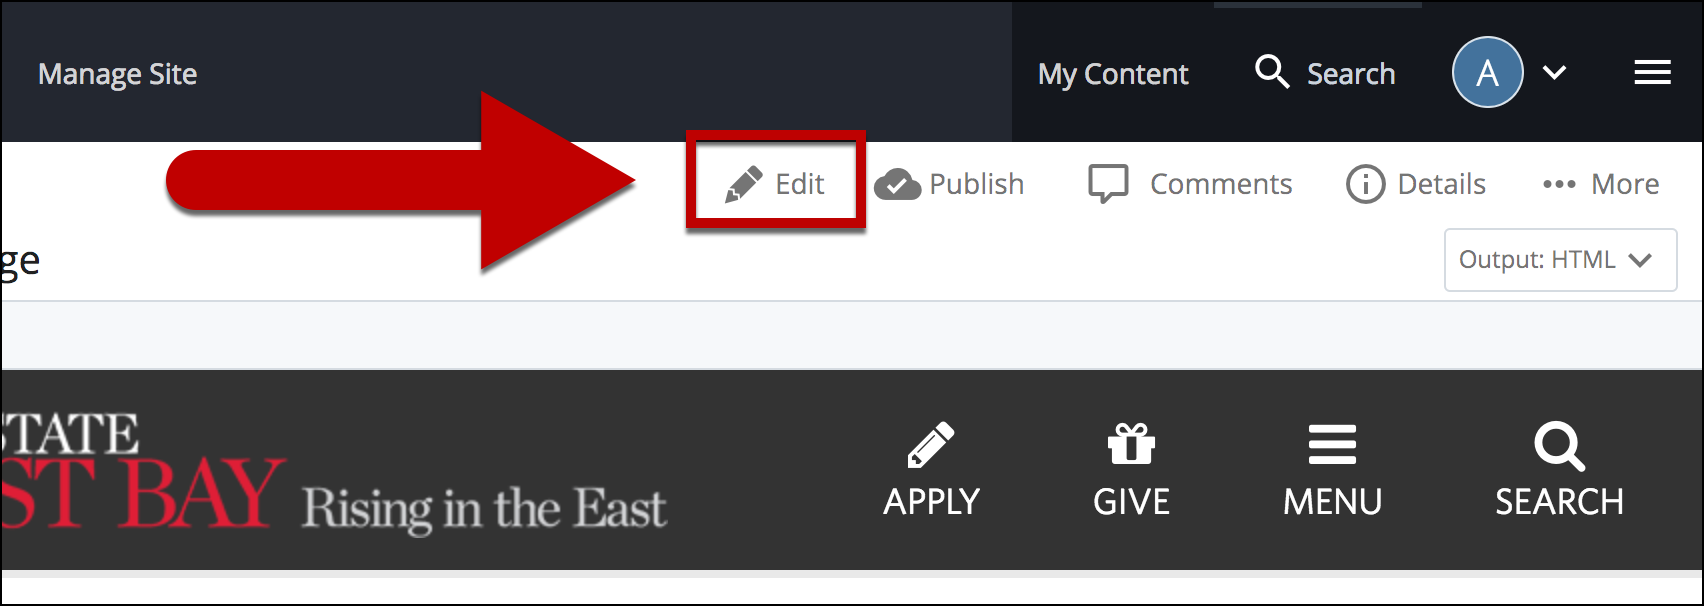
- Select Edit.
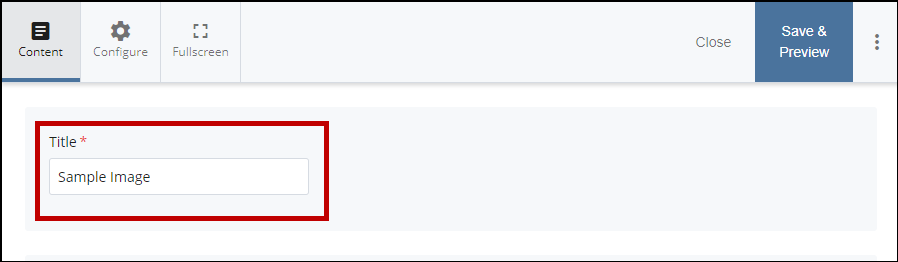
- Drag and Drop the new image in the box or select choose inside the box to browse for the new image.

- Edit the Title if necessary.
- Select Preview Draft.

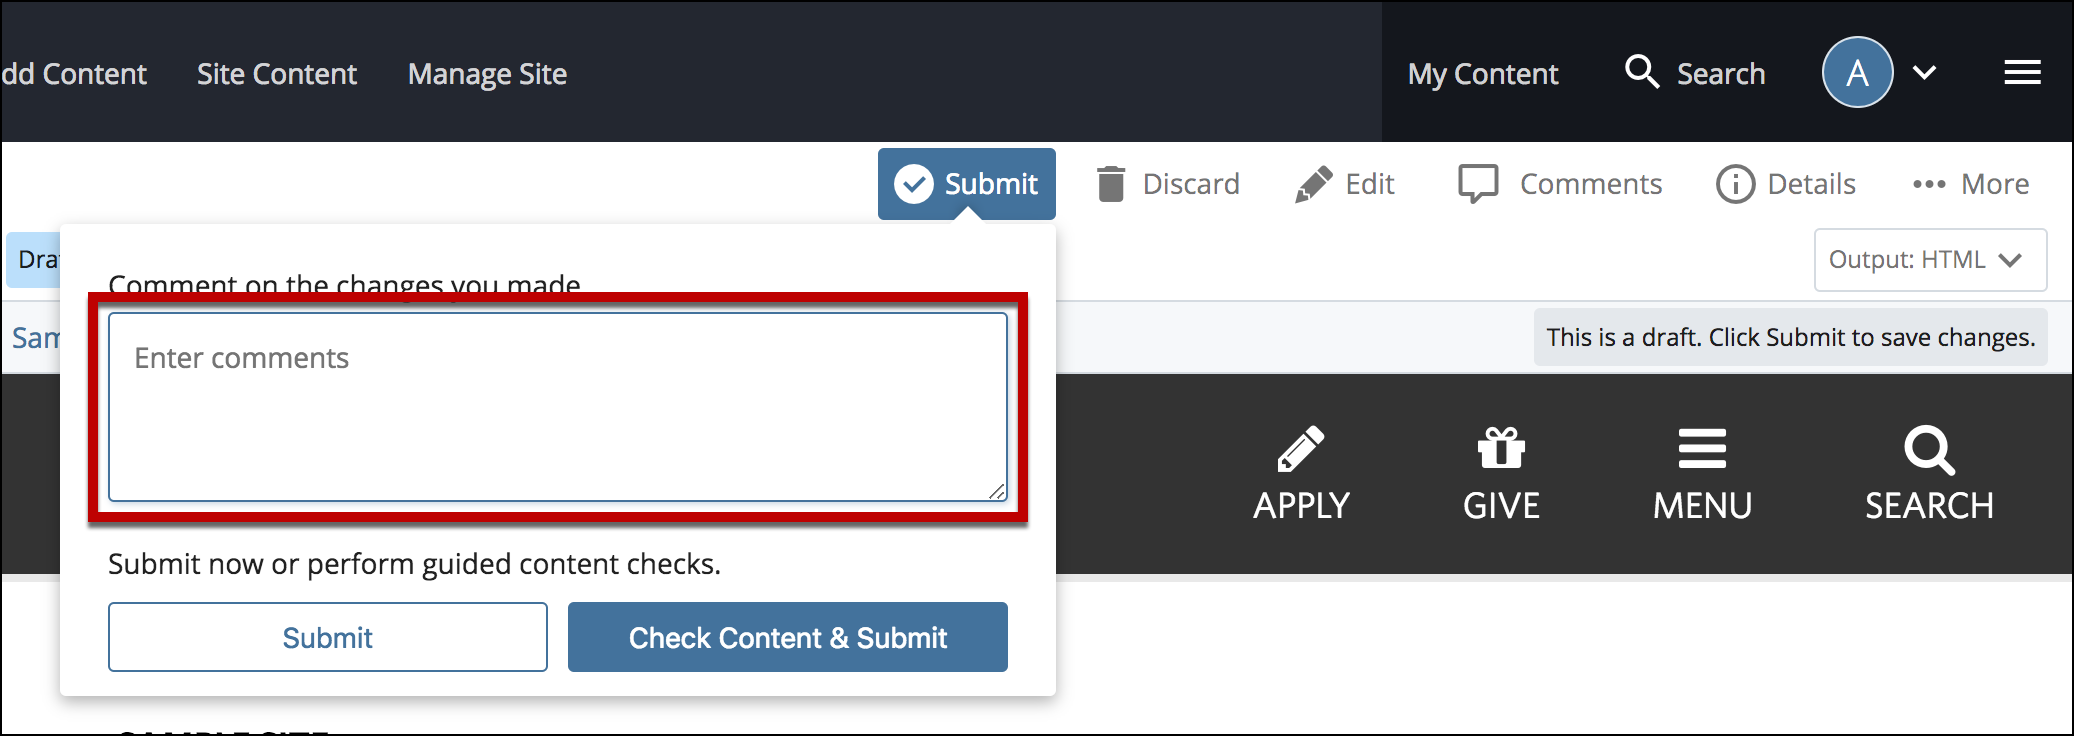
- Enter comments.
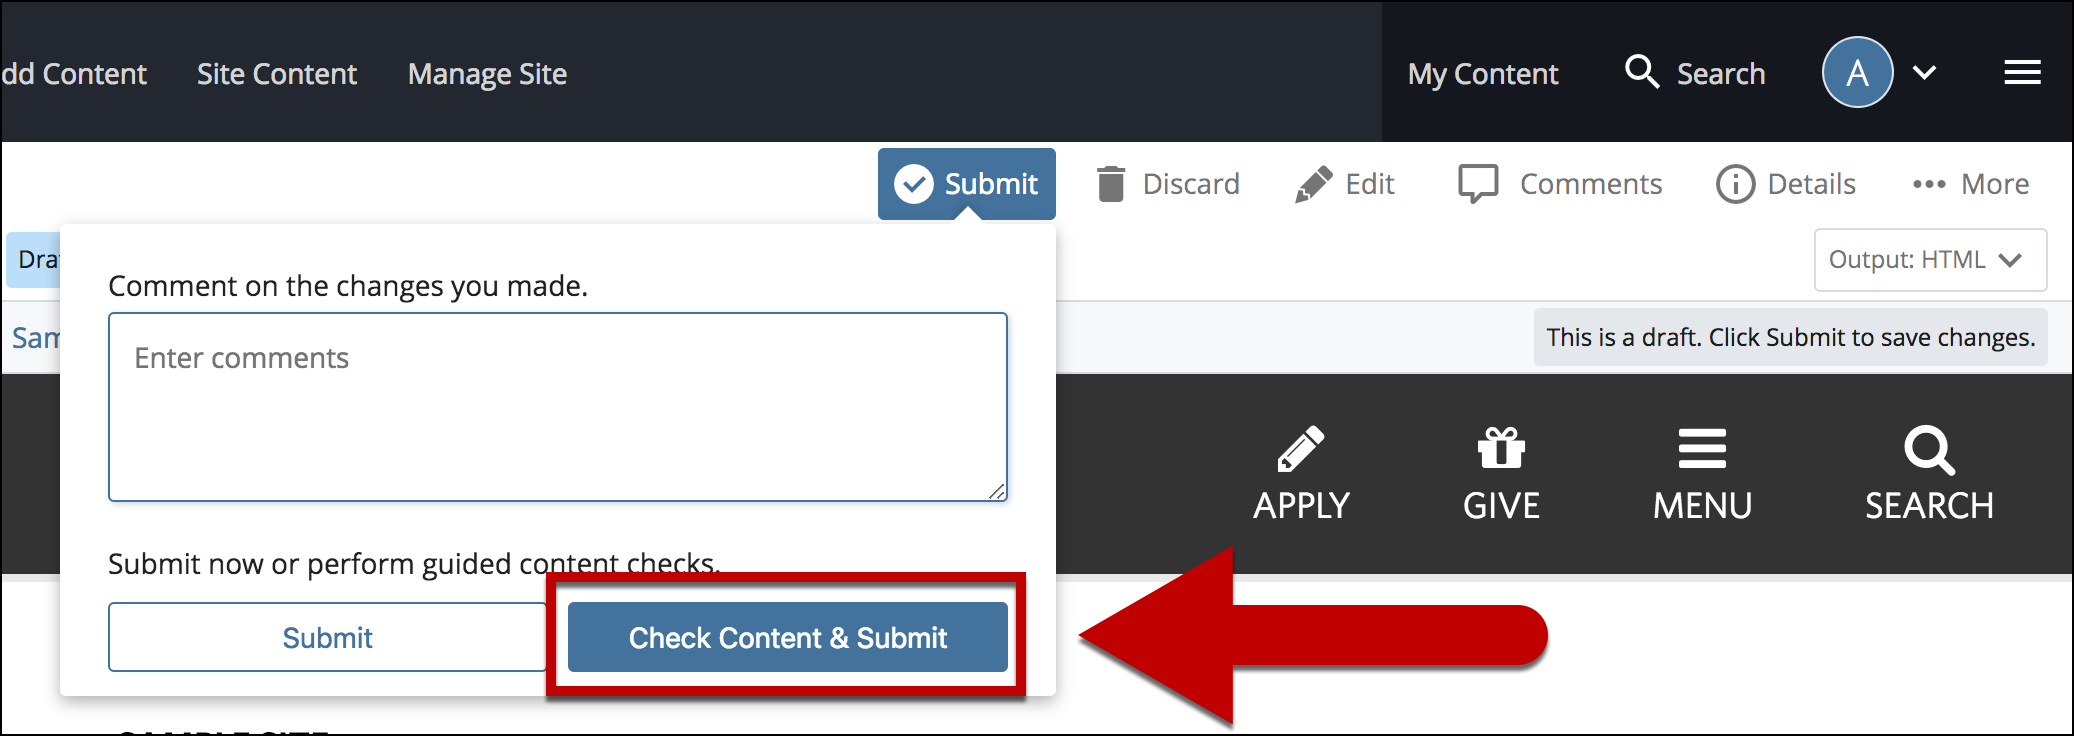
- Select Check Content & Submit.
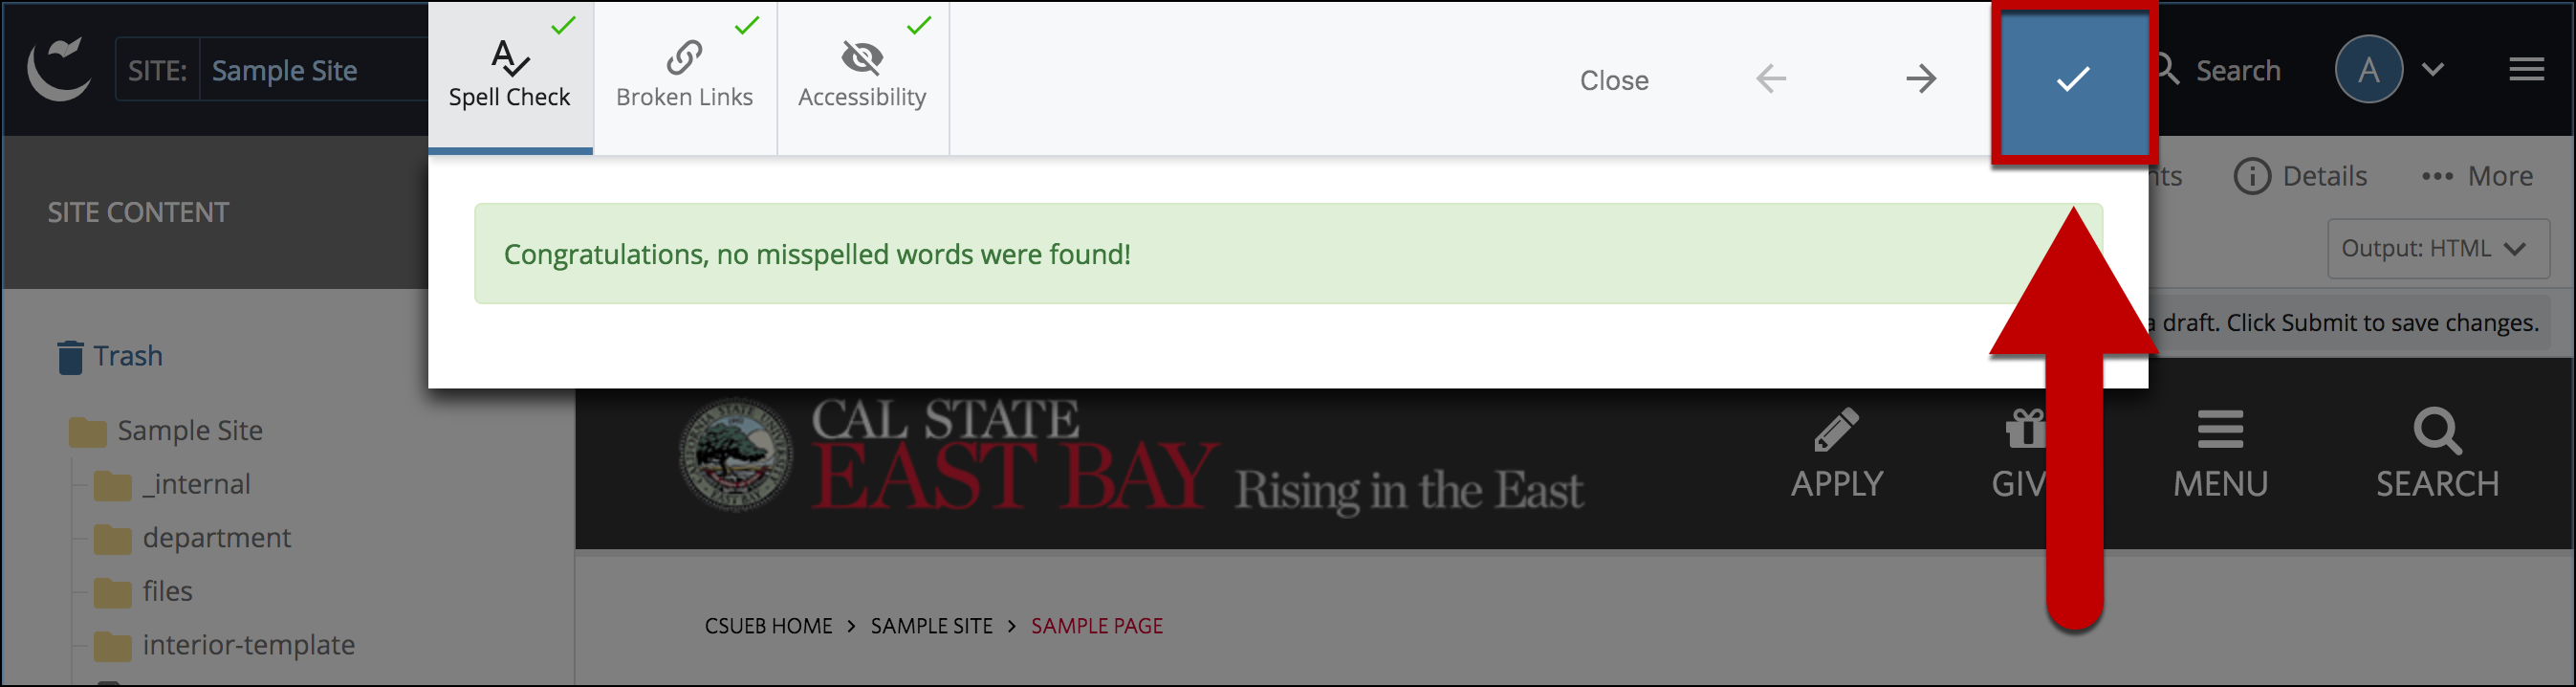
- Select the Check Box.
- When you're ready to go live, the last step is to Publish the Changes.