Upload an Image
Overview
Before uploading your image, ensure that you have the correct image size for the specific content type that you are using. Here's a quick guide for all the image sizes
| Content Type | Width (in pixels) | Height (in pixels) |
|---|---|---|
| Landing Page Banner | 1900 | 920 |
| Content Area Banner | 1200 |
Any |
| Content Area Multi Columns Banner | 770 | Any |
| Featured Links | 770 | 476 |
| Flip Tiles(Large) | 390 | 390 |
| Flip Tiles(Small) | 190 | 190 |
| Image Gallery | 1000 max | Any |
| News | 770 | 476 |
| Photo and Description | 230 | 308 |
| Impact Image | 1200 | Any |
See how to resize your images so they fit properly within the Content Types you are using.
How to Upload an Image?
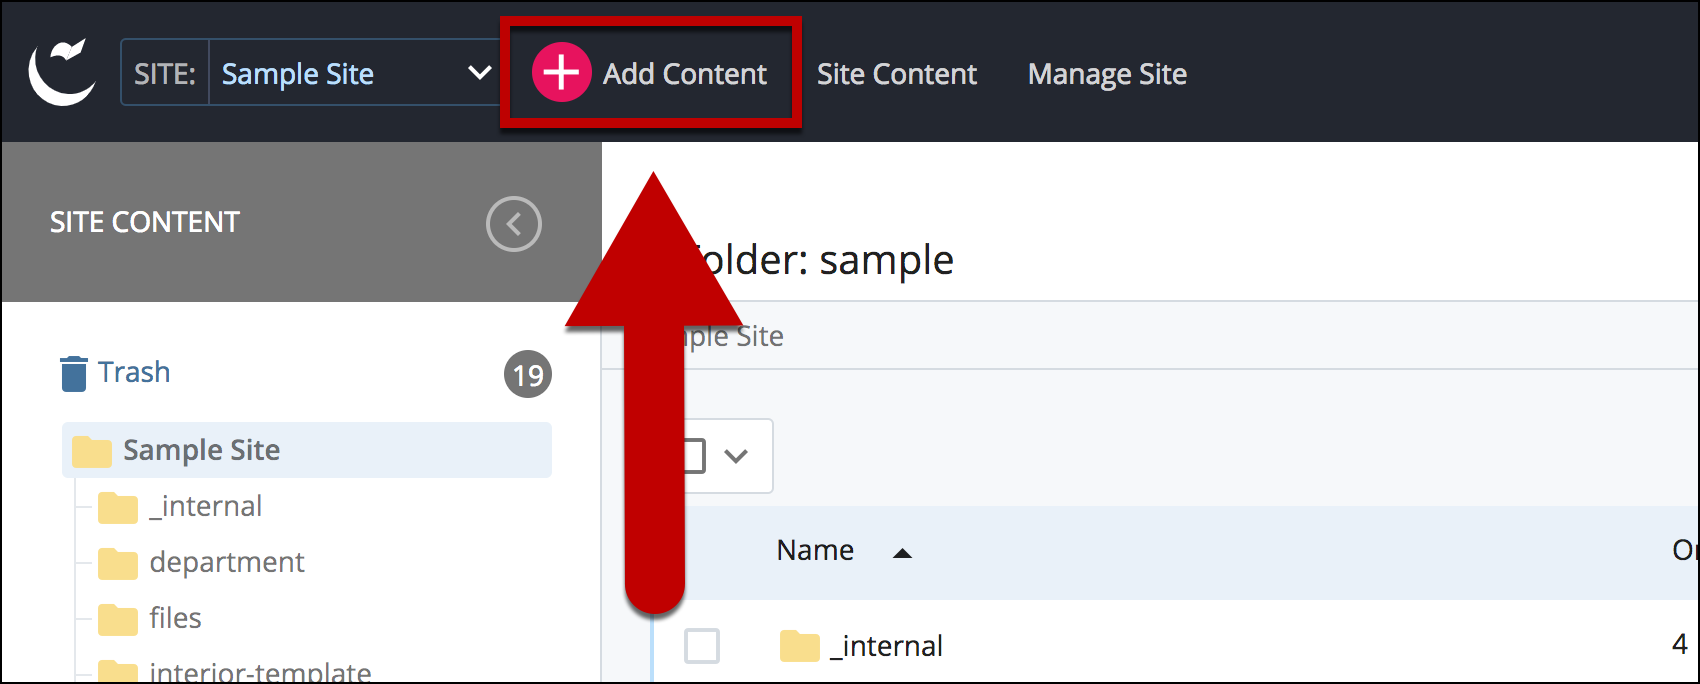
- Log into Cascade CMS and select your site.
- Select Add Content.
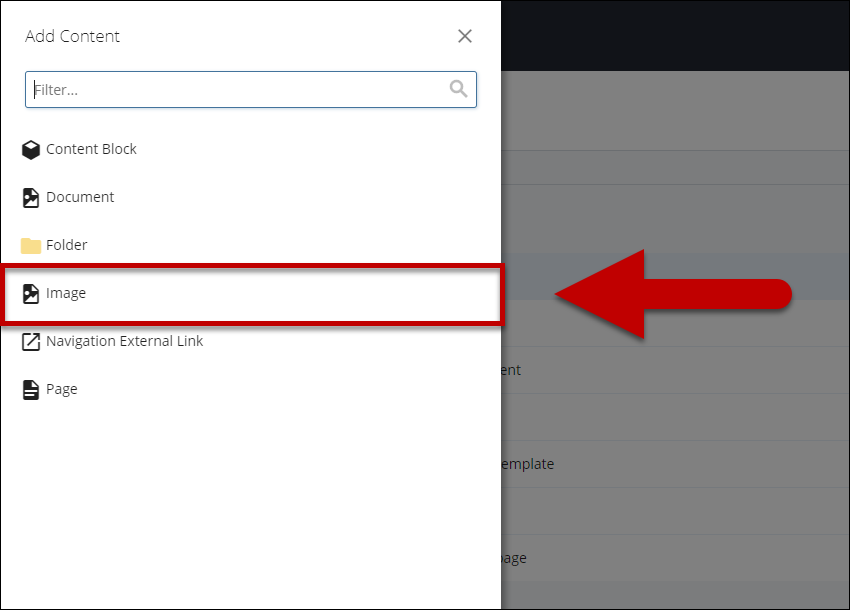
- Select Image.
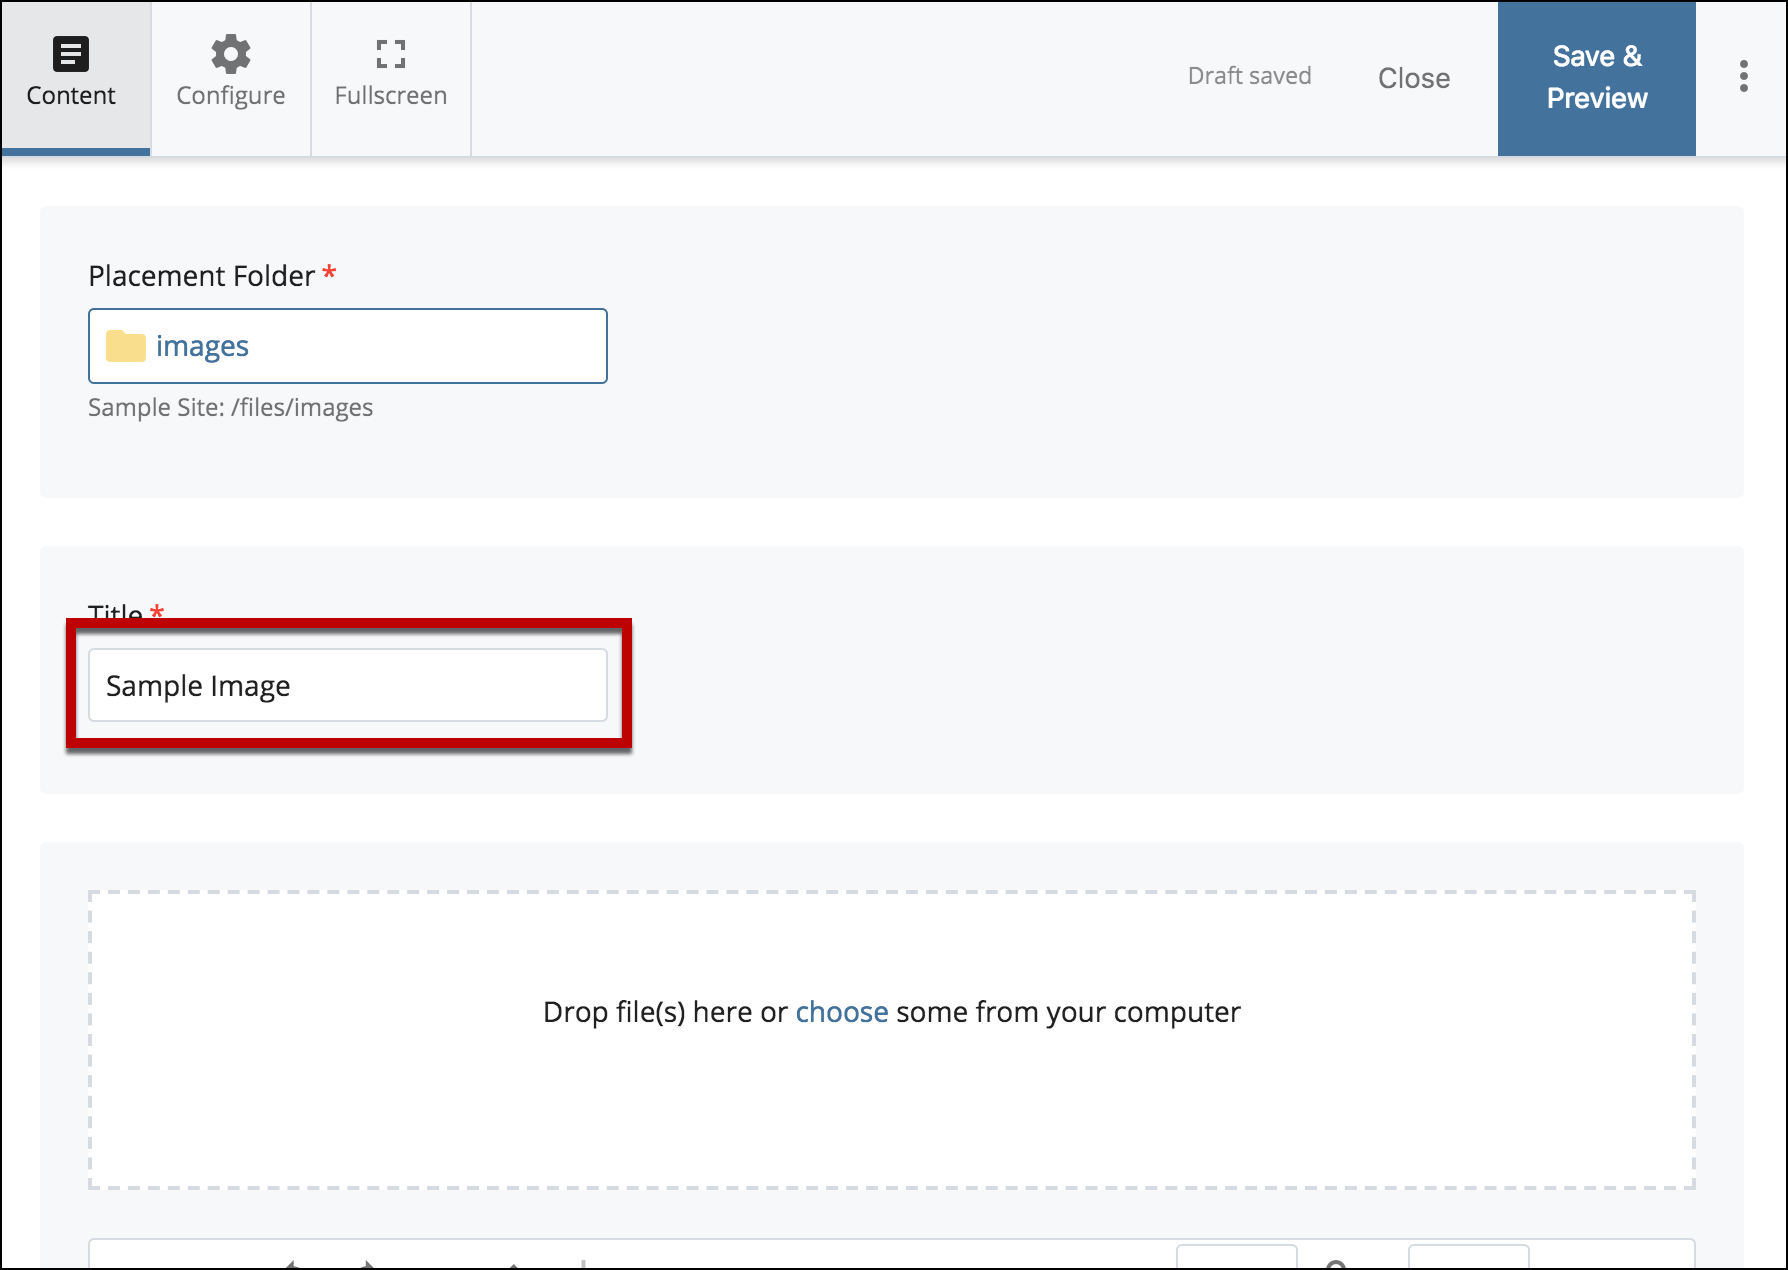
- Enter a Title.
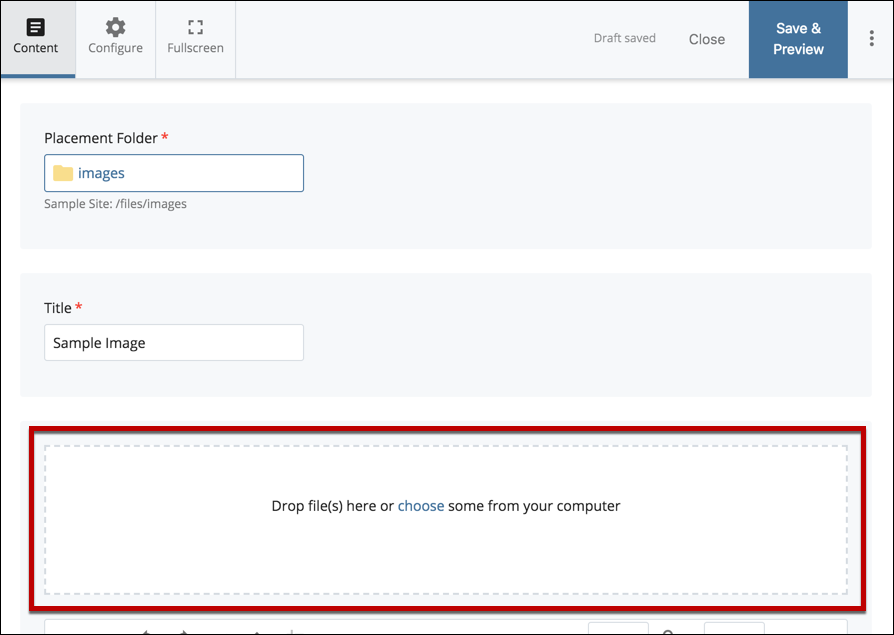
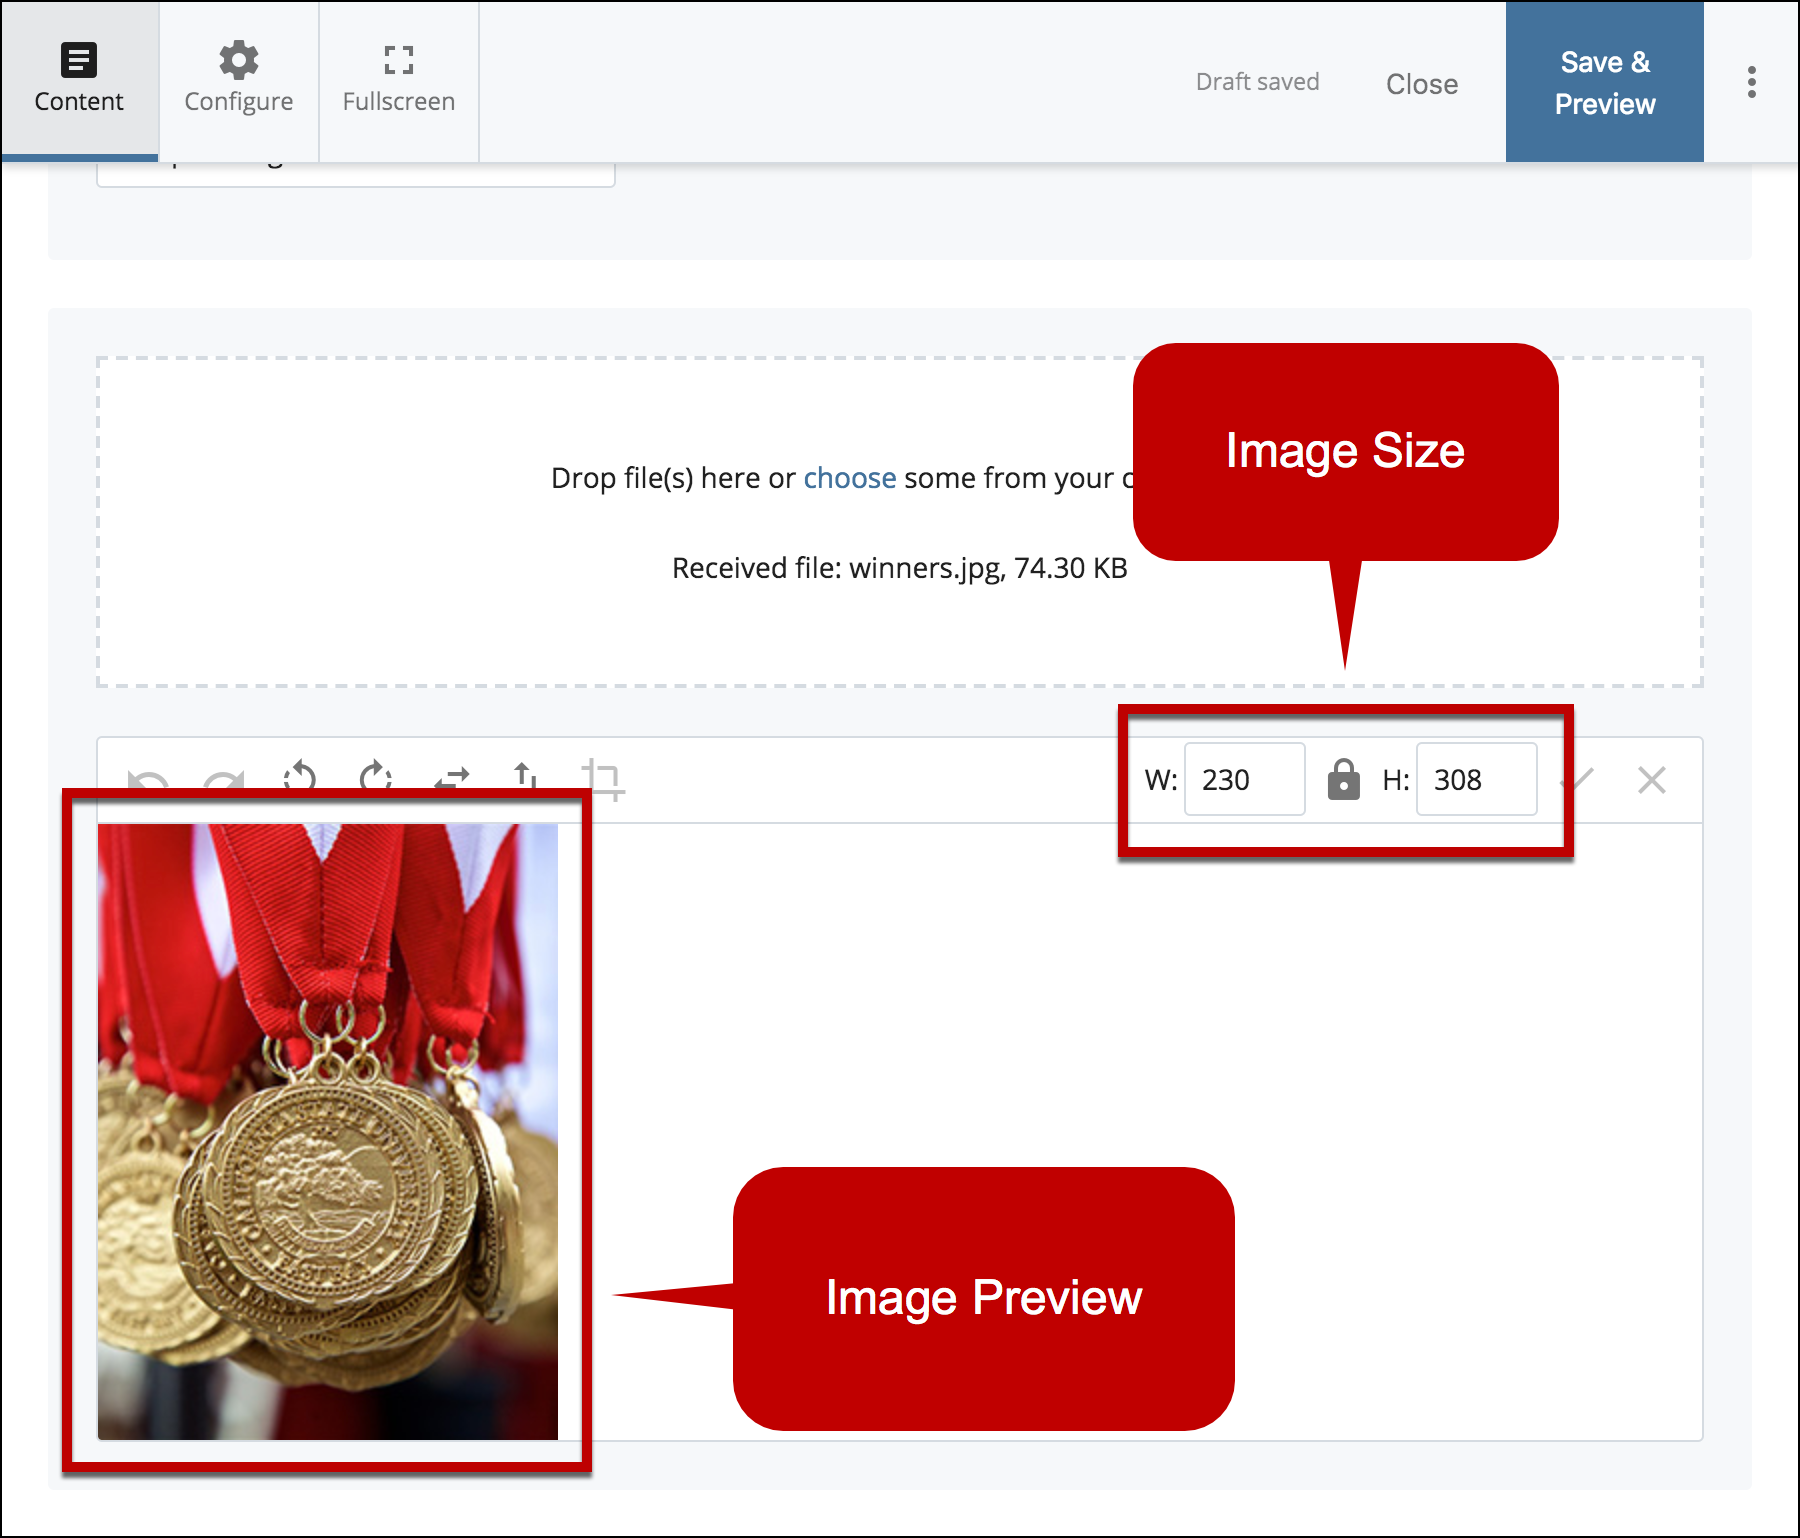
- Drag and drop the image or select choose to browse for the image.
- When the file has been received, you will be able to see the size of the image and a preview of the image.
- Select Preview Draft.

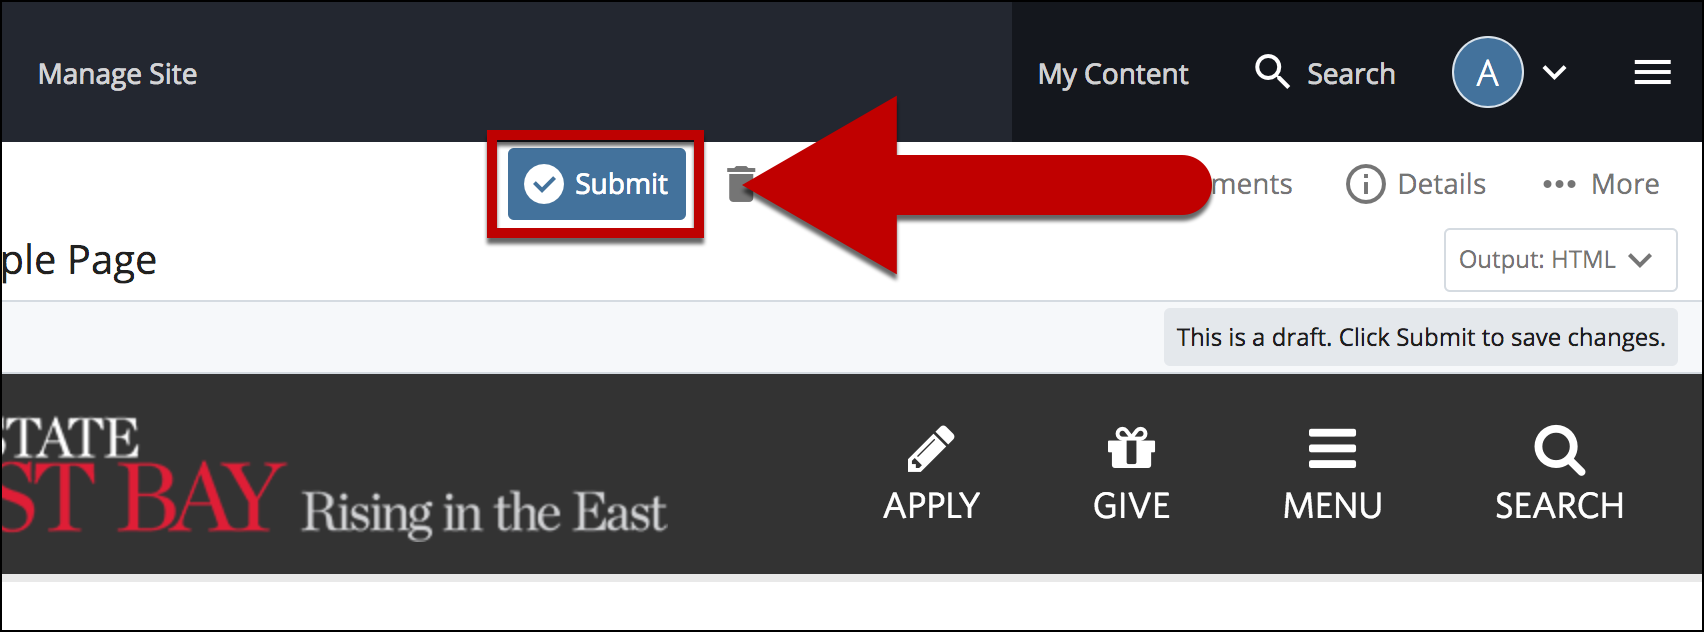
- Select Submit.
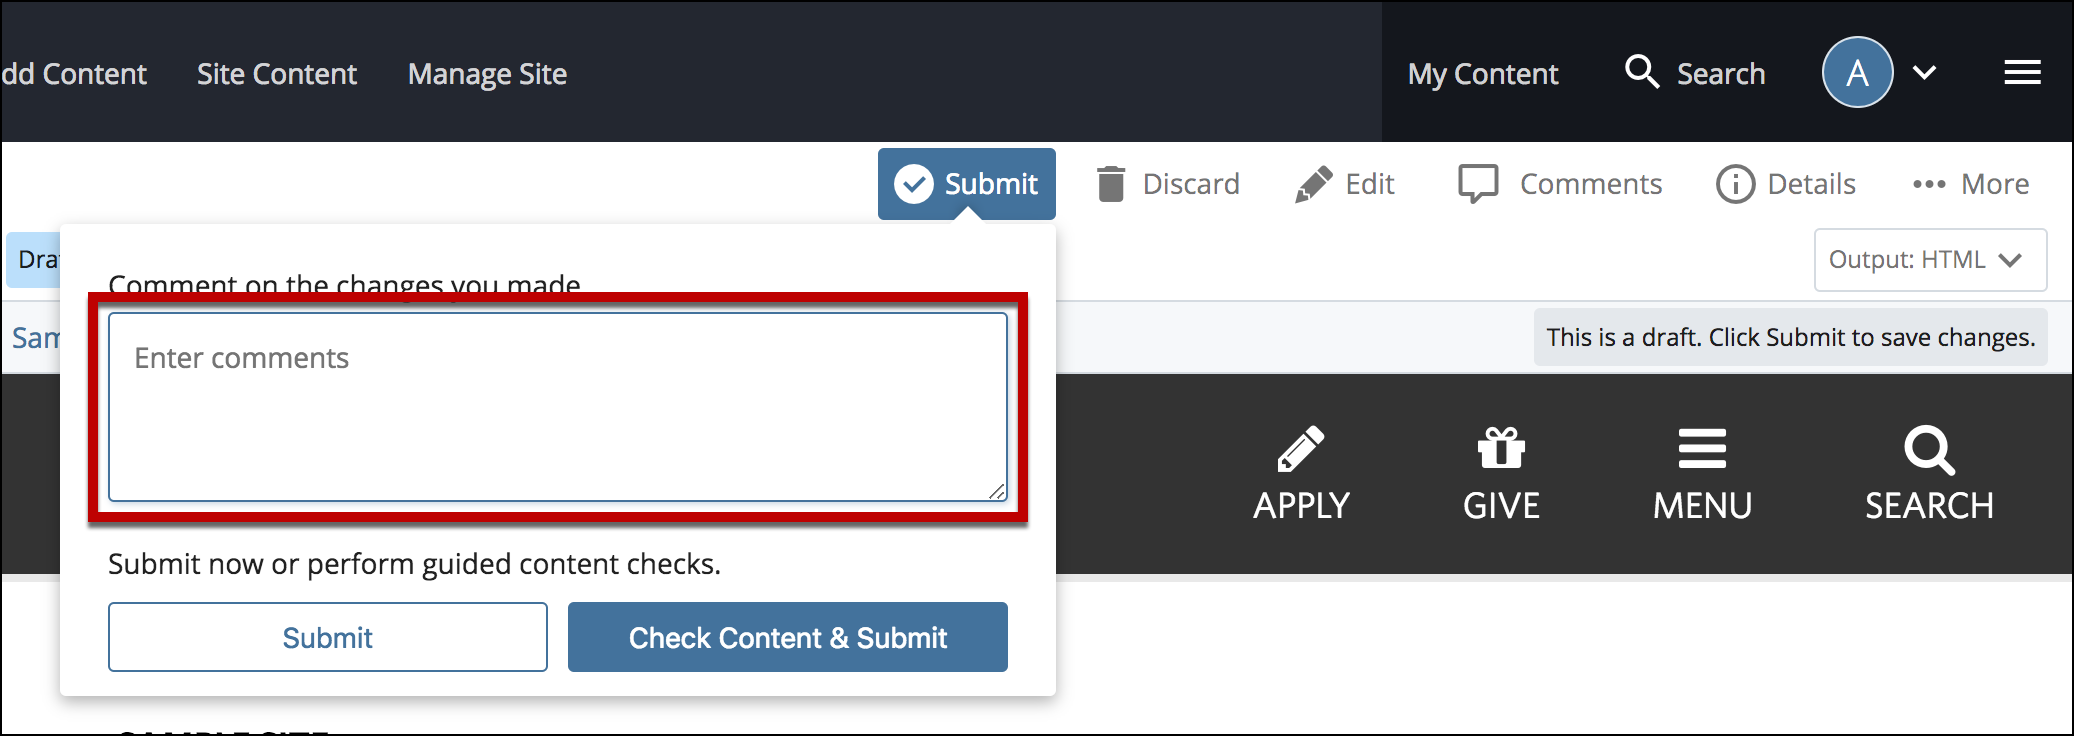
- Enter comments.
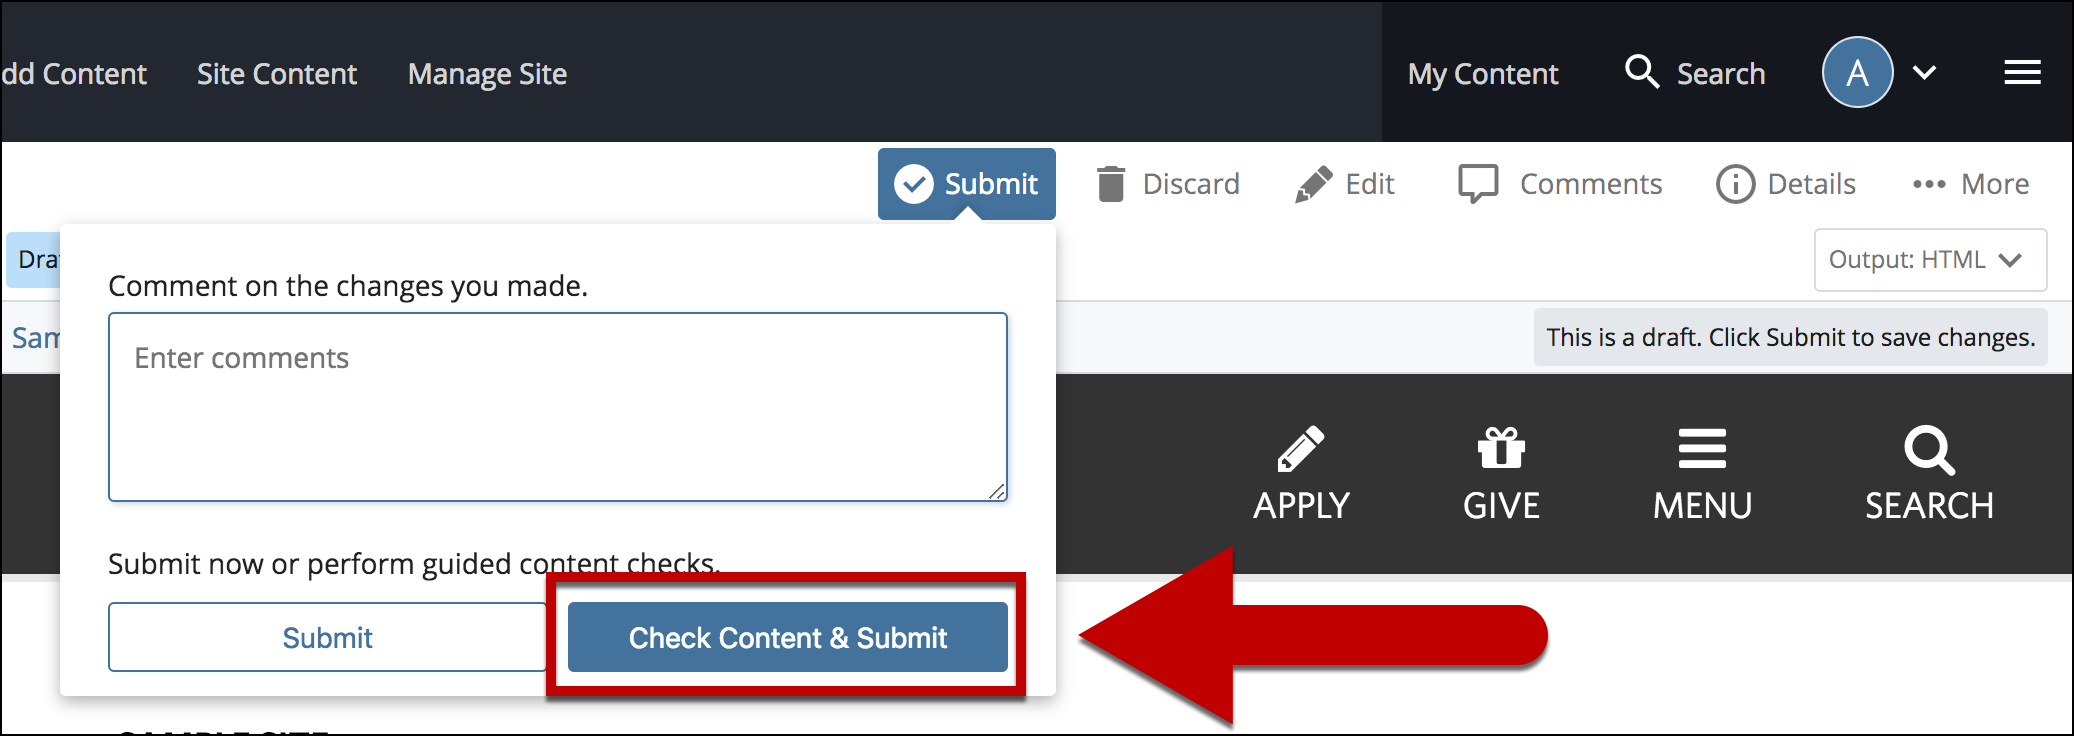
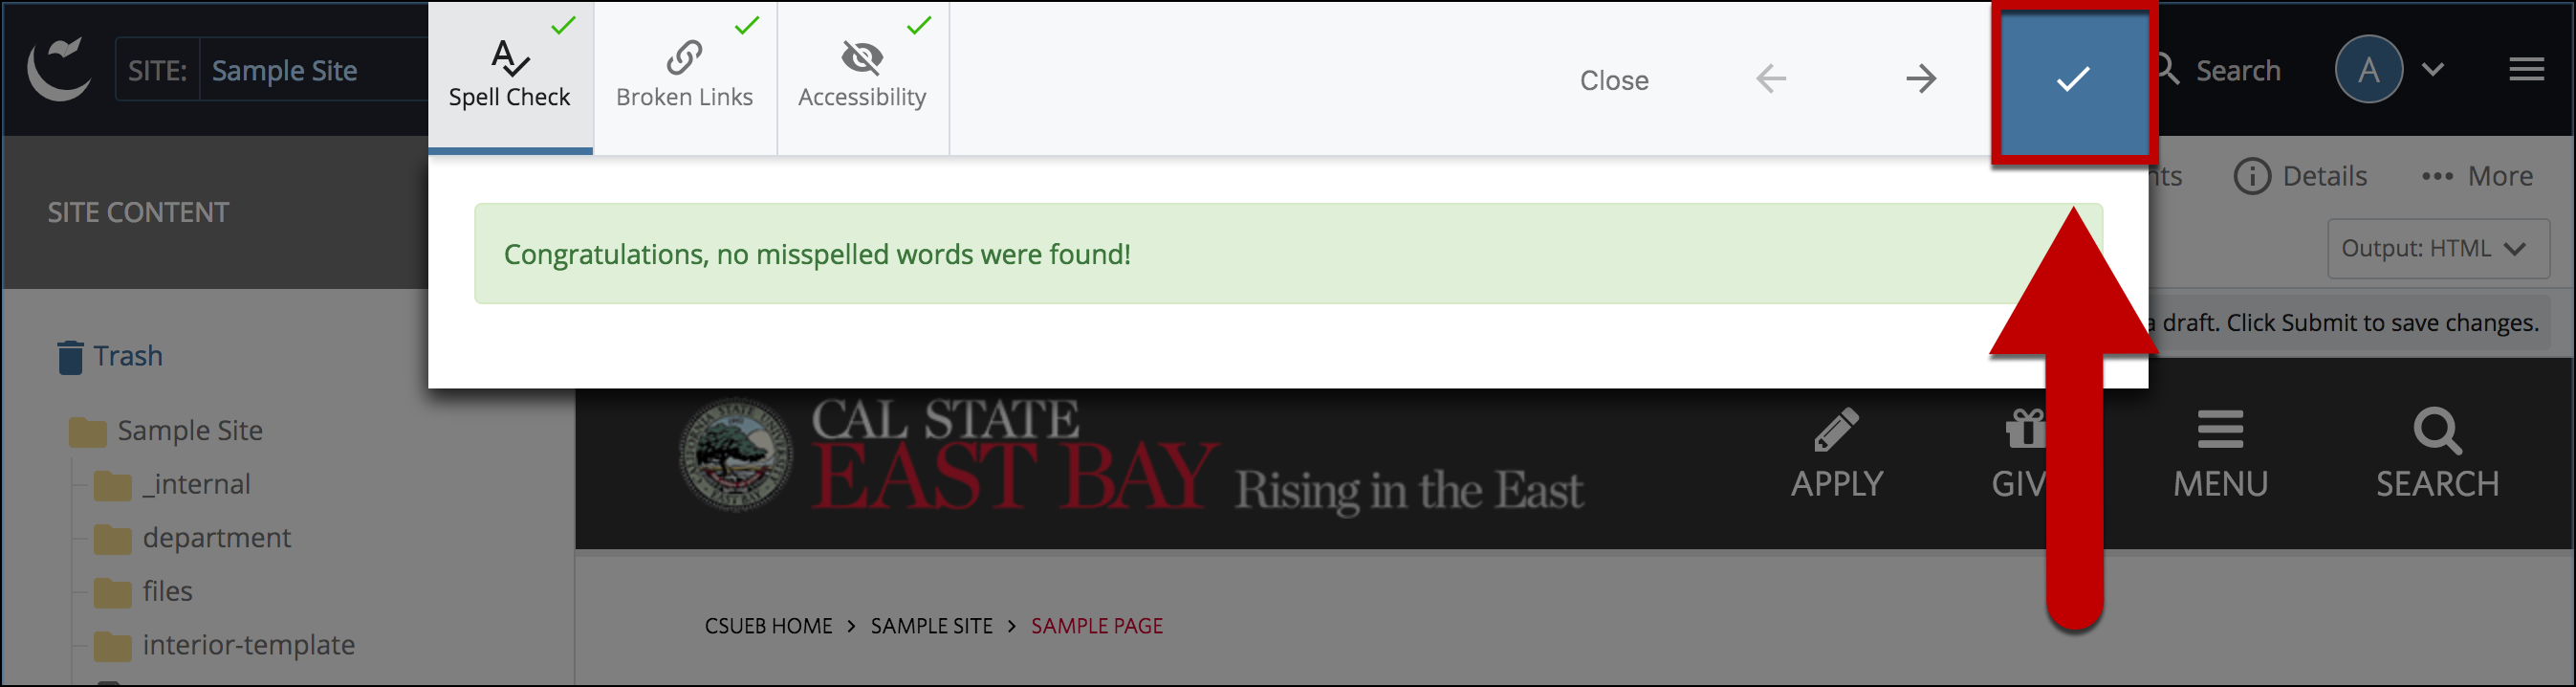
- Select Check Content & Submit.
- Select the Check Box.
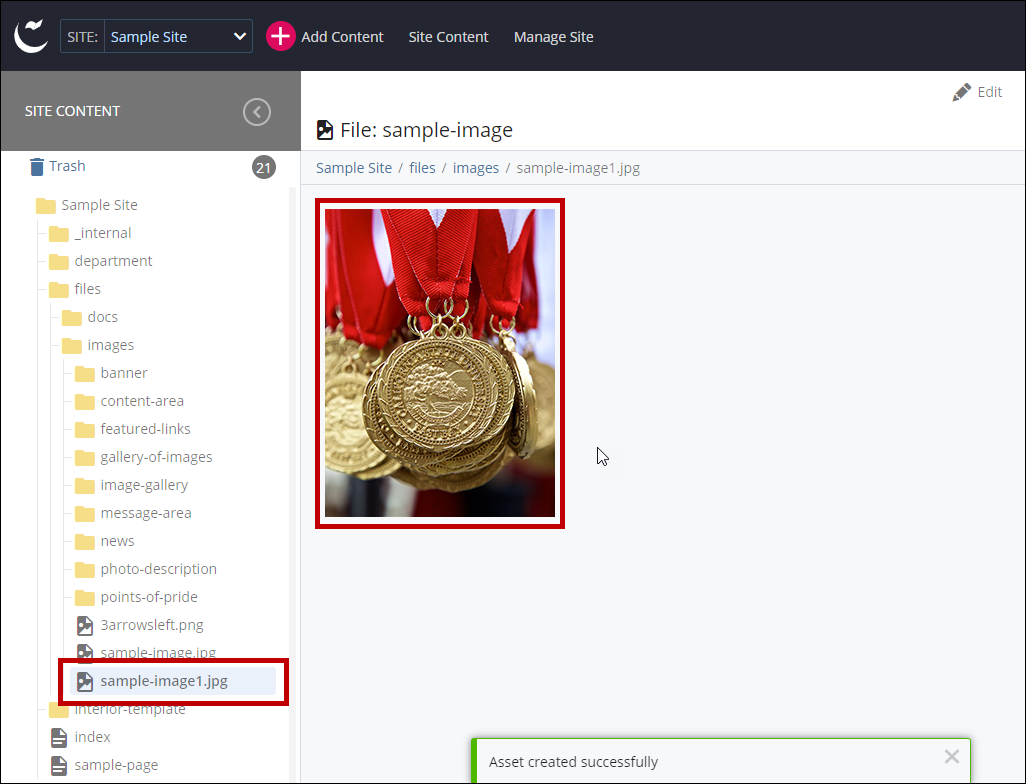
- Now you could see the file has been successfully uploaded and could be viewed on the asset tree and the main content area.
- When you're ready to go live, the last step is to Publish the Changes.