Link to a File


Overview

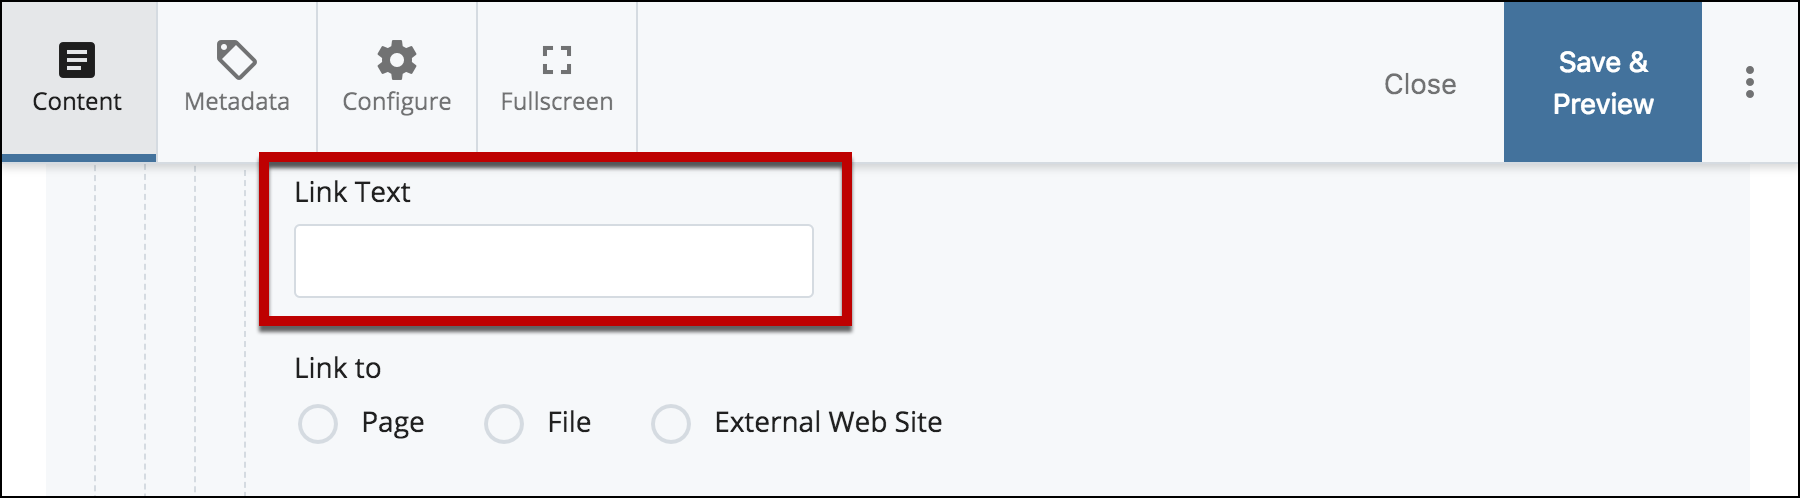
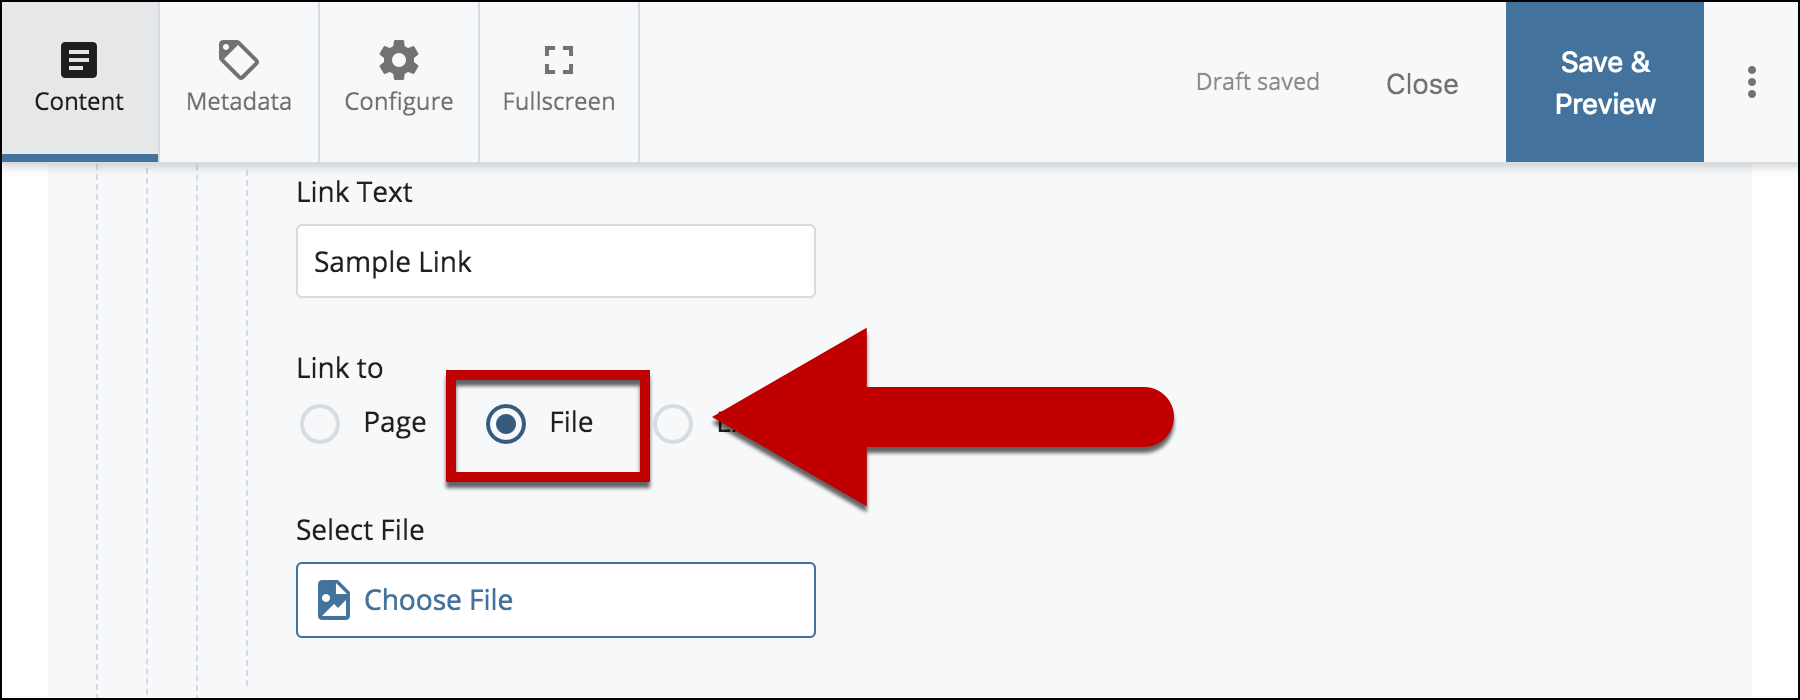
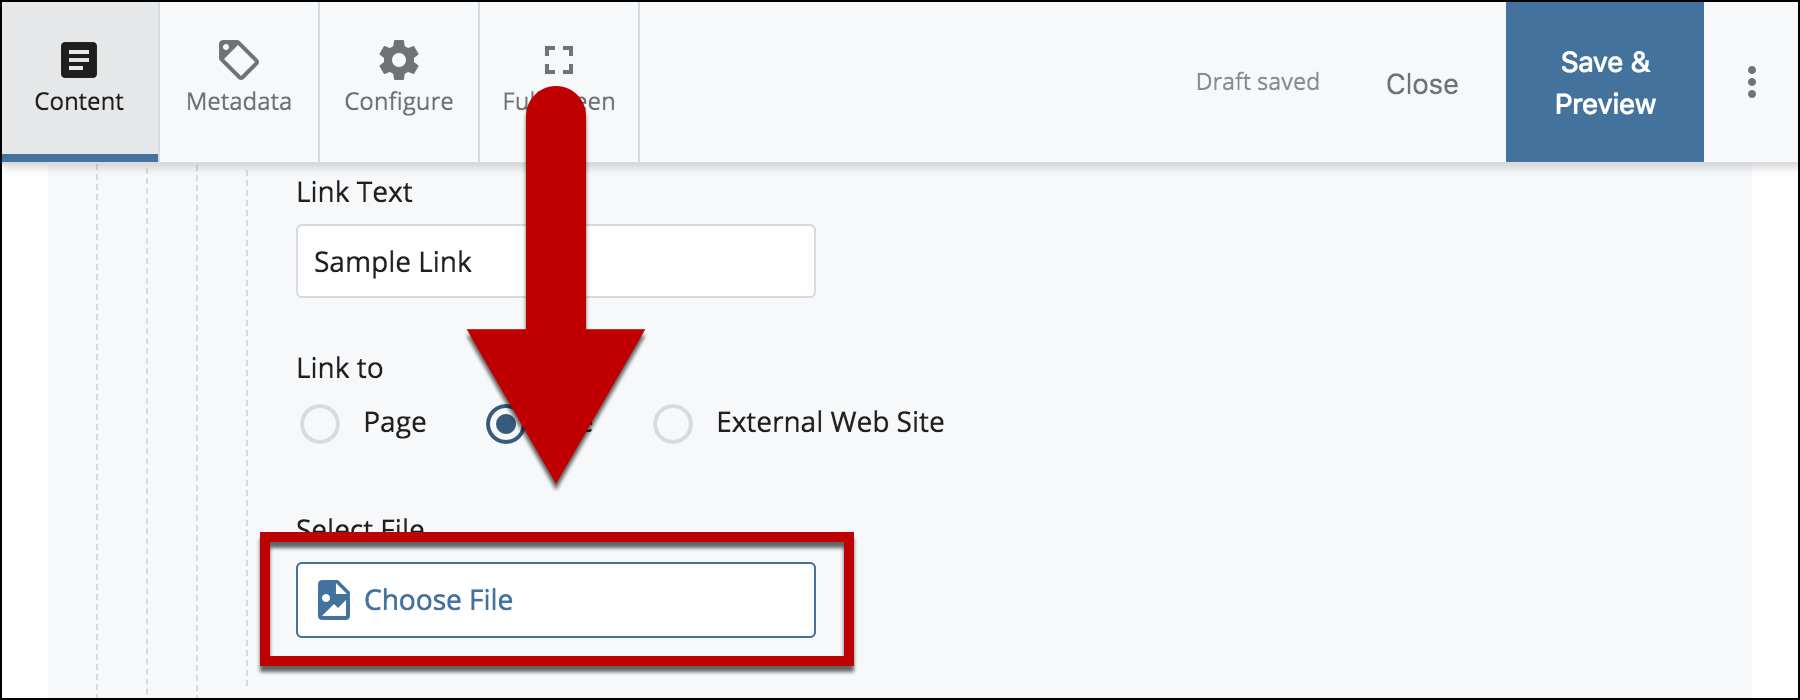
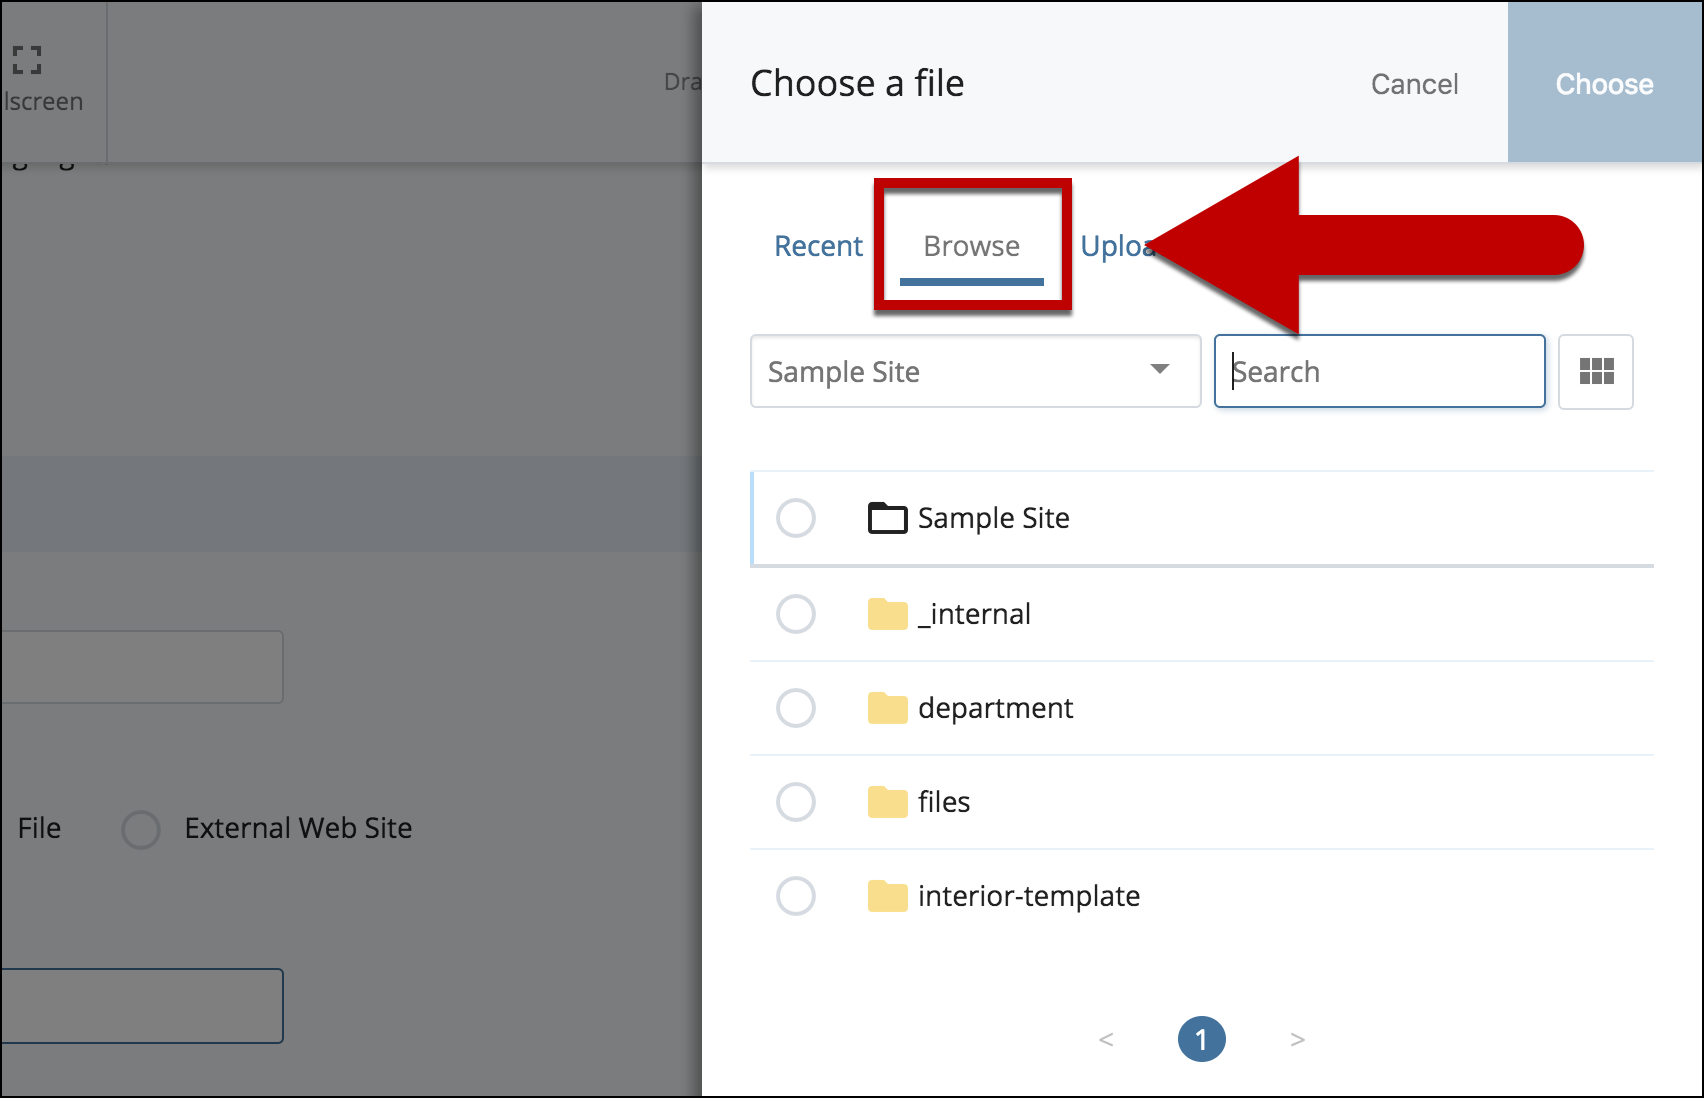
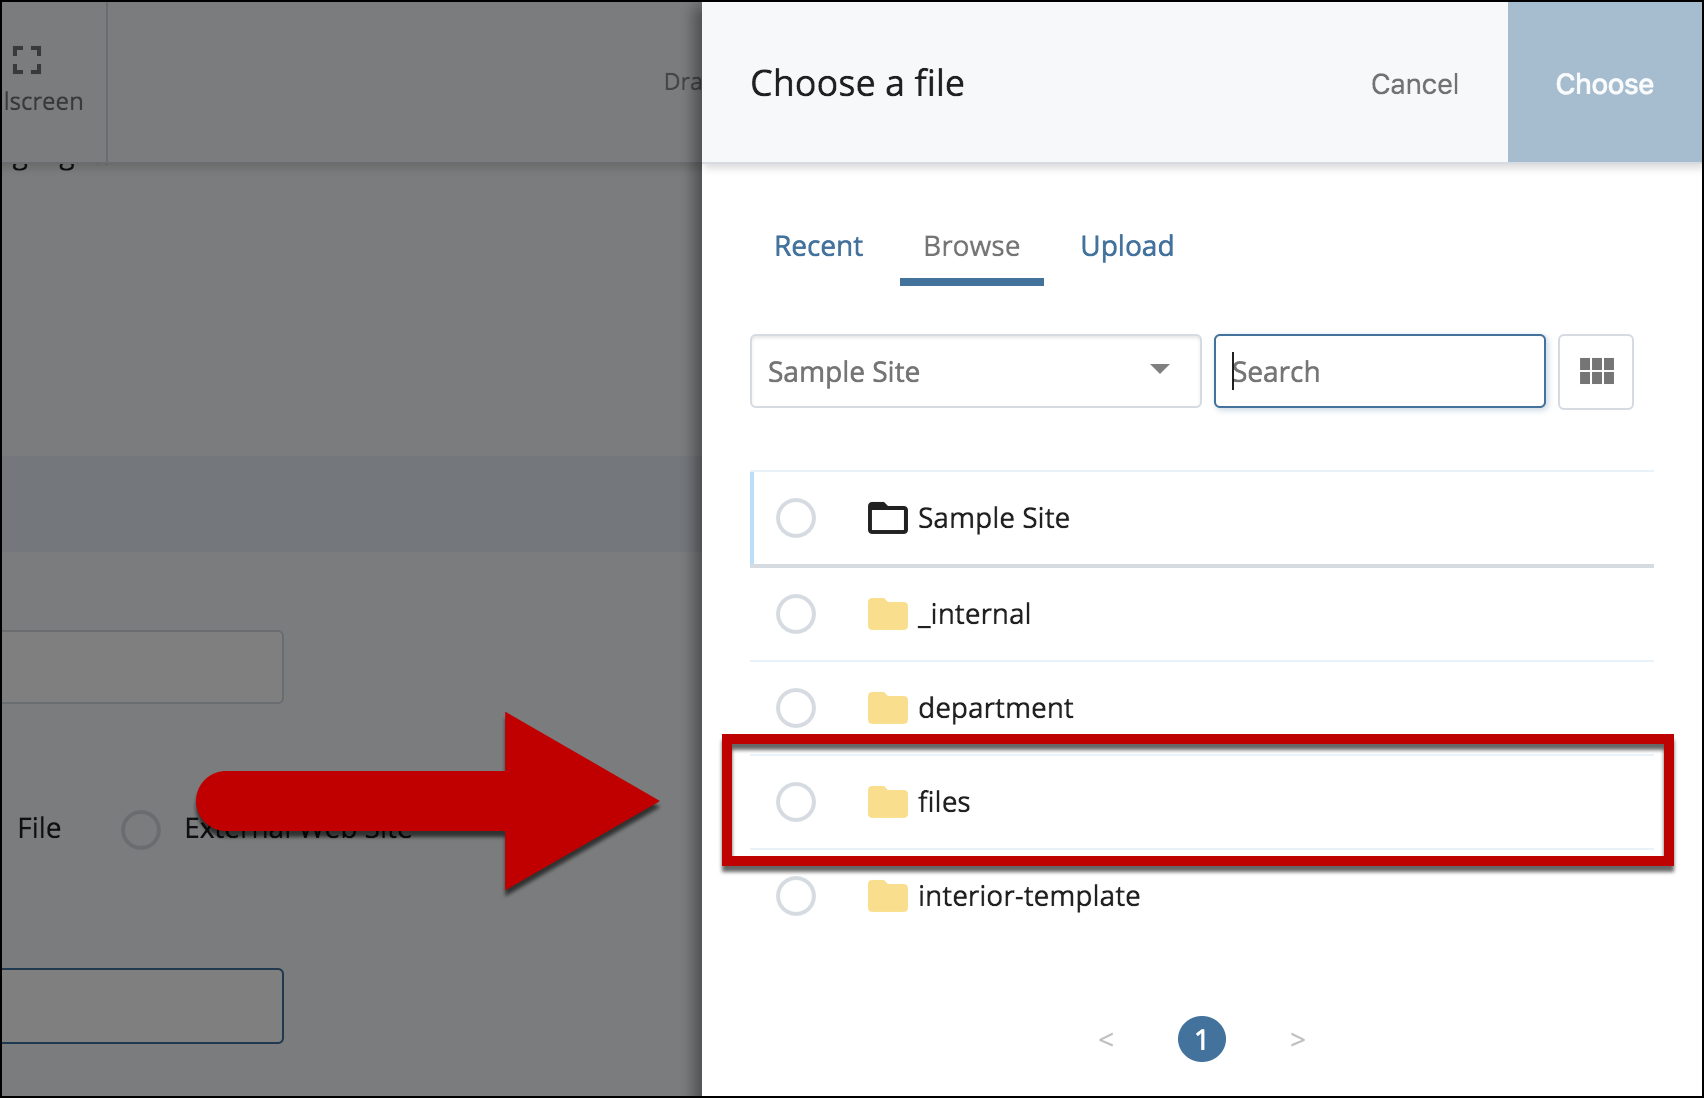
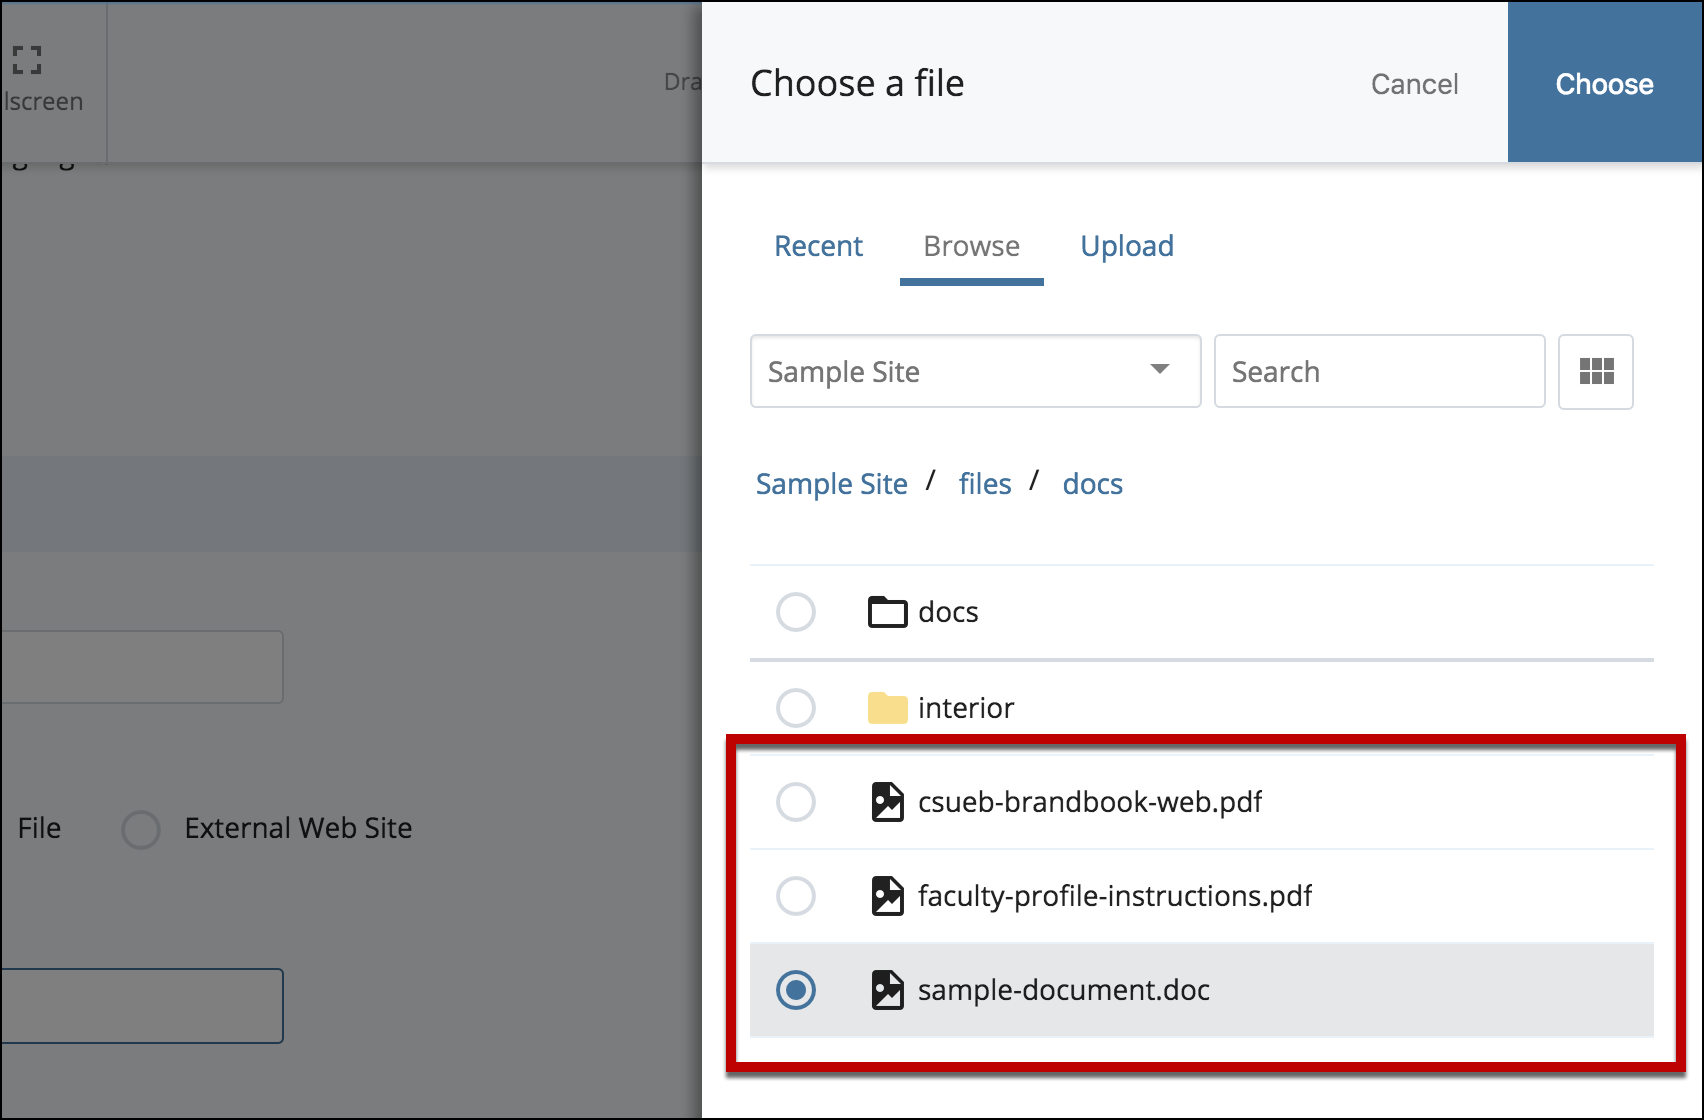
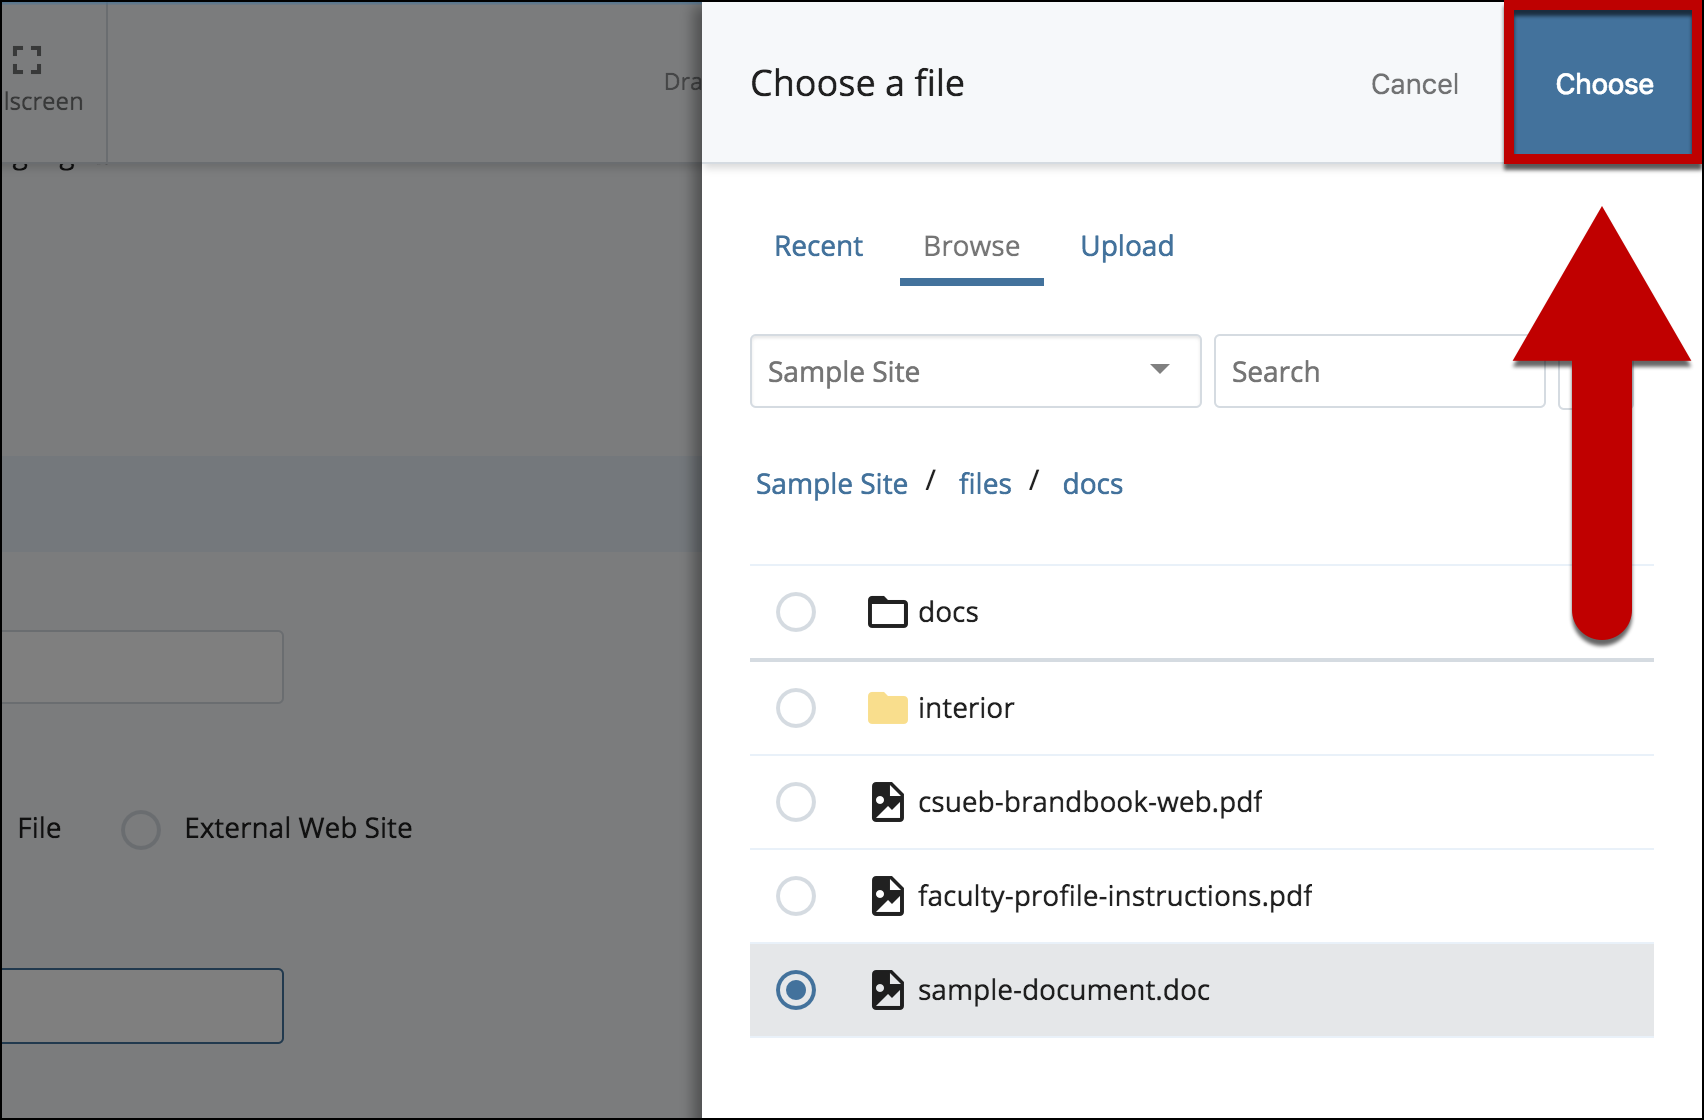
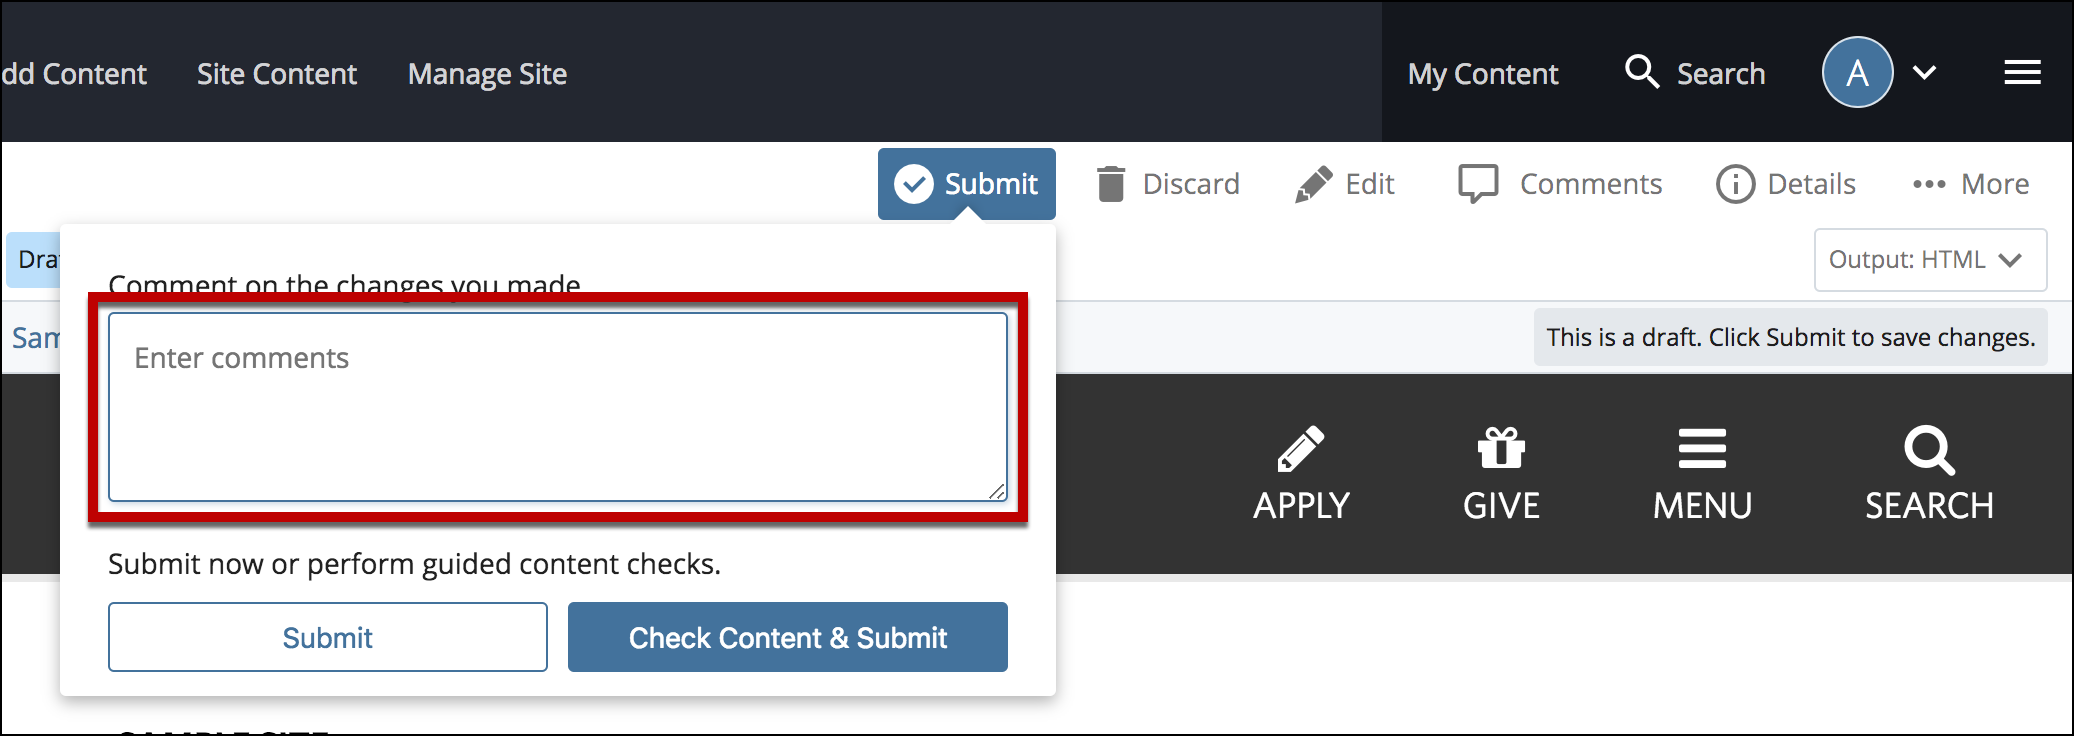
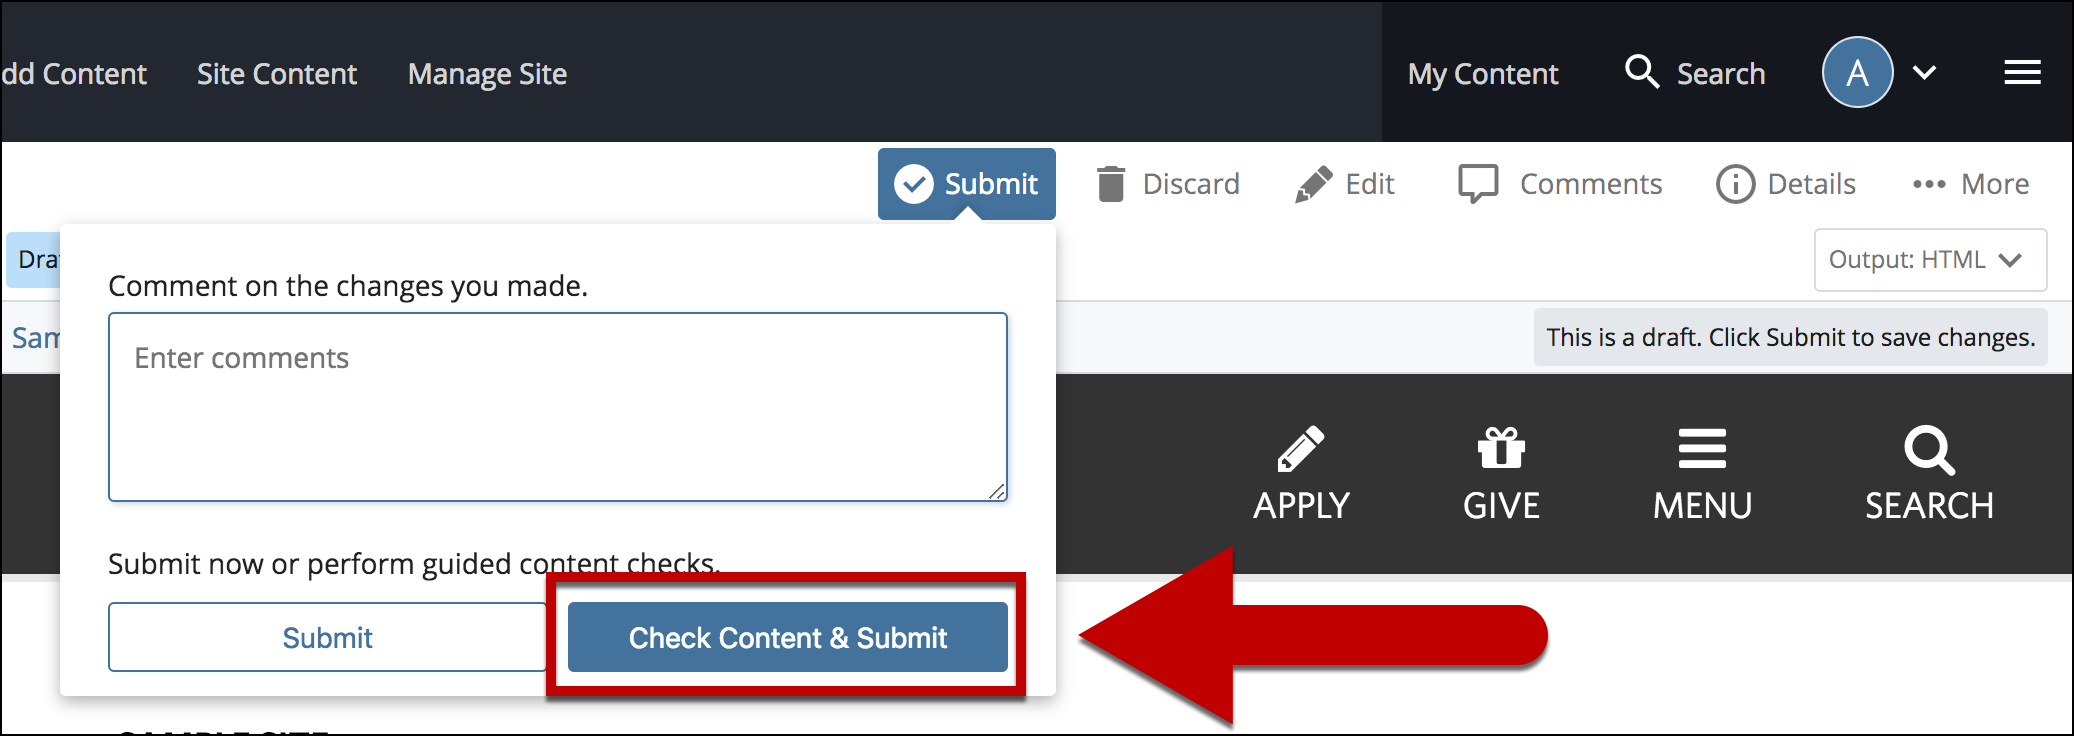
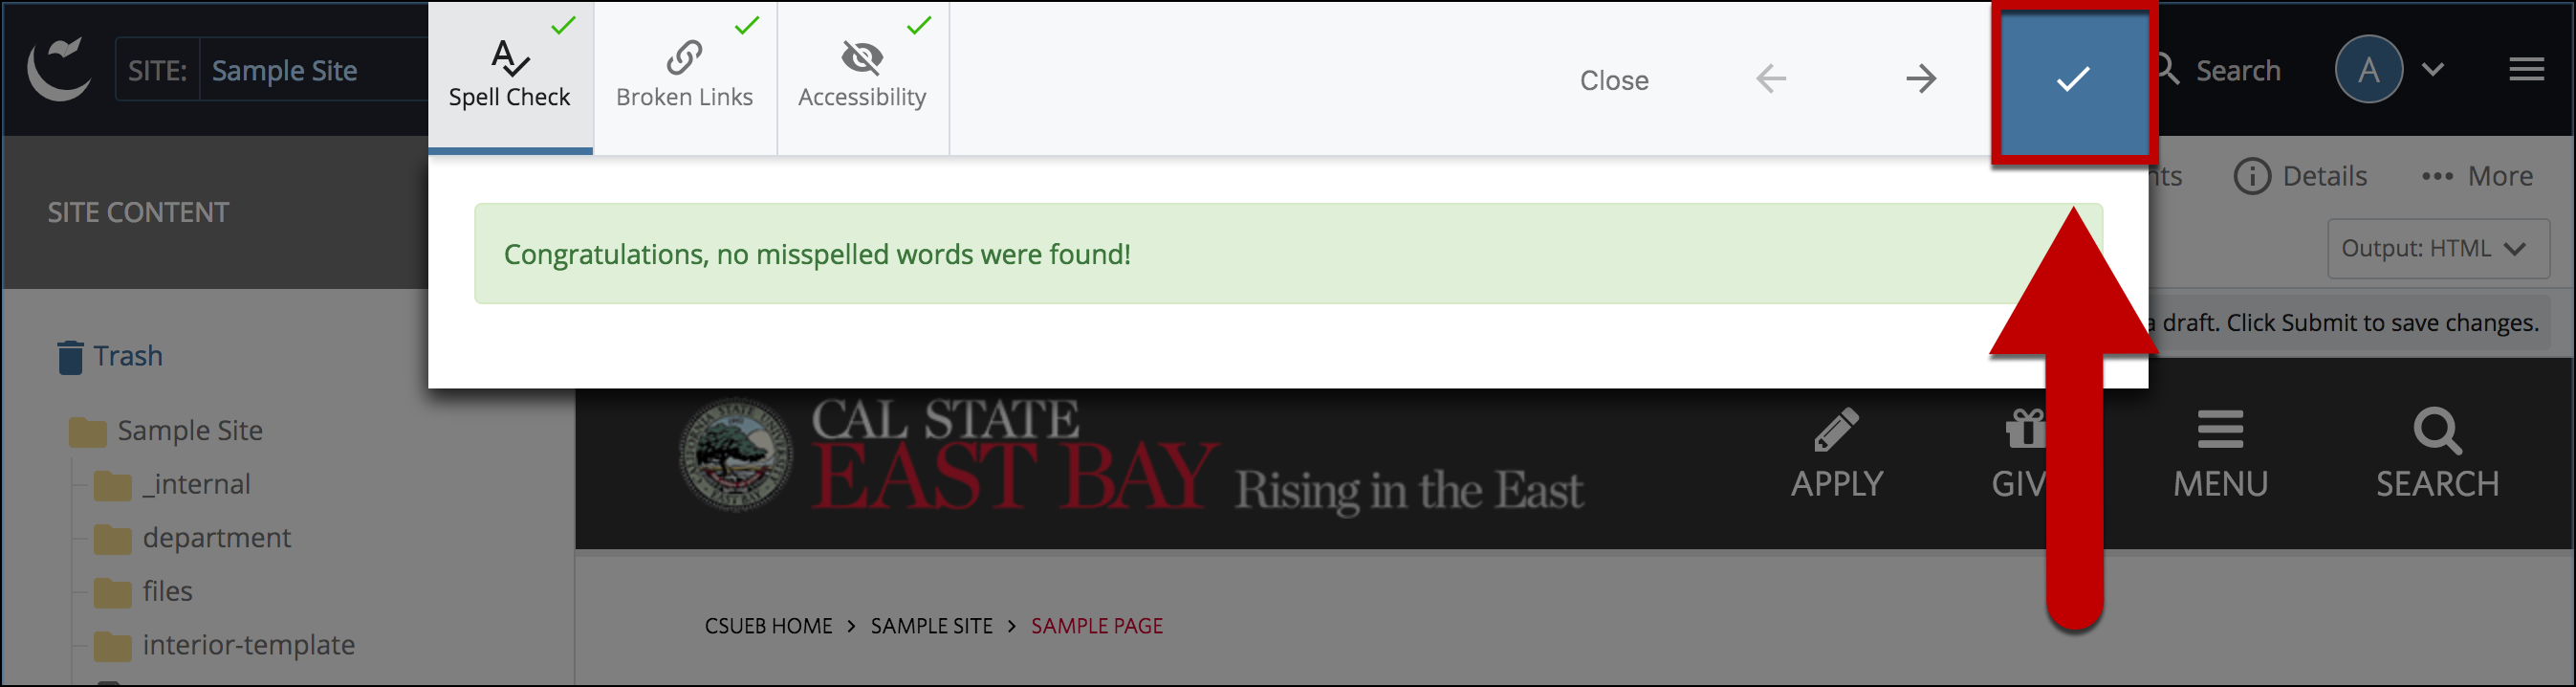
In Cascade CMS, you may link to a file such as .pdf, .docx, .xlsx, .jpg, .png, etc. To begin linking to any type of file, upload the file first.

Linking to a file could come from a button, a read more link, or even a link in the WYSIWYG editor

How To Add Link To A File?

  1. Enter Title for Link Text.

    enter link text

  2. Select File.

    select file

  3. Select Choose File.

    select choose file

  4. Select the Browse Tab to locate the file.

    select browse

  5. Select the files folder.

    files folder

  6. Select the folder containing the file - for our example we are going to select the 'docs' folder.

    select a file option

  7. Select the file that you are linking to.

    file choose from the list

  8. When the correct file is selected, select Choose.

    select choose

  9. Select Preview Draft.

    preview draft

  10. After previewing changes made on your draft, select Submit.

    select submit

  11. Enter Comments for changes made.

    enter comments in comments box

  12. Select Check Content & Submit to add changes to your site.

    select check content and submit

  13. After you have selected Check Content & Submit, Cascade Server will check for spelling, broken links and accessibility. Once the check has been completed, select the Check Box.

    select check box

  14. When you're ready to go live, the last step is to Publish the Changes.