Message Area


Overview

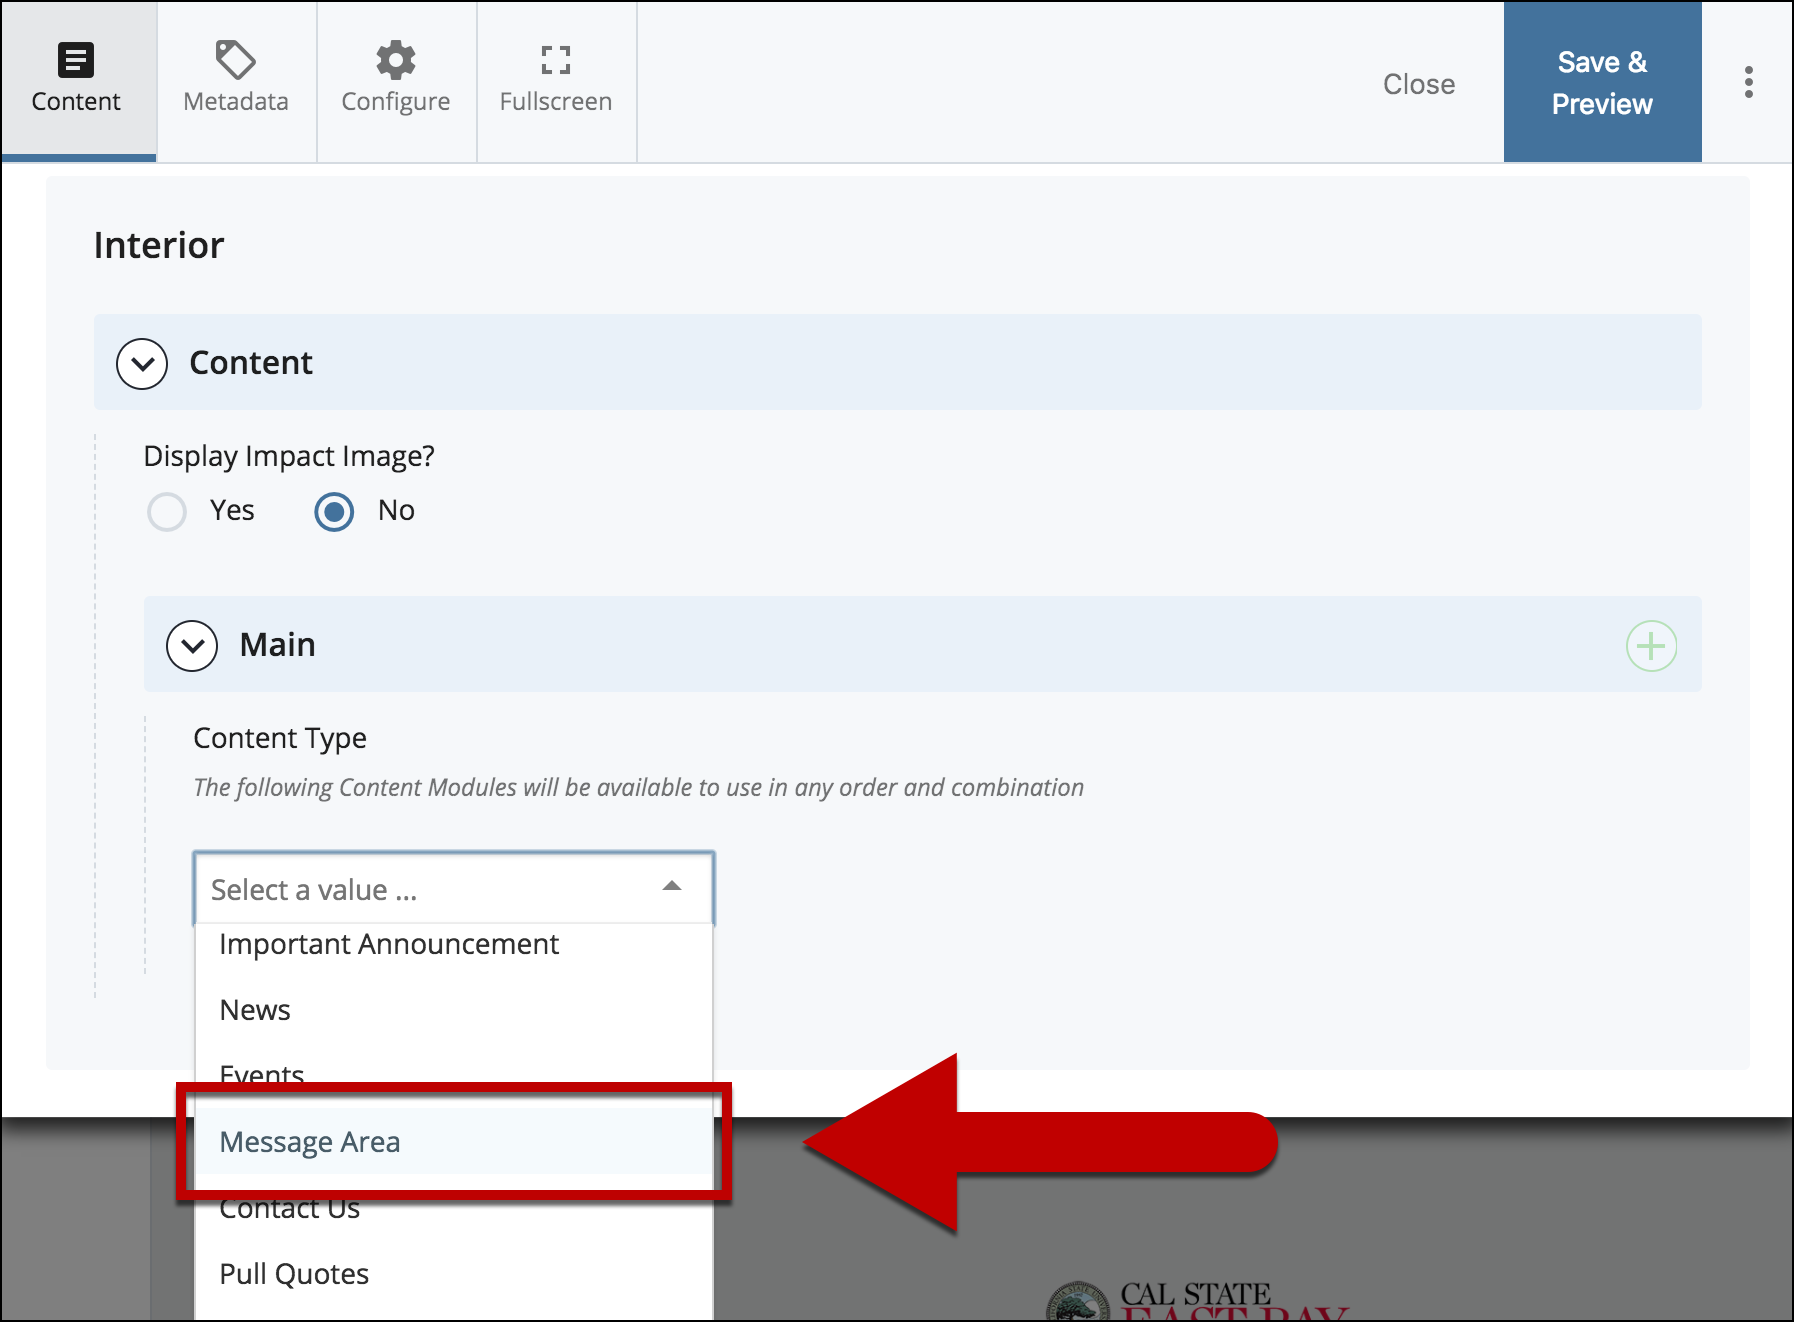
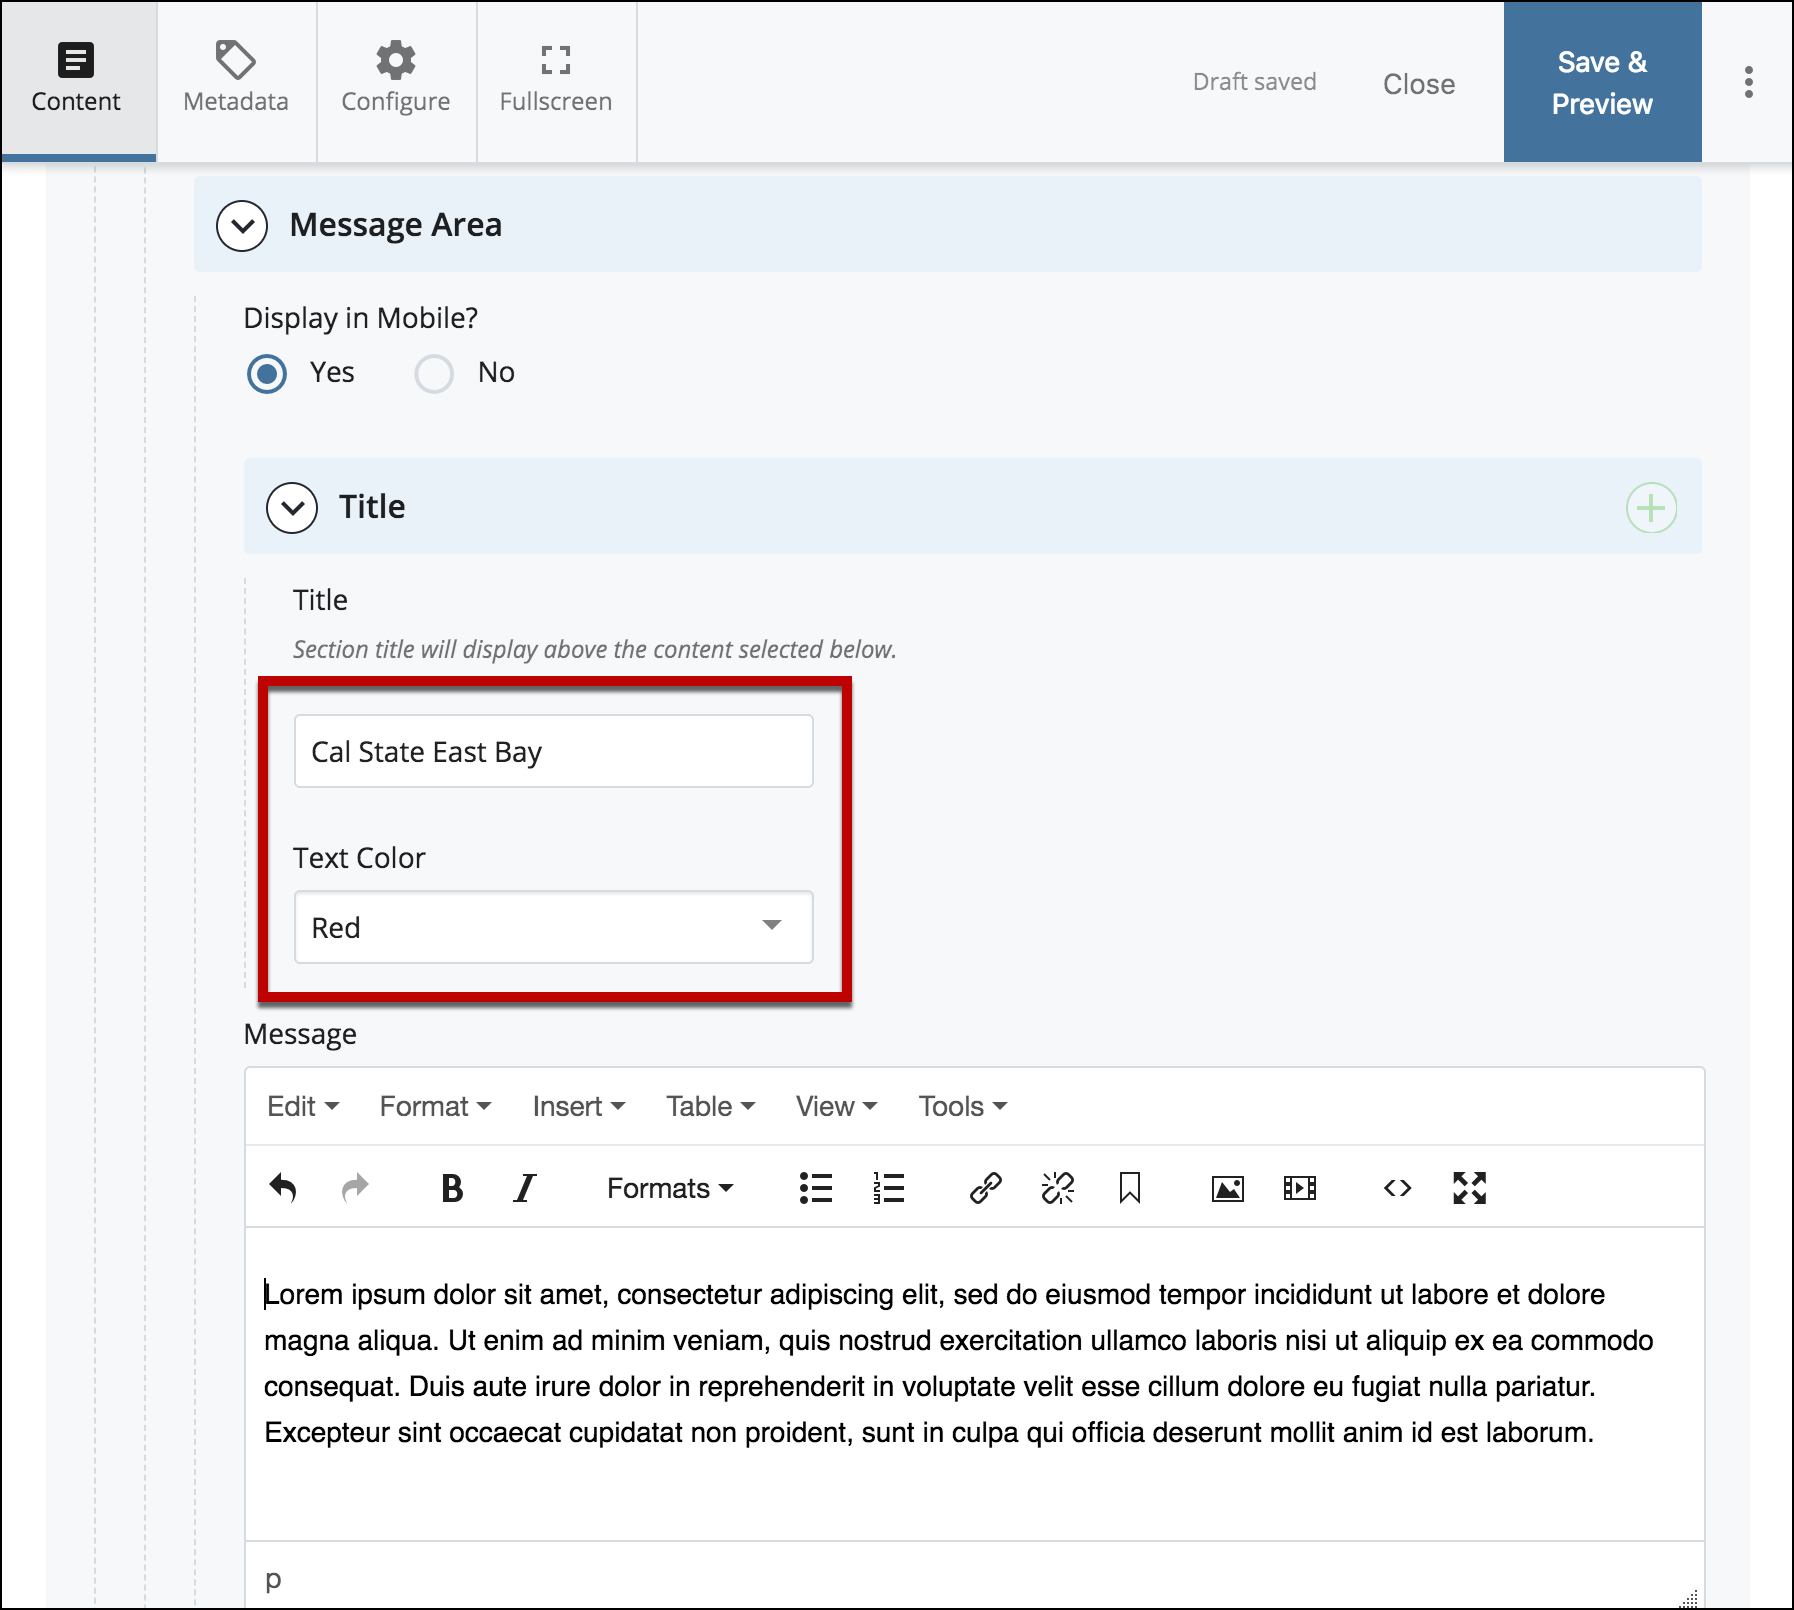
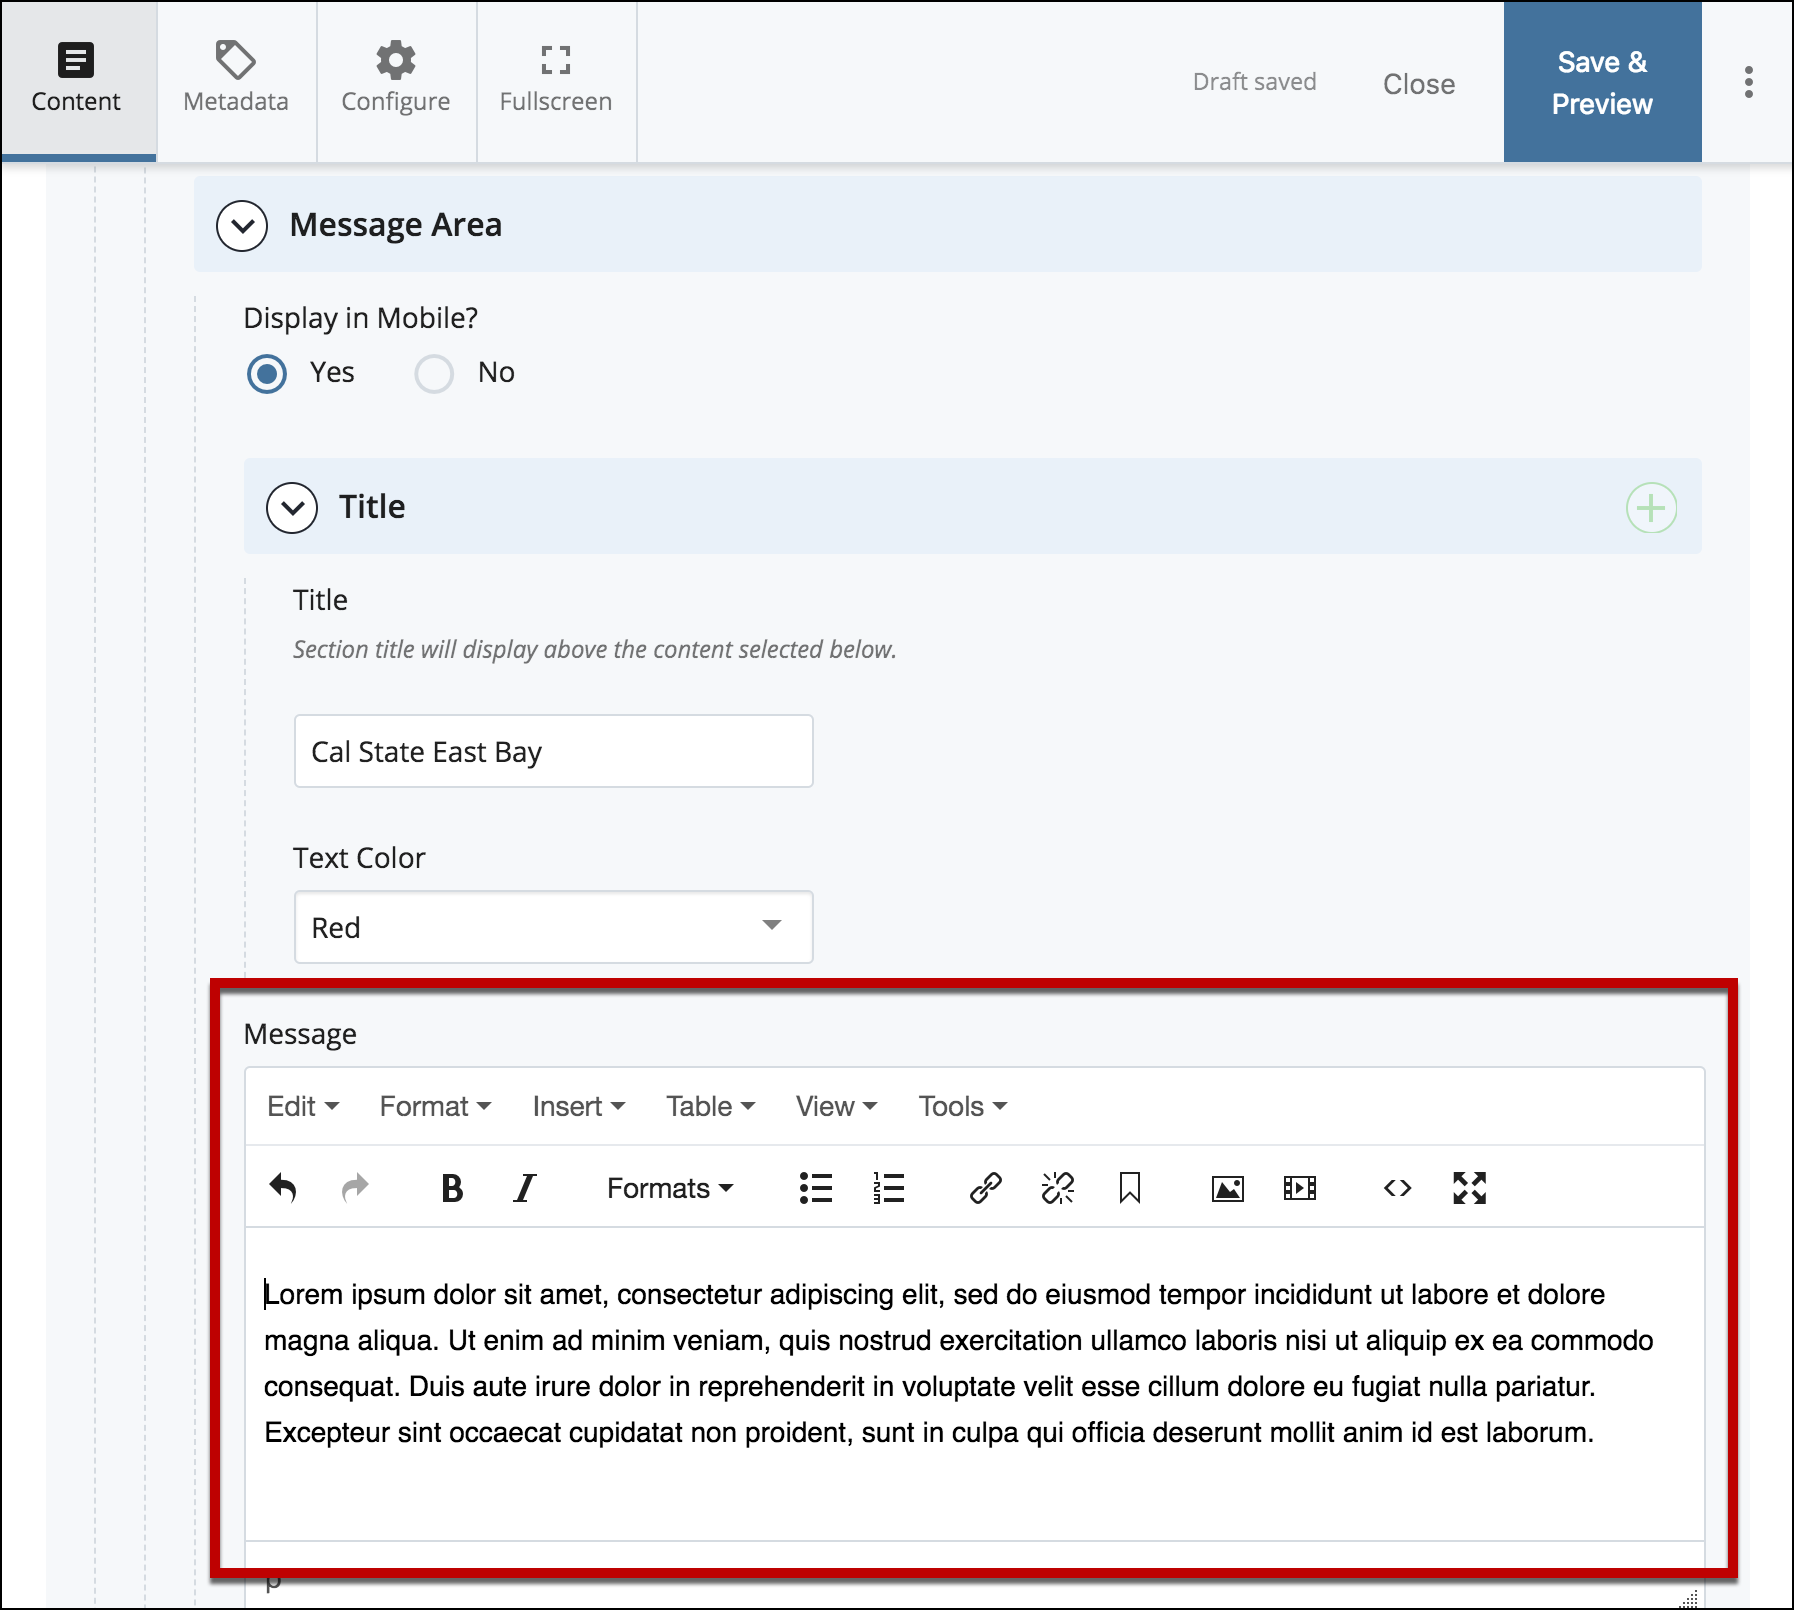
Message Area is an optional content type available for both the landing page and interior pages. It provides an additional area for content presentation. Content in the Message Area will be centered on the page. Editors can input various content such as text, images, and even buttons in the Message Area.
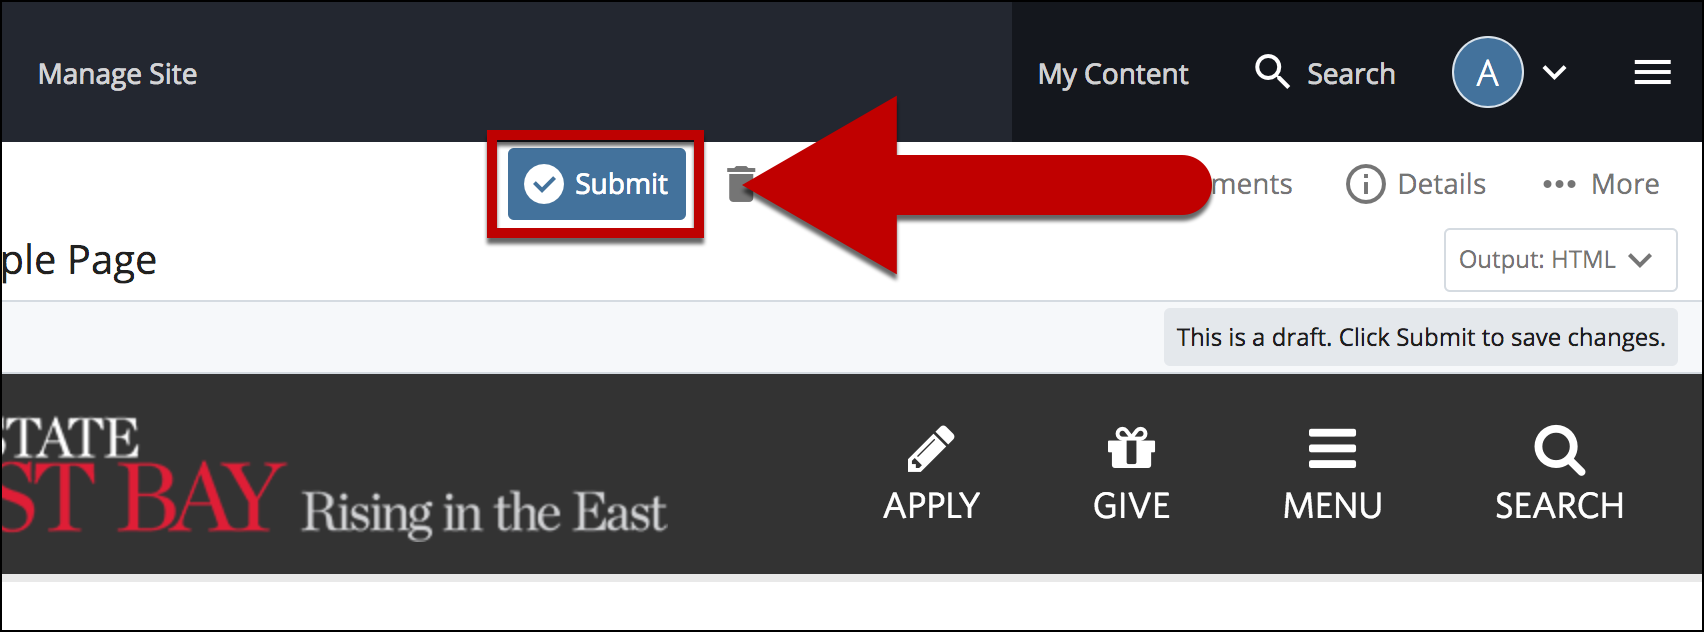
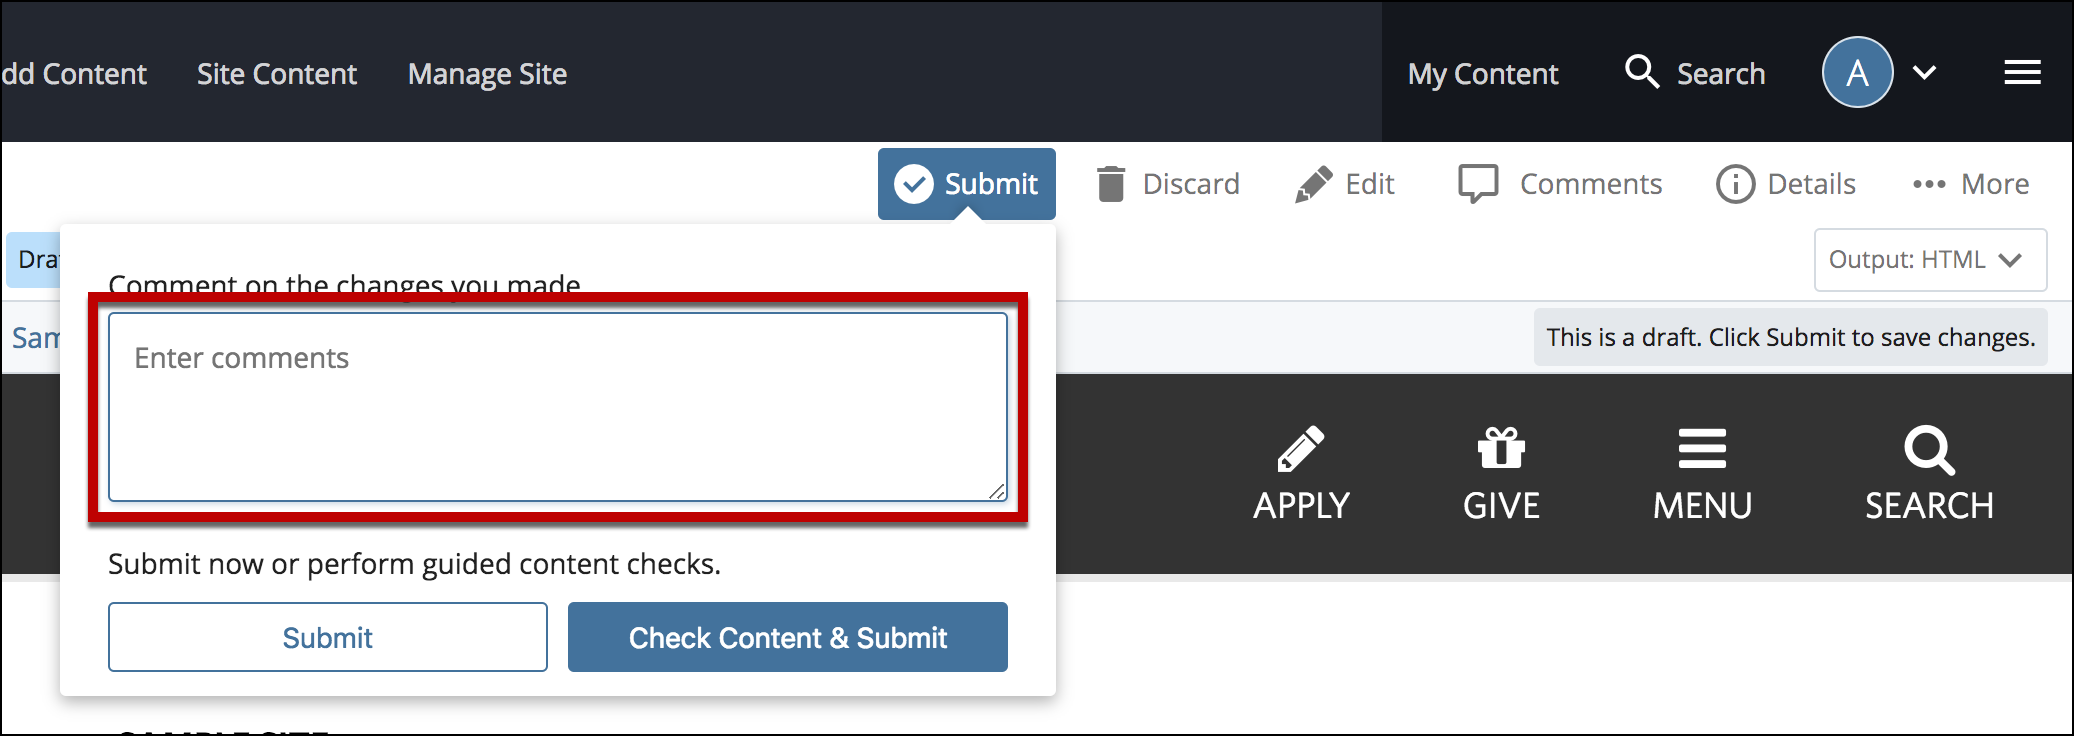
Example

Cal State East Bay

Lorem ipsum dolor sit amet, consectetur adipiscing elit, sed do eiusmod tempor incididunt ut labore et dolore magna aliqua. Ut enim ad minim veniam, quis nostrud exercitation ullamco laboris nisi ut aliquip ex ea commodo consequat. Duis aute irure dolor in reprehenderit in voluptate velit esse cillum dolore eu fugiat nulla pariatur. Excepteur sint occaecat cupidatat non proident, sunt in culpa qui officia deserunt mollit anim id est laborum.

How To Add A Message Area?

  1. Log into Cascade CMS and select your site.
  2. Navigate to the page where the Message Area will be added.

    navigate to folder

  3. Select Edit.

    select edit

  4. Select + icon on Main to add a new content type.

    add new content type
     
  5. Select Message Area from the newly added content type.

    select message area from dropdown

  6. Add a Title and select color for title.

    add title and color

  7. Add a Message in the WYSIWYG editor.

    add message in wysiwyg

  8. Select Preview Draft.

    preview draft button

  9. After previewing changes made on your draft, select Submit.

    select submit

  10. Enter Comments for changes made.

    enter comments in comments box

  11. Select Check Content & Submit to add changes to your site.

    select check content and submit

  12. Select the Check Box.

    select check box

  13. When you're ready to go live, the last step is to publish the changes.