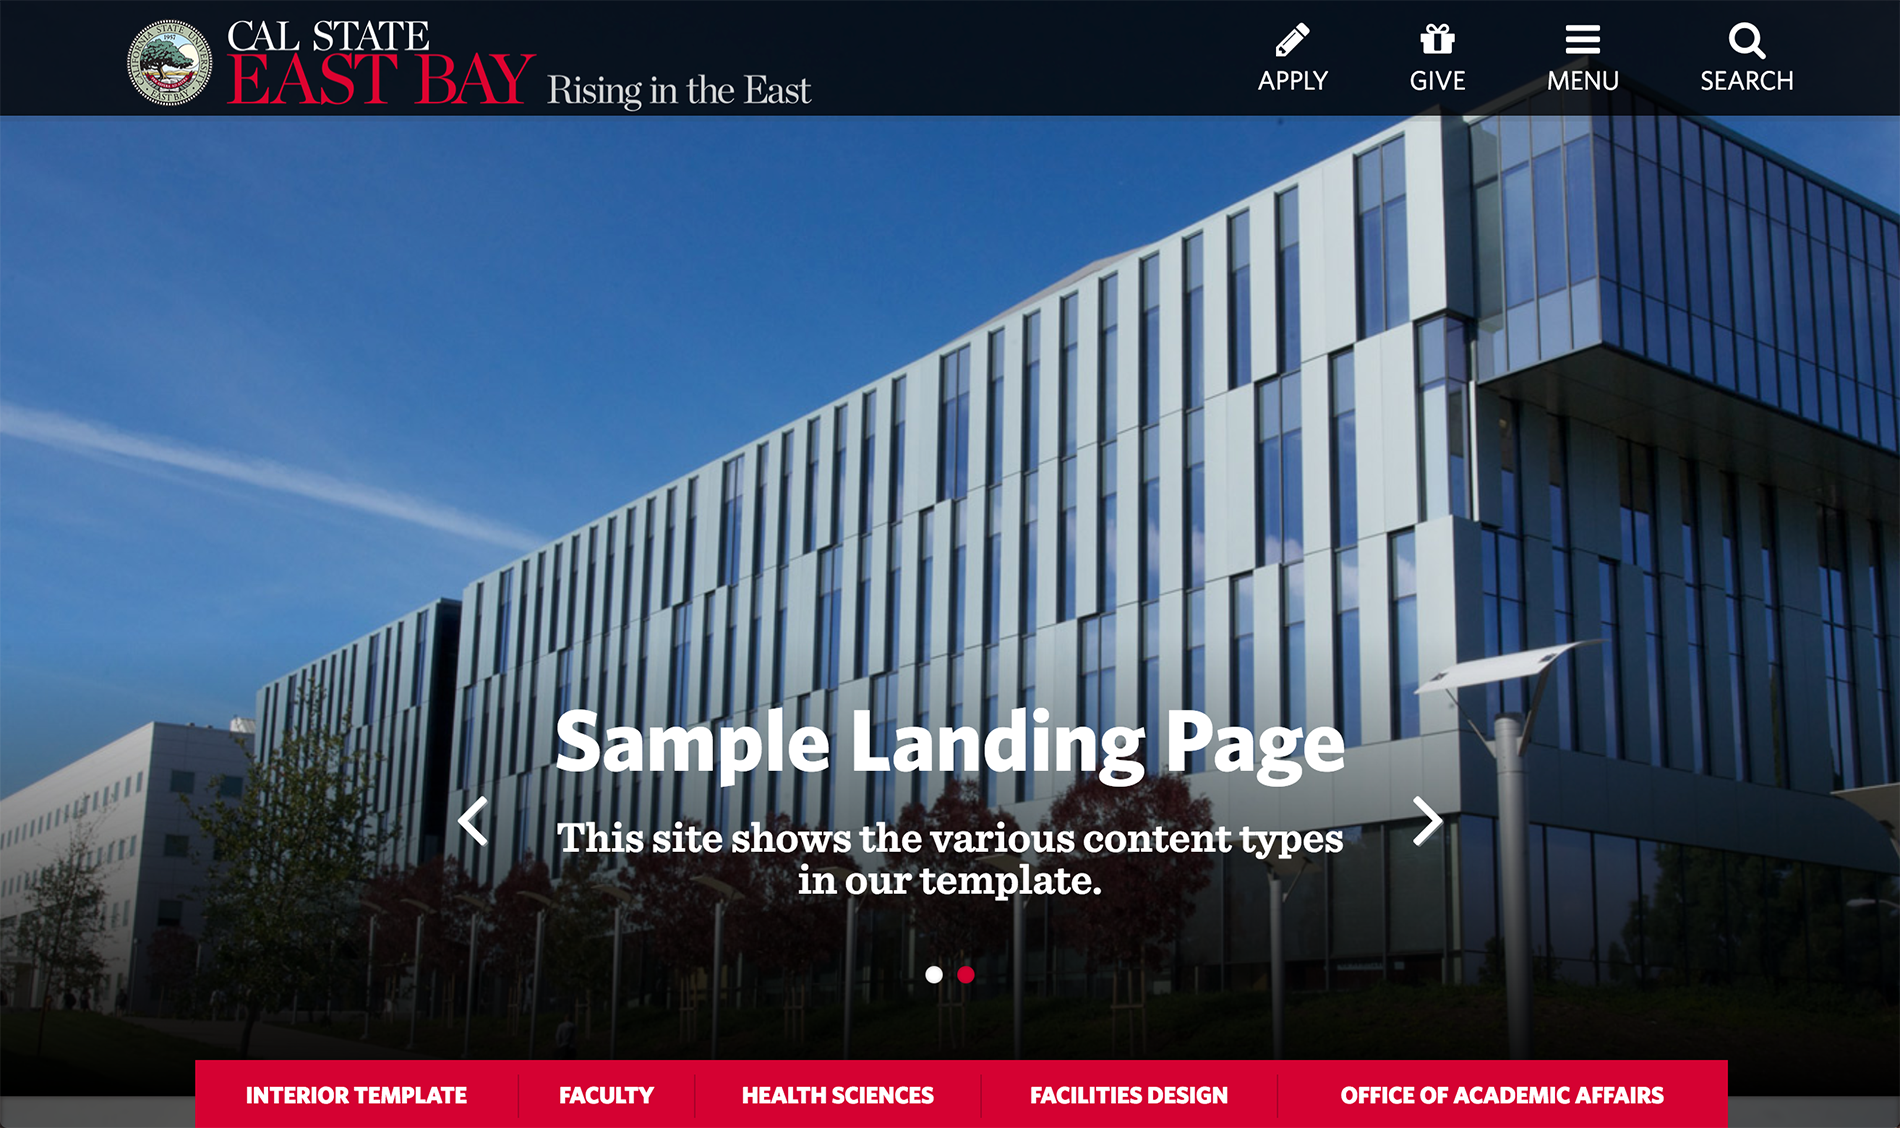
Landing Page Banner

Overview

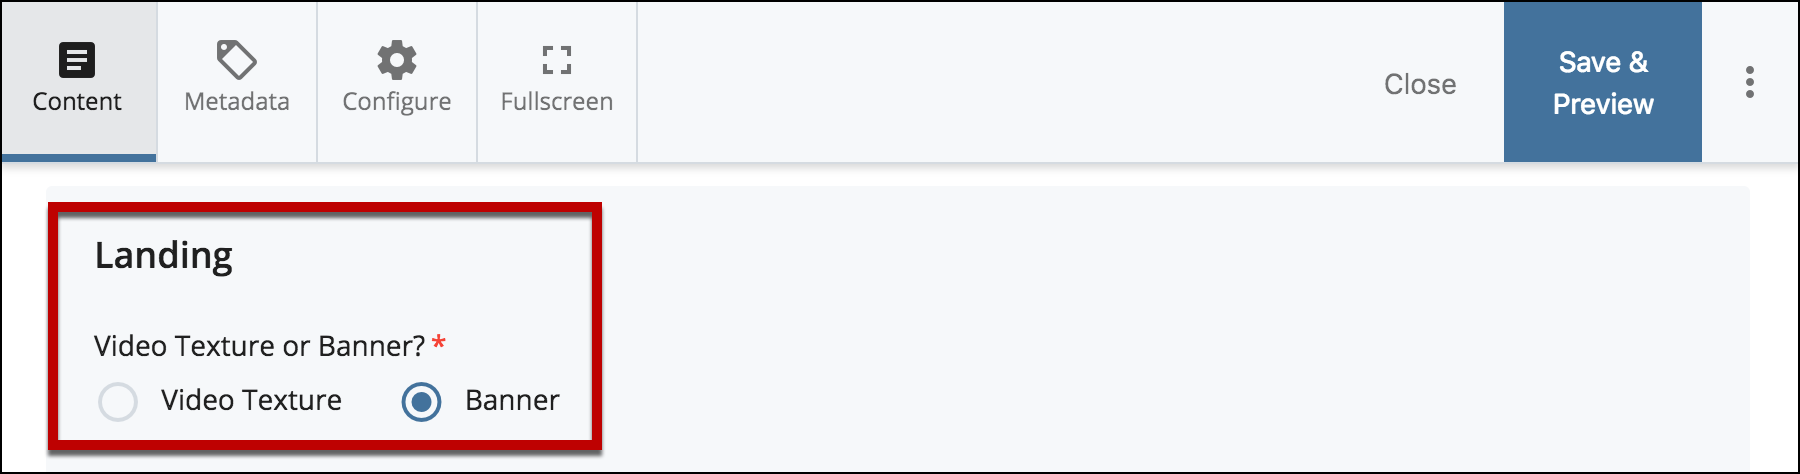
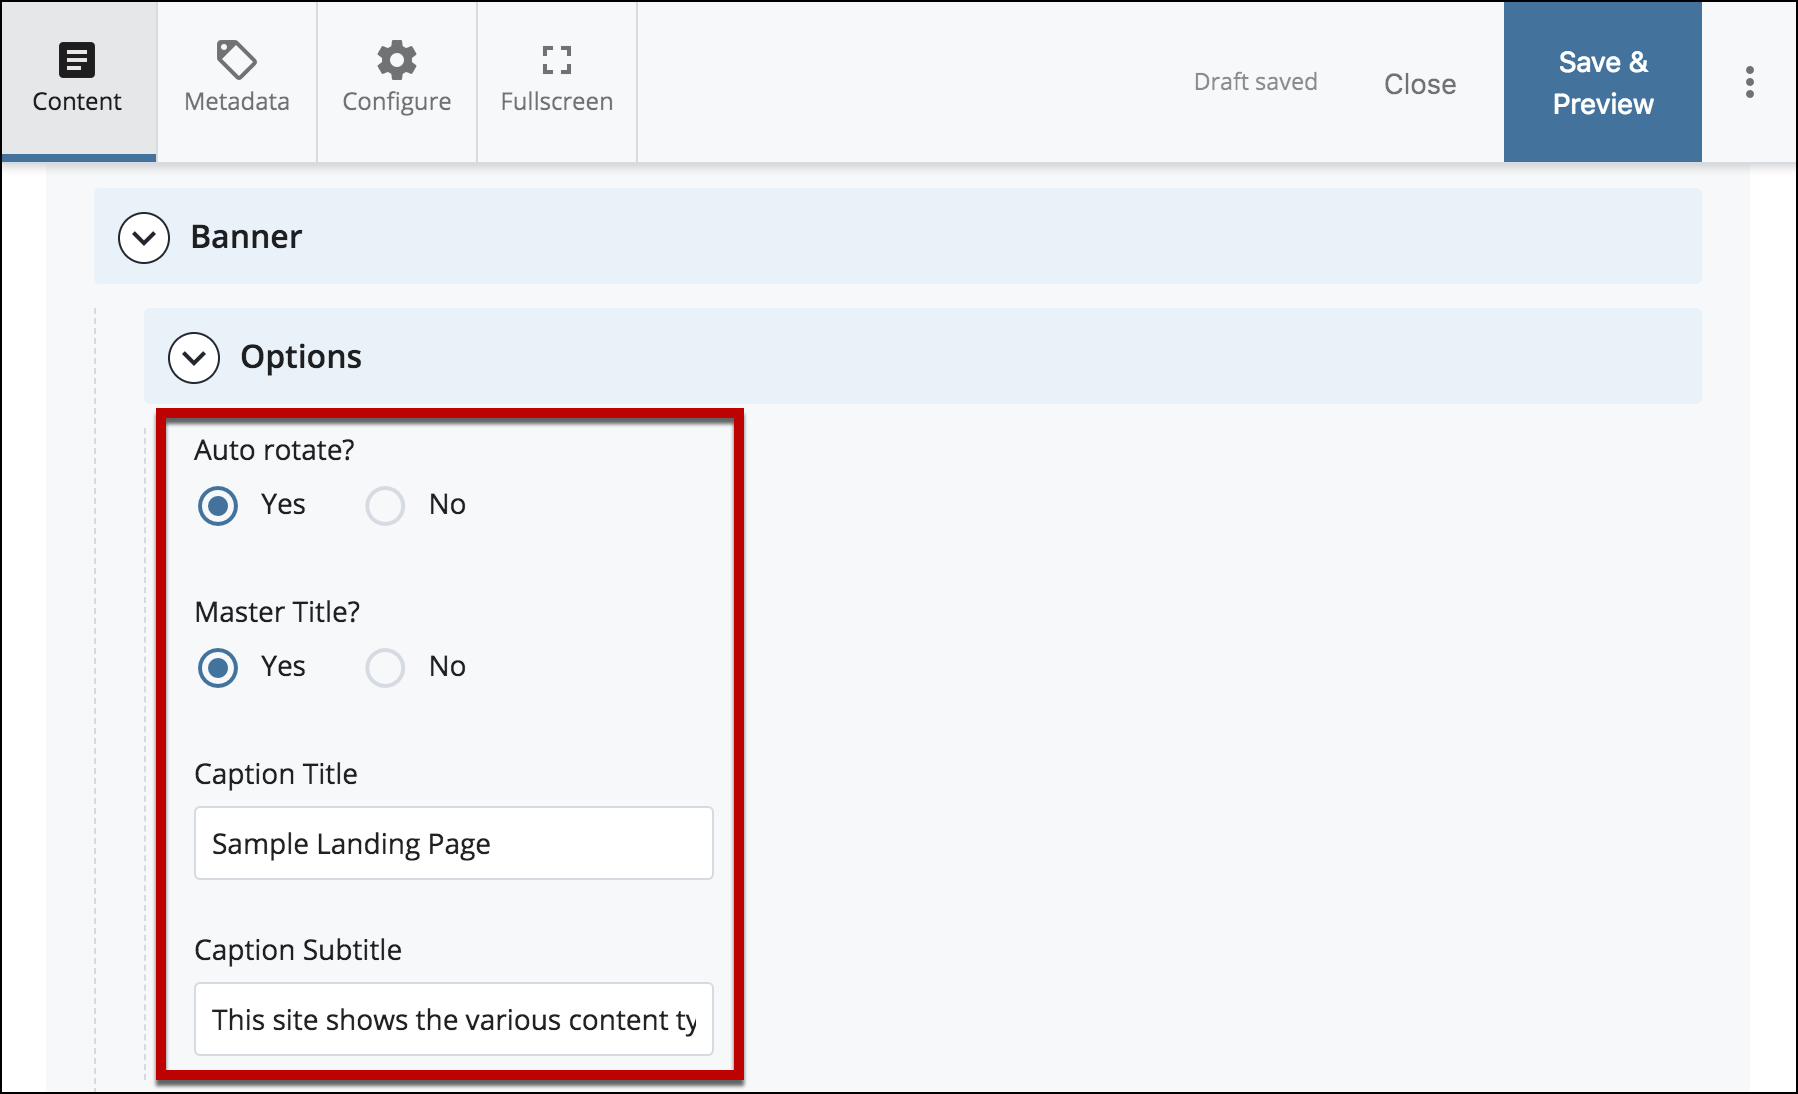
Banner are exclusive to the landing page template. It is located at the top of the page, spans full-width, and includes arrows and carousel controls to move the images forwards and backwards. A Video texture can be used in lieu of a banner.

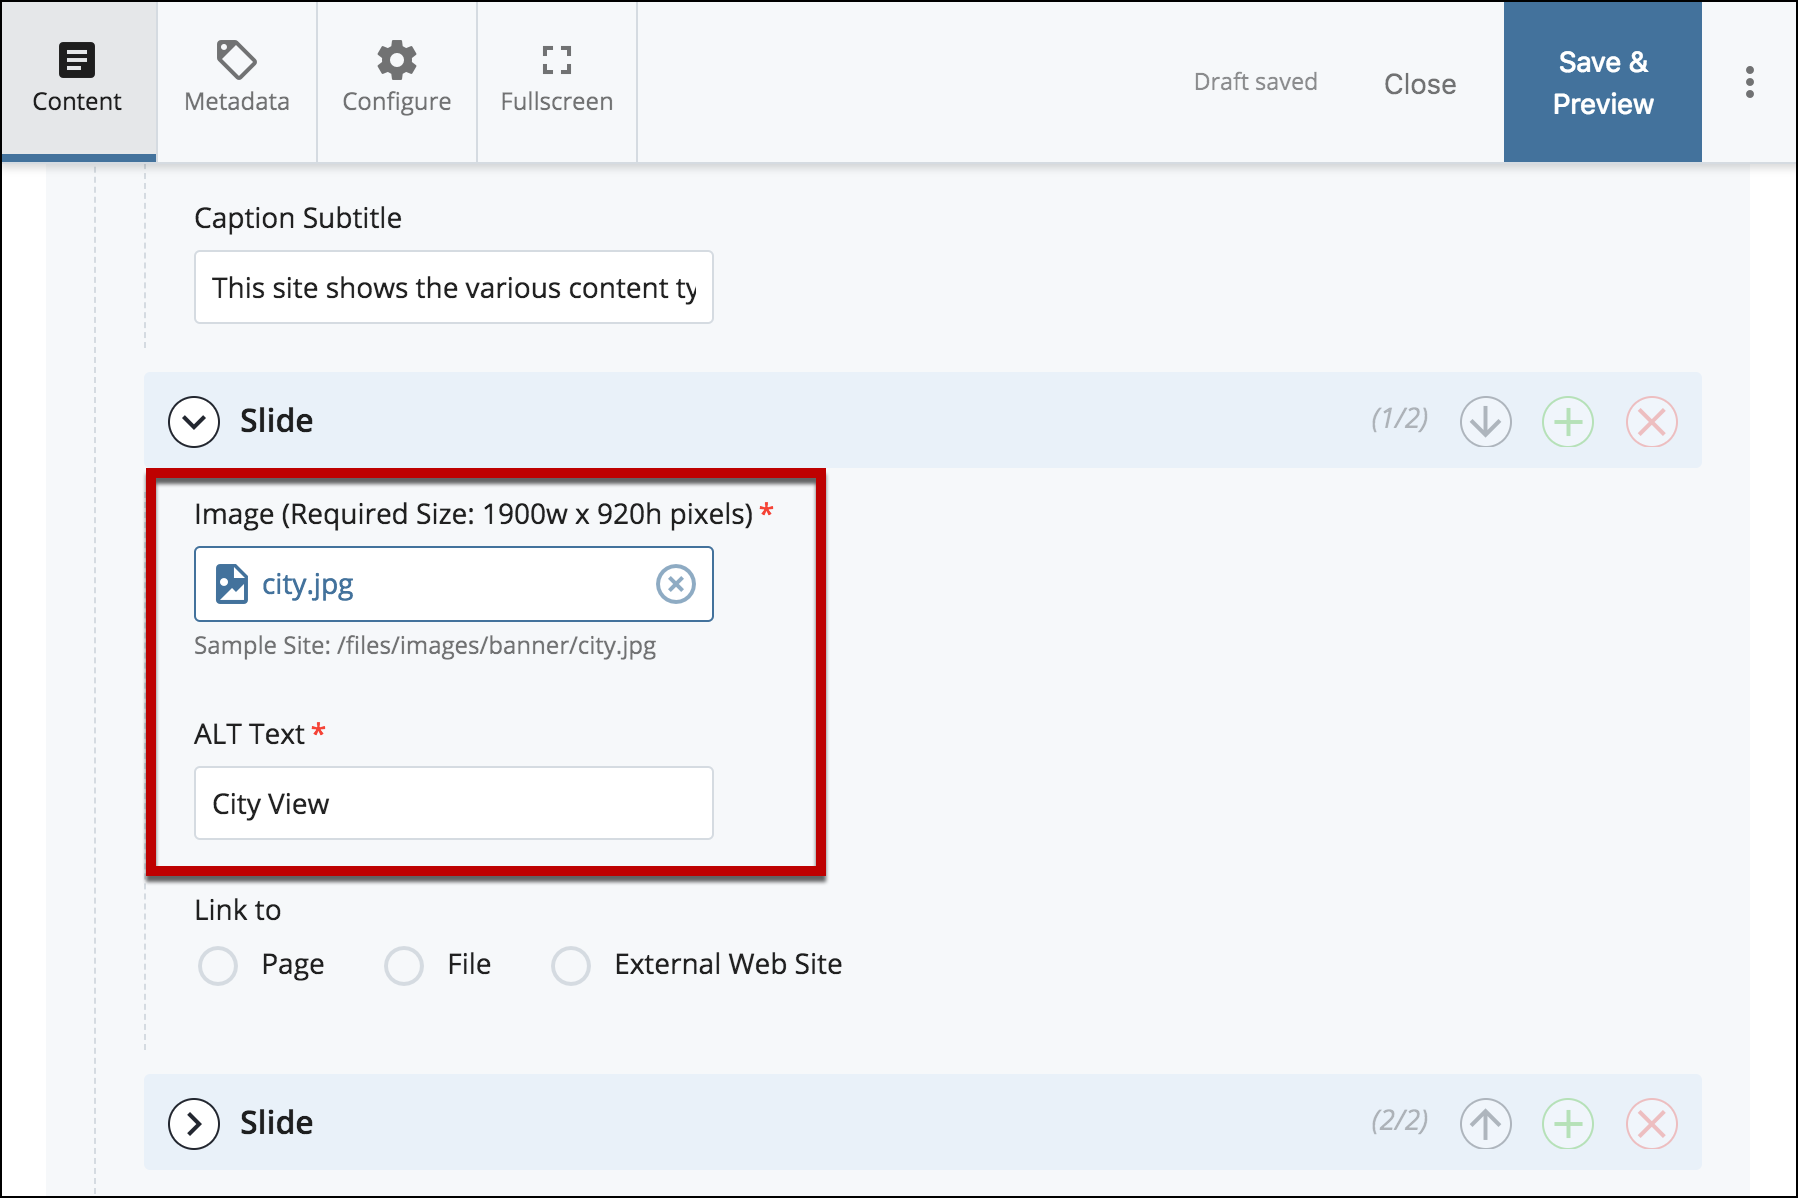
The required size for the banner is 1900w x 920h pixels.  See a table of all template image size requirements.

Example

example of landing page with banner

How To Add A Banner?

  1. Log into Cascade CMS and select your site.
  2. Select index on the asset tree.

    select index

  3. Select Edit.

    select edit

  4. Select Banner.

    select banner

  5. Under Banner > Options, select the appropriate options.
    • Auto rotate - this allows images to rotate if there is more than one image.
    • Master Title - this allow users to add/remove a title on the banner.
    • Caption Title and Caption Title - this is the text that will be shown on top of the banner.

    select options for banner

  6. Select an Image that is 1900 px width by 920 px height and add an alternative text (a short description of the image).

    select file for banner

  7. You may also link the banner slide. 

    select options for link

  8. Use the icons in the right to:
    • Up and Down Arrows to re-organize a image
    • + icon to add an additional image
    • X icon to remove a image

    icons banner

  9. Select Preview Draft.

    select save and preview

  10. After previewing changes made on your draft, select Submit.

    select submit

  11. Enter Comments for changes made.

    enter comments in comments box

  12. Select Check Content & Submit to add changes to your site.

    select check content and submit

  13. Select the Check Box.

    select check box

  14. When you're ready to go live, the last step is to Publish the Changes.