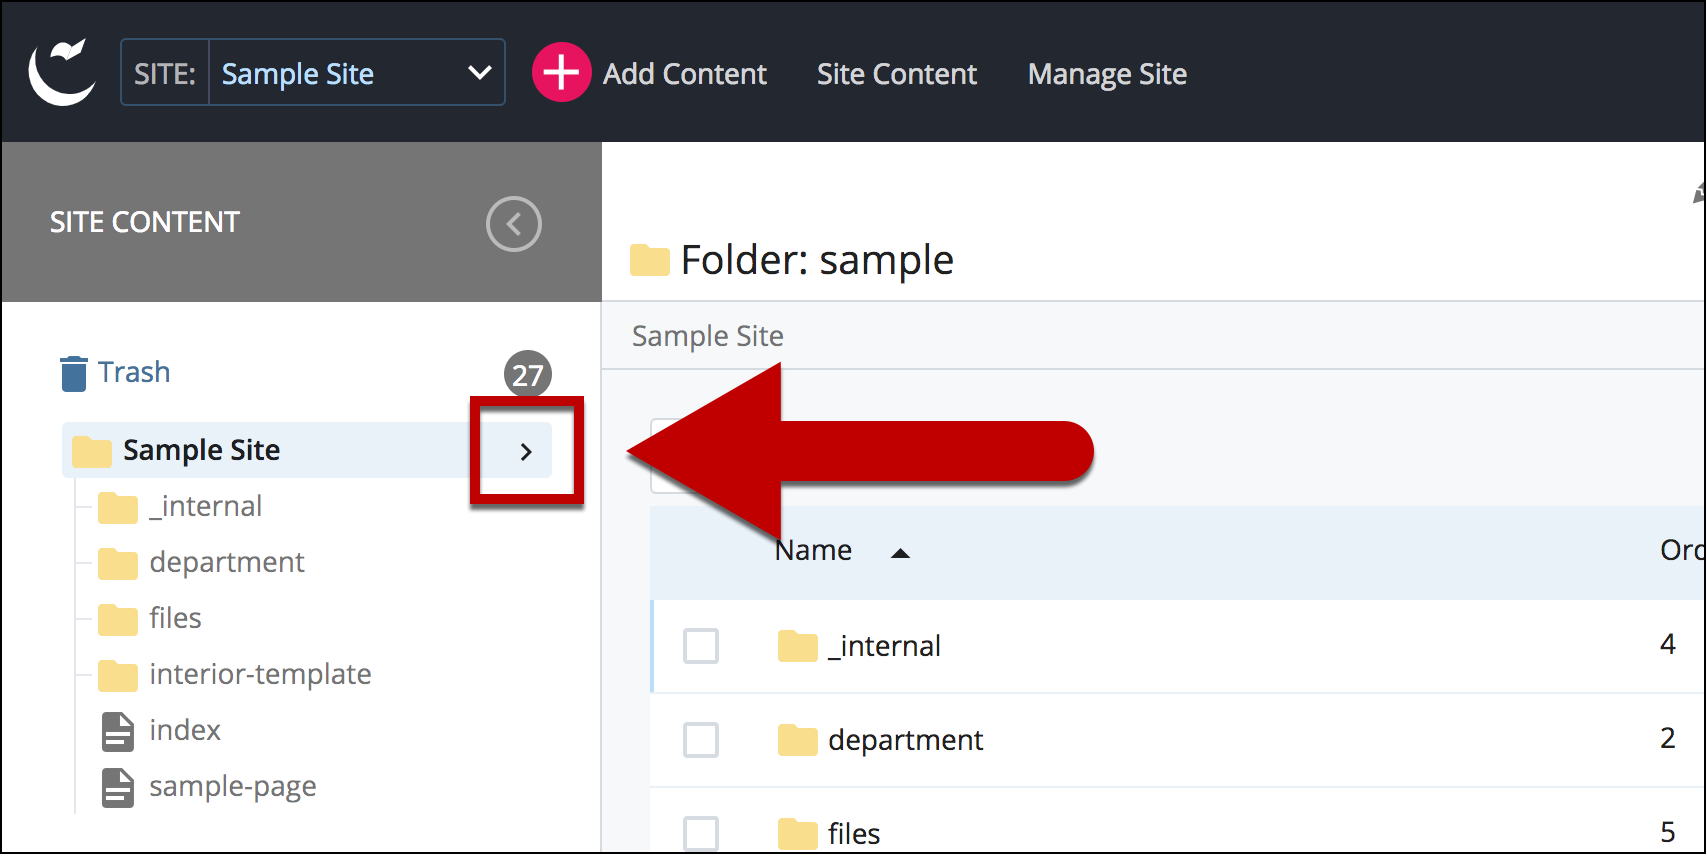
Overview
In Cascade Server, a page is made up of different types of content, such as headings, paragraphs, links, images, buttons, and even special items like image galleries.
For more about different content types, check out our Content Types tutorials.You can create new pages to share information such as:
- Department details
- Frequently asked questions (FAQs)
- Announcements about new programs
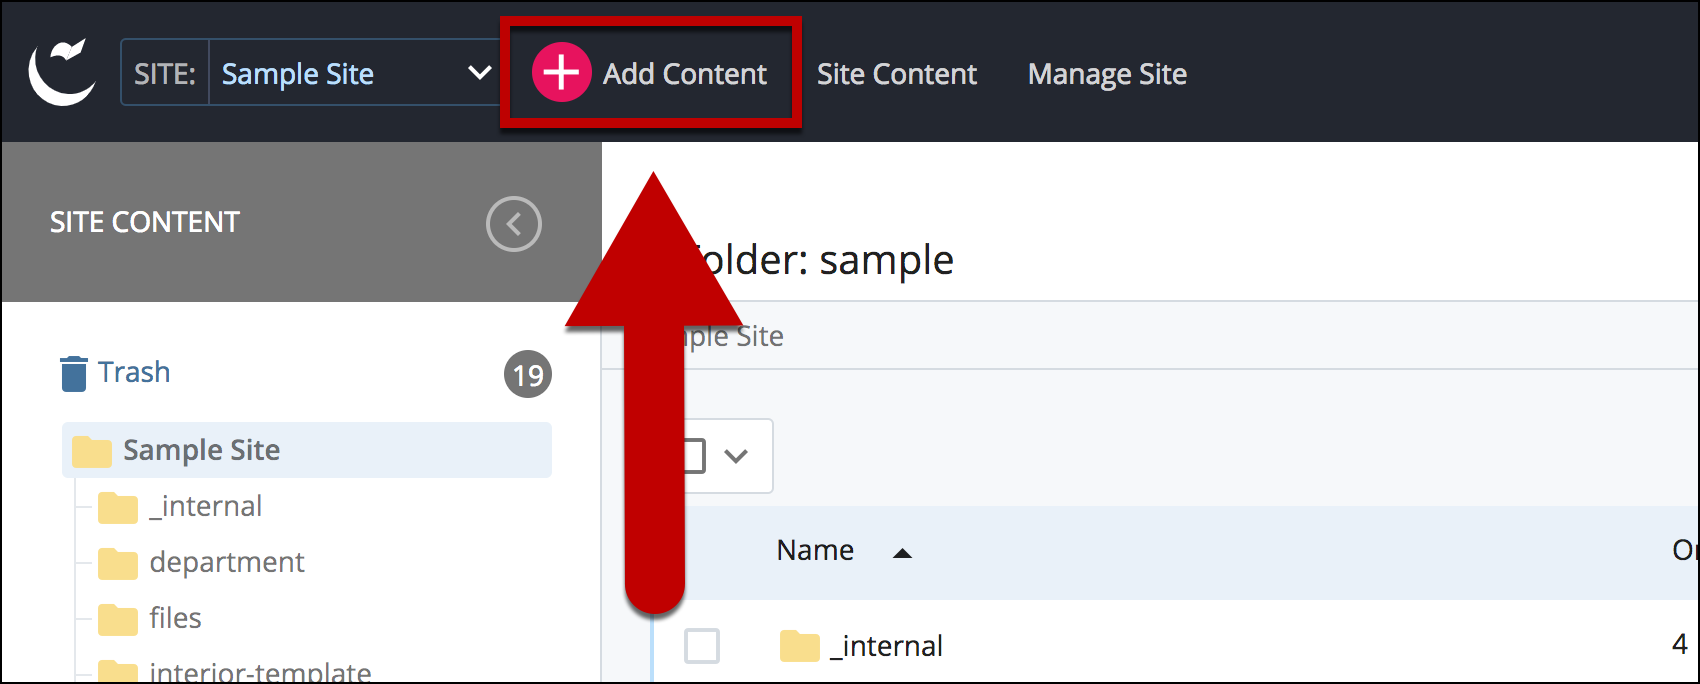
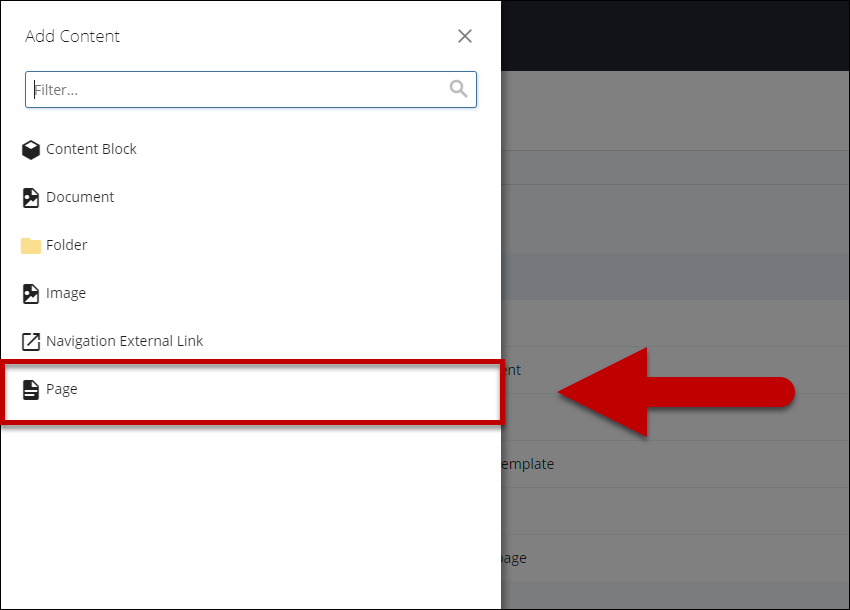
Process of making a page viewable on the web
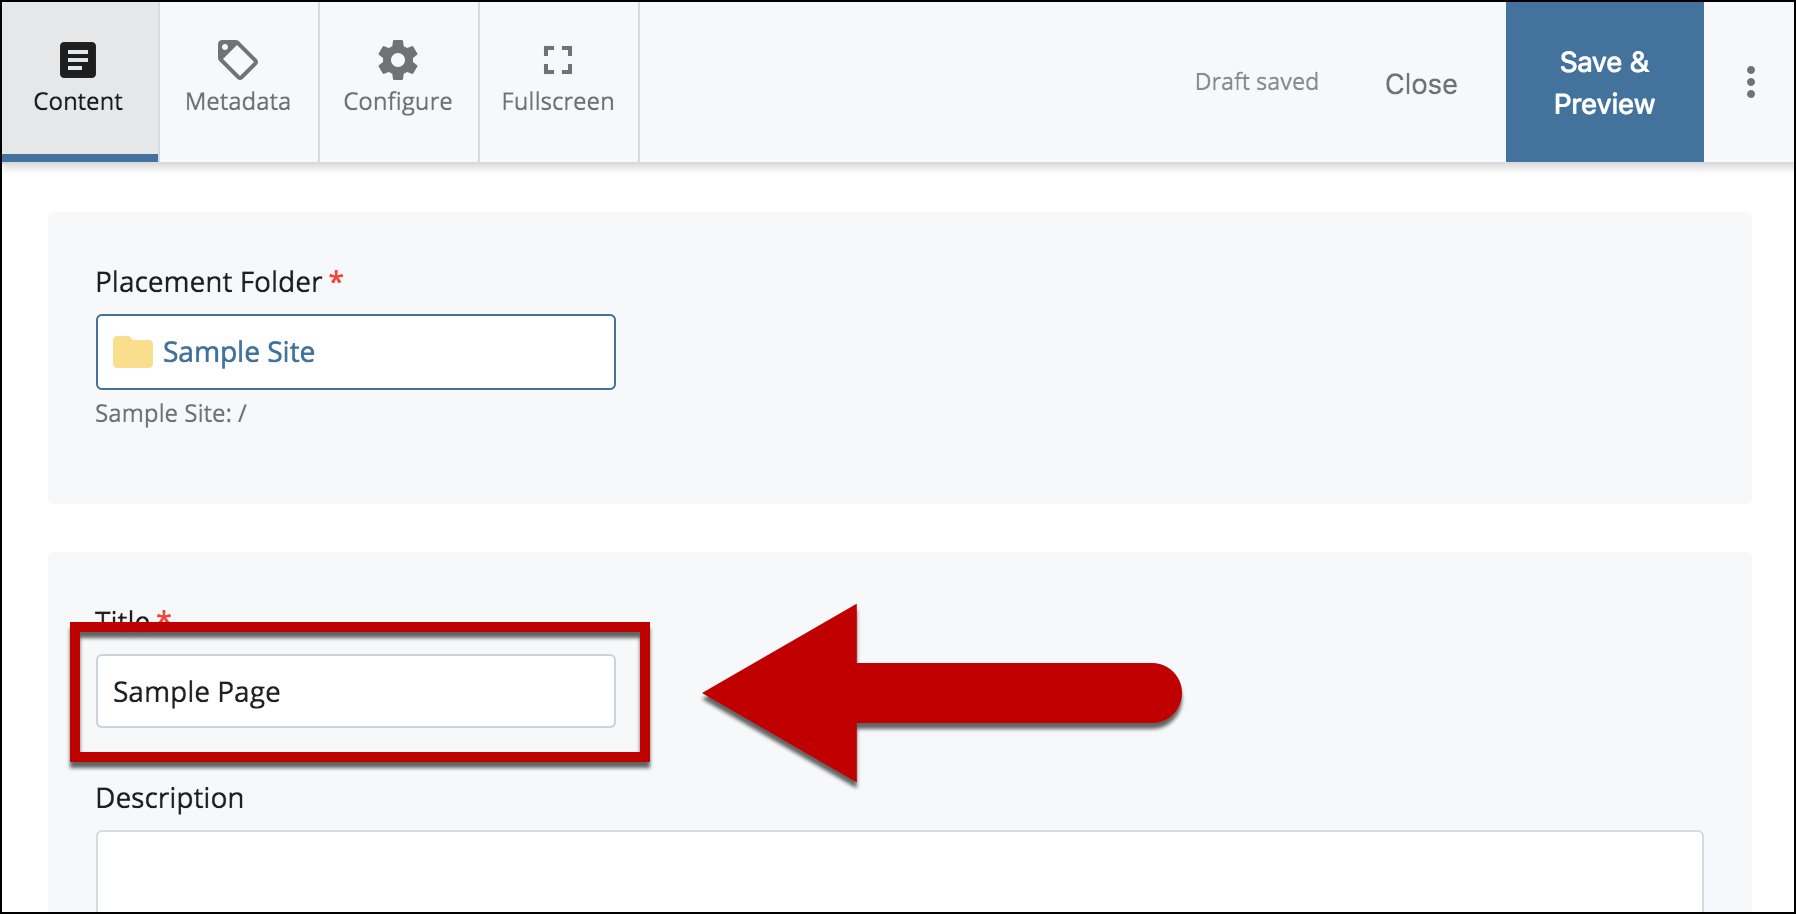
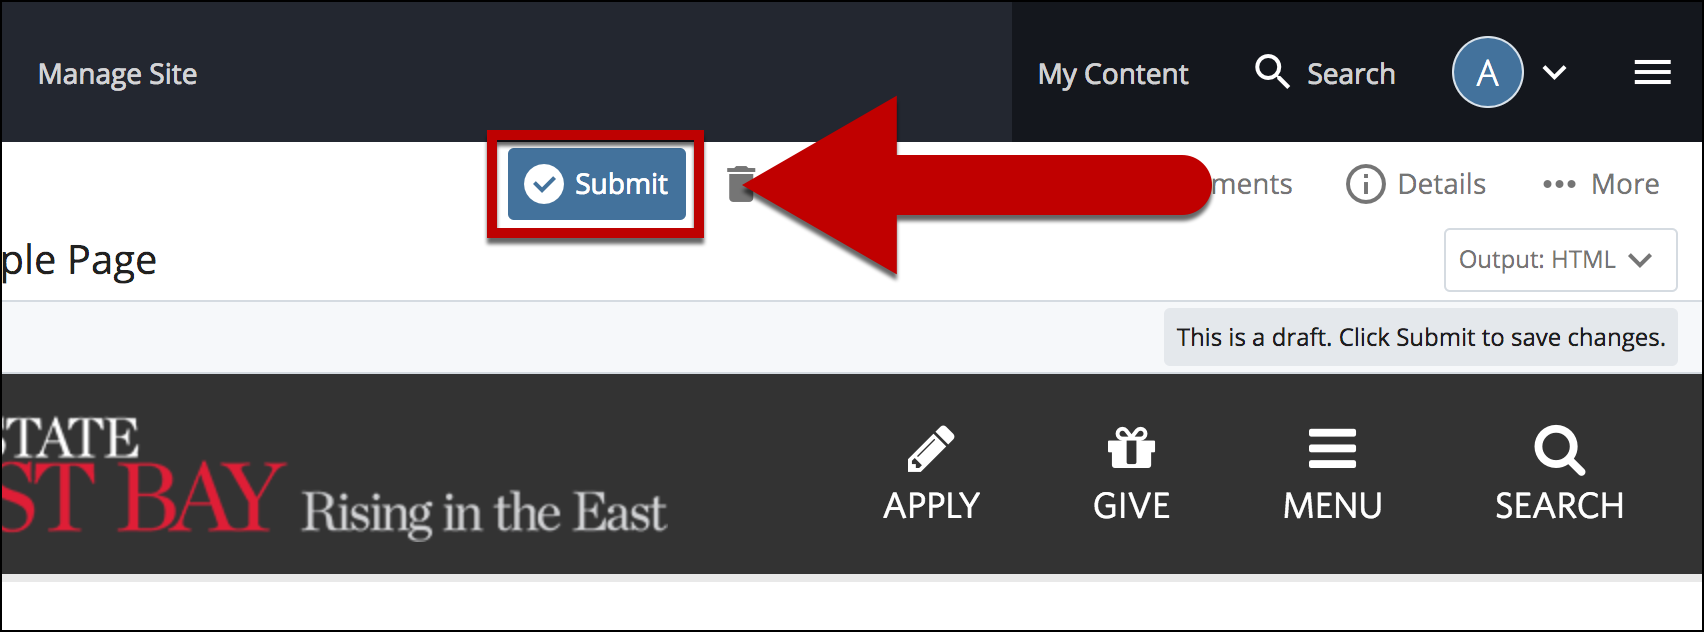
- Create a Draft (Save)
- A draft is like a rough copy of your page.
- Drafts are created when you click Save & Preview or when you begin editing a page.
- Drafts are private (only you can see them) and can be deleted anytime
- Why use drafts?
They let you experiment and make changes without affecting existing versions. Think of it as writing notes on scratch paper before making something official.
-
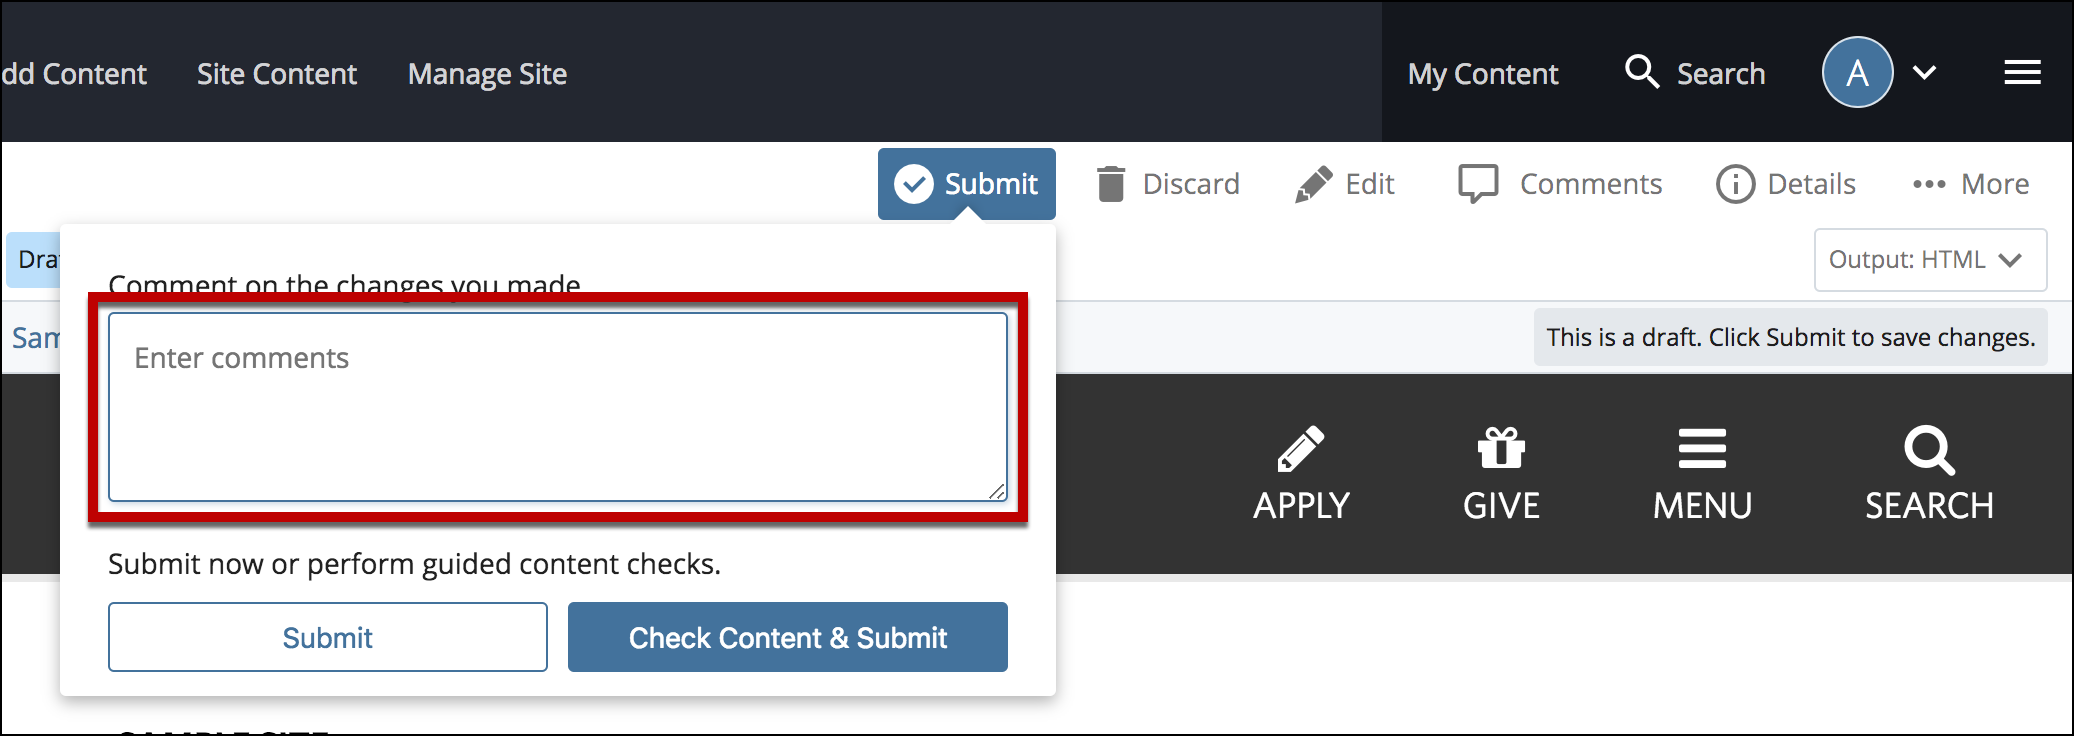
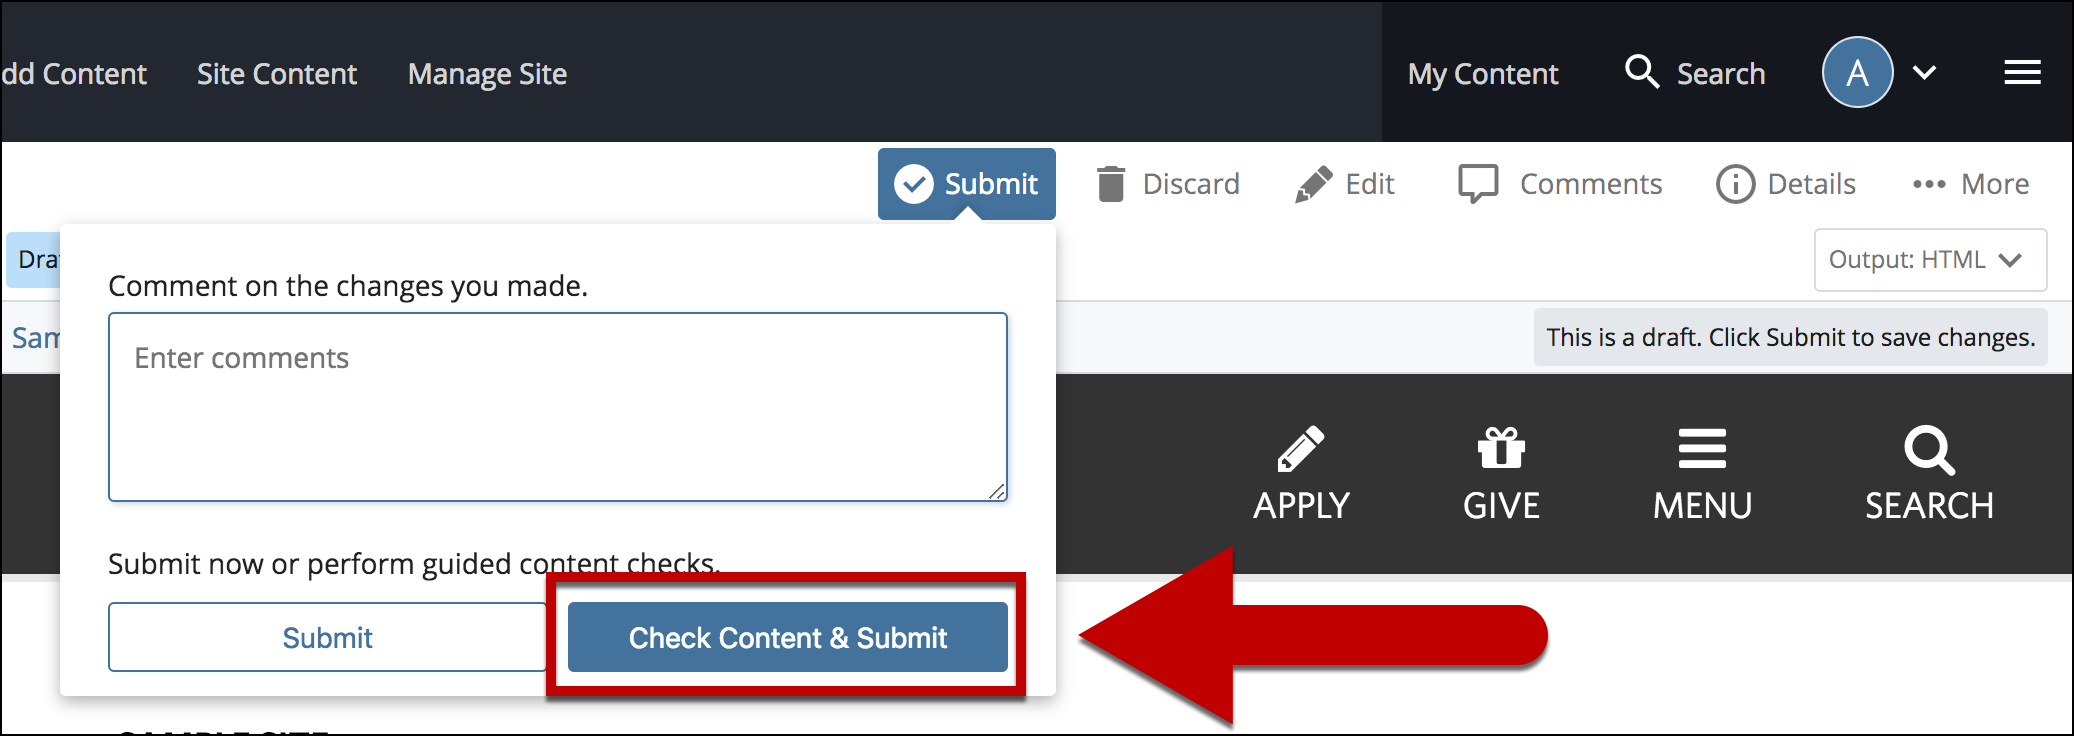
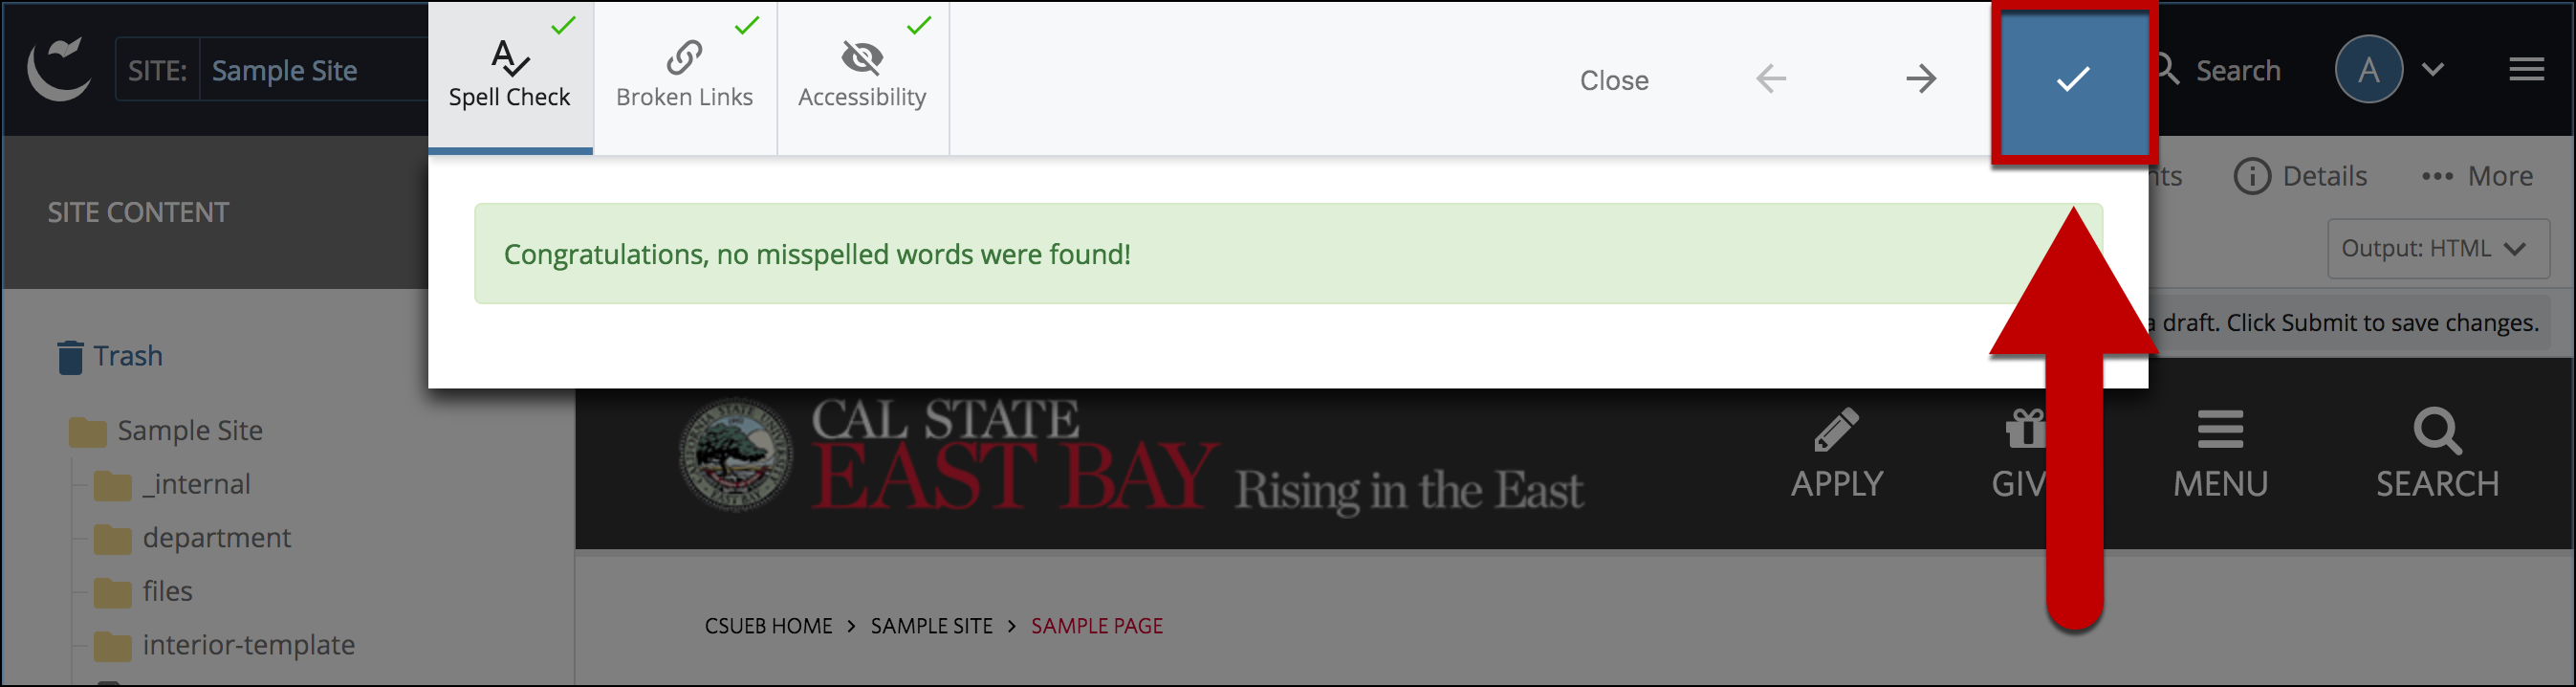
- Create a Version (Submit)
- When you Submit a draft, it becomes a version.
- A version is a saved copy that others with Cascade access can see.
- Cascade keeps the last 15 versions of each page.
Why use versions?
They let you experiment and make changes without affecting existing versions. Think of it as writing notes on scratch paper before making something official.
-
- Publish (Live)
- Once a version is published, it becomes visible on the website for everyone to see.
- Publishing is the final step that makes your changes go live on the internet.