Overview
A reference is a navigation link to an existing internal page, file or folder in Cascade CMS. If you need a link to an external page (i.e. catalog.csueastbay.edu, google.com, etc.), please see External Navigation Links. Reference links show up on the left navigation in interior pages.
Please note: even though this tutorial shows linking to a PDF on the SideNav, it is not a best practice. You can do it, but it is always preferred to create HTML pages for your content (Add Content > Page) for accessibility, SEO (Search Engine Optimization), mobile-friendliness and overall usability.
How To Create a Reference Link?
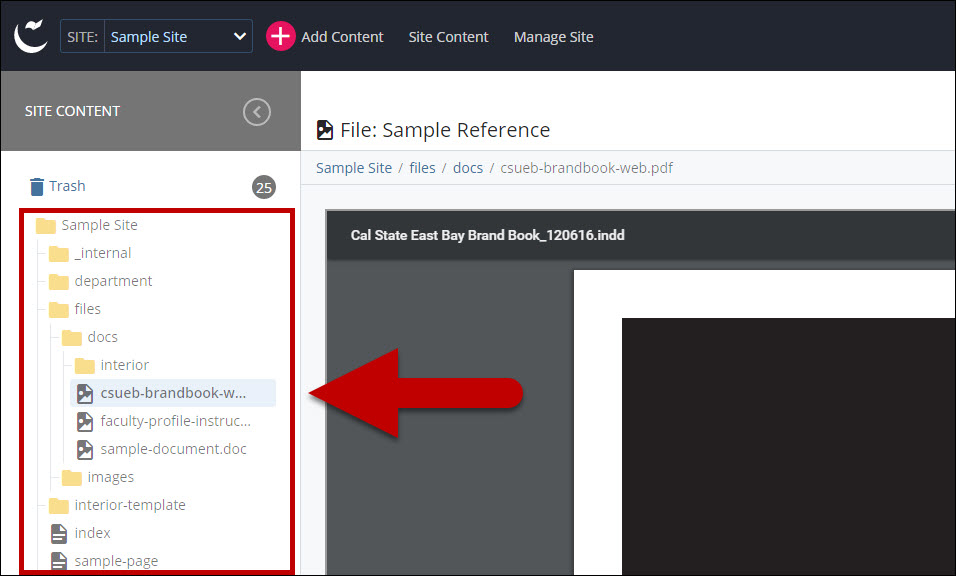
- Log into Cascade CMS and select your site.
- Navigate to the page or file to which the Reference will be linked.
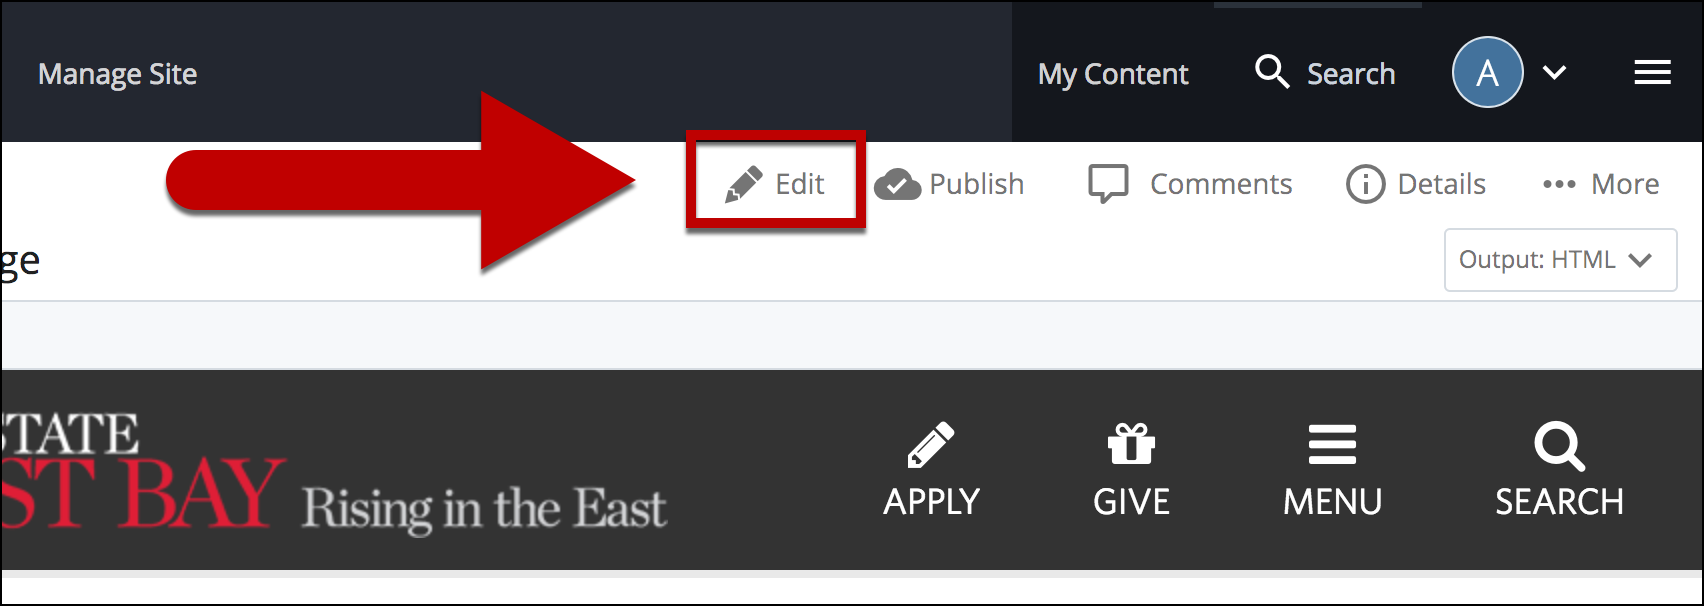
- Select Edit
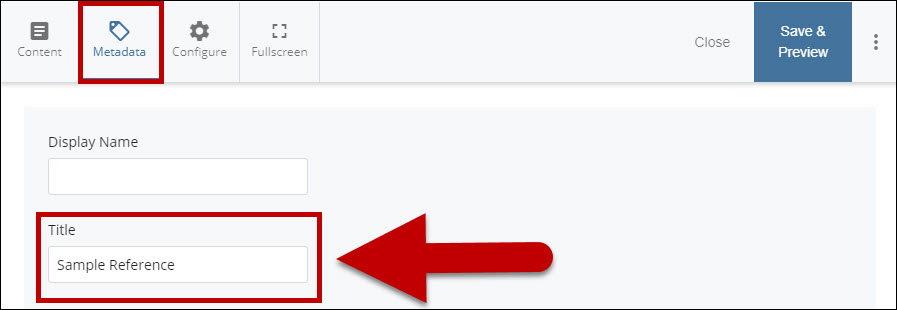
- Add title to Title Field in Metadata Tab.
Note: The Title name will be the navigation title.
- Select Preview Draft.

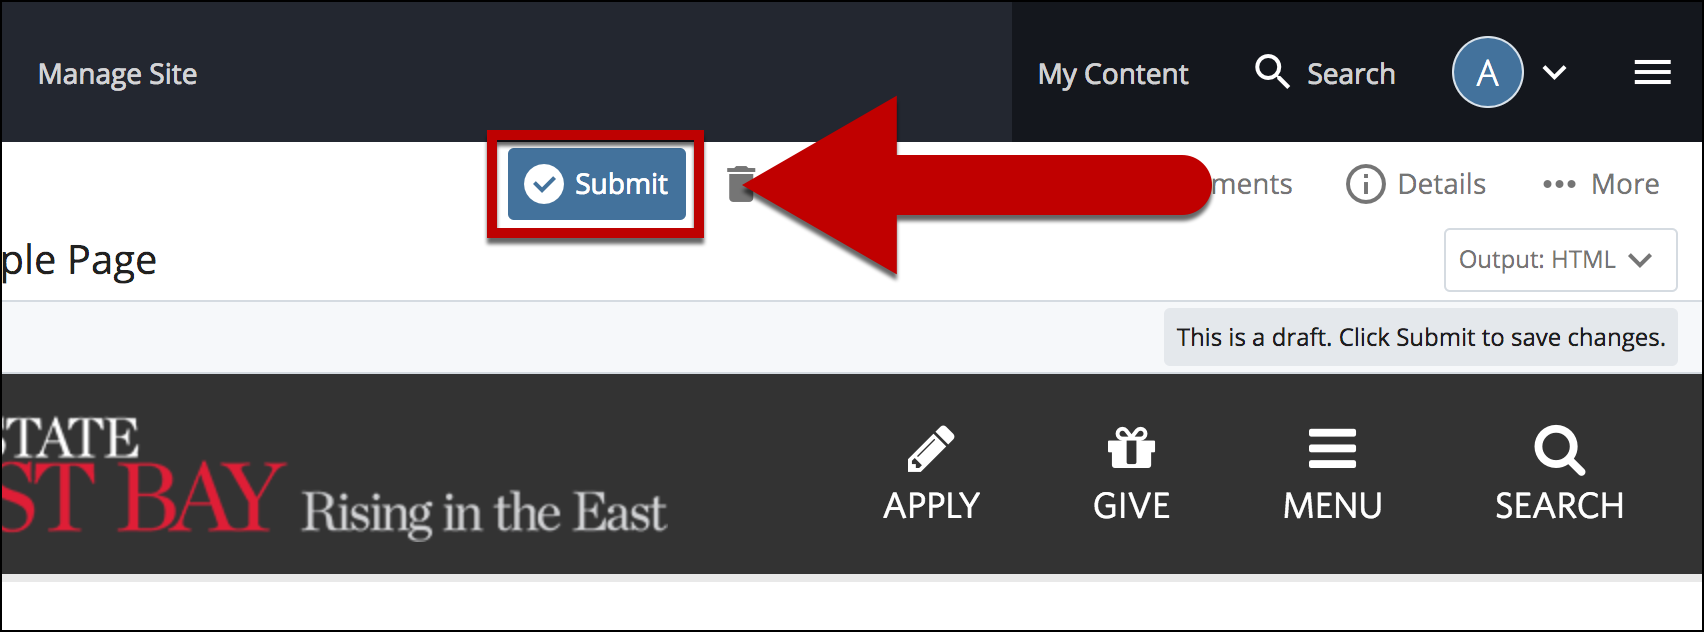
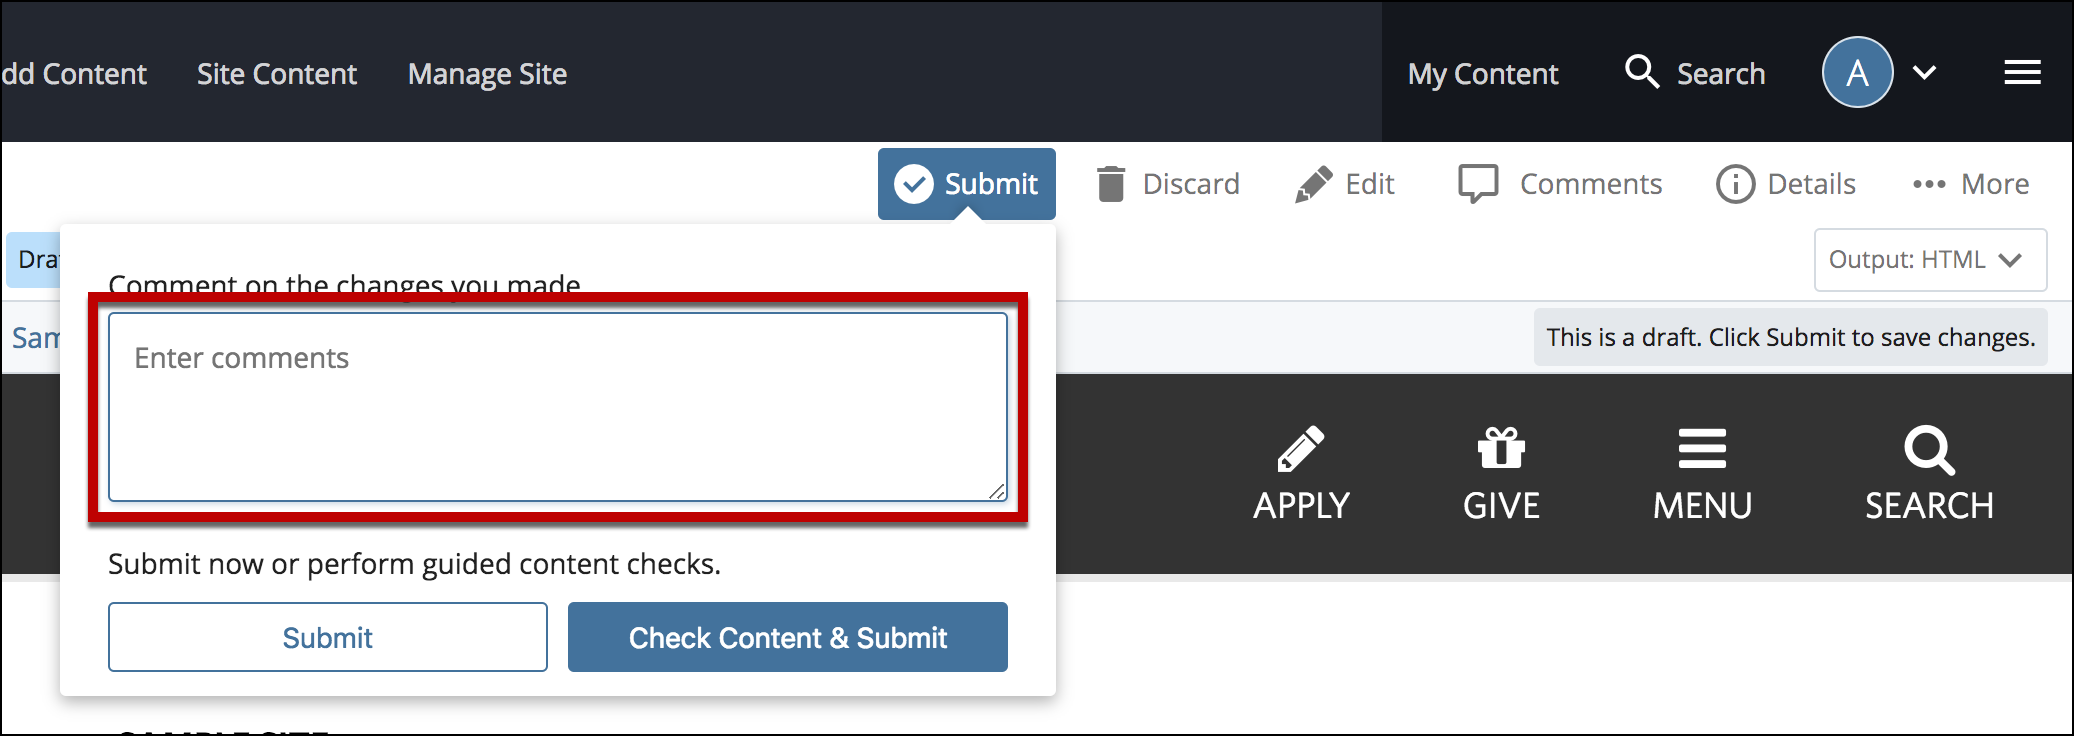
- After previewing changes made on your draft, select Submit
- Enter Comments for changes made.
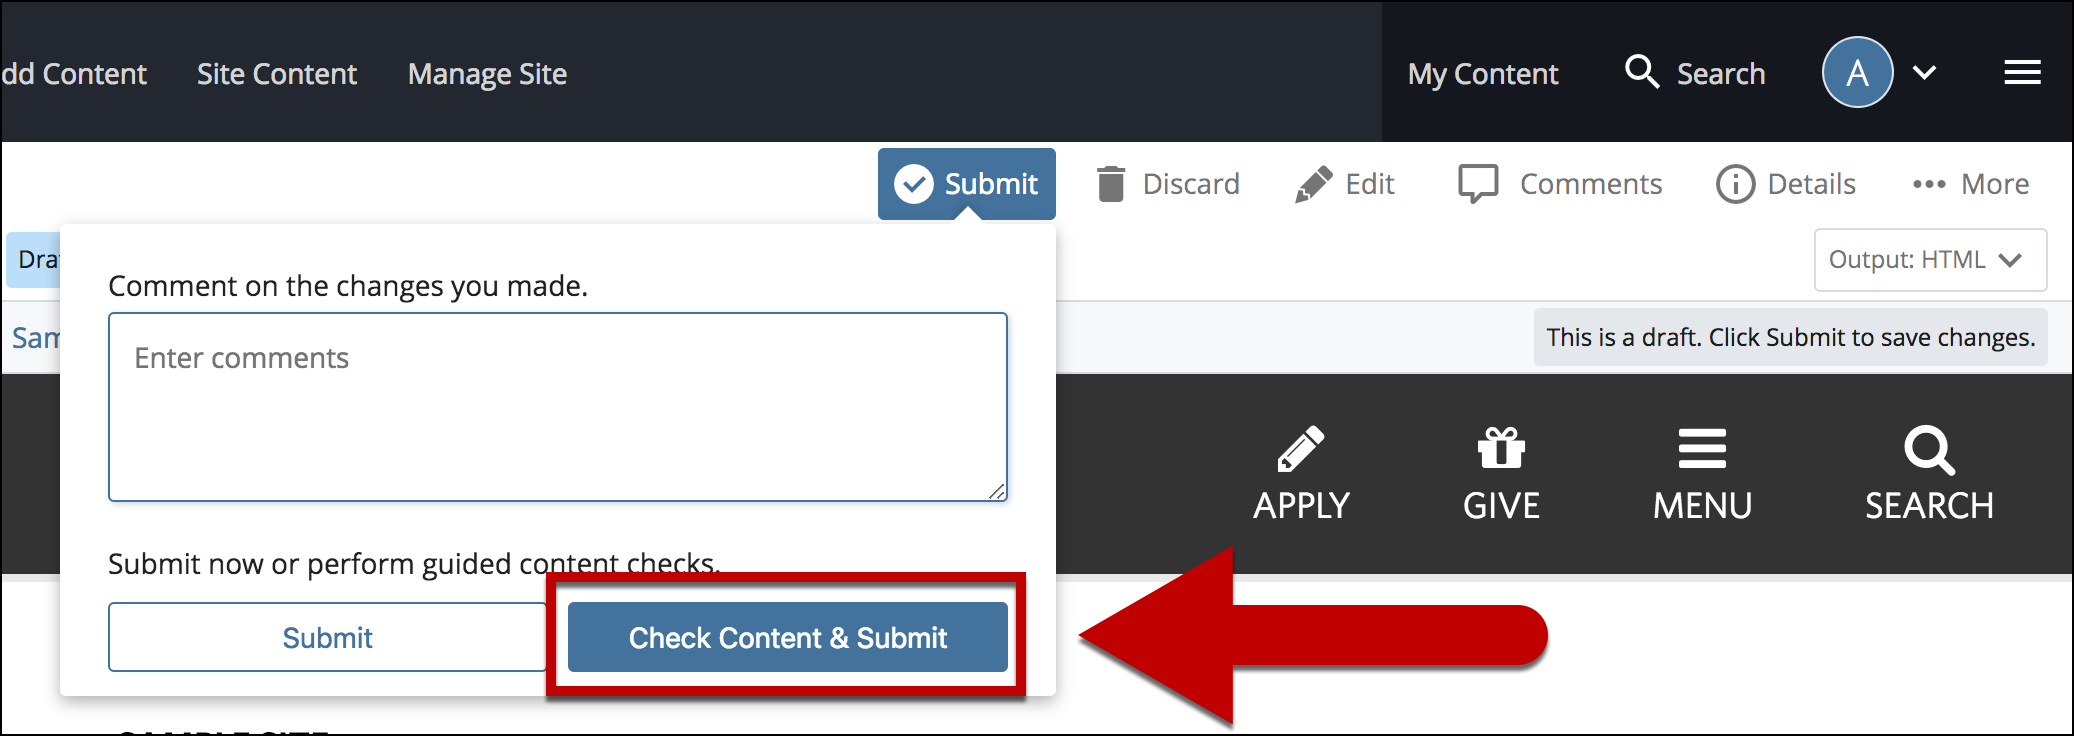
- Select Check Content & Submit to add changes to your site.
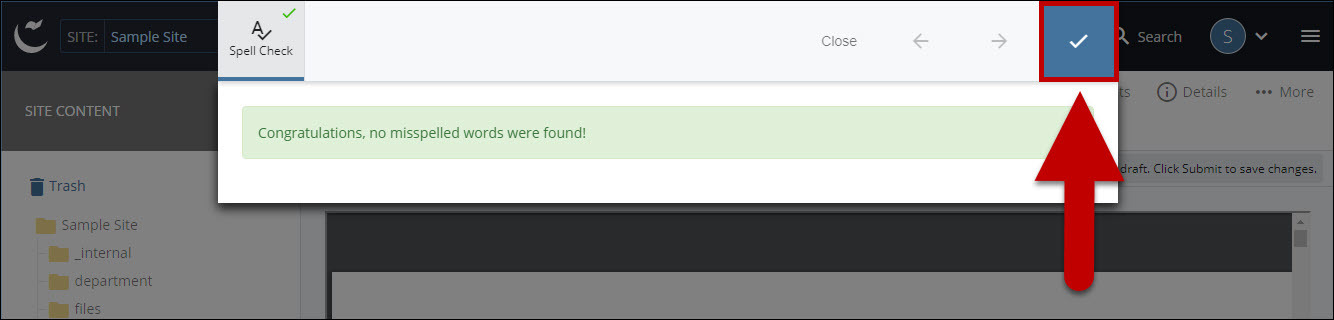
- Select the Check Box.
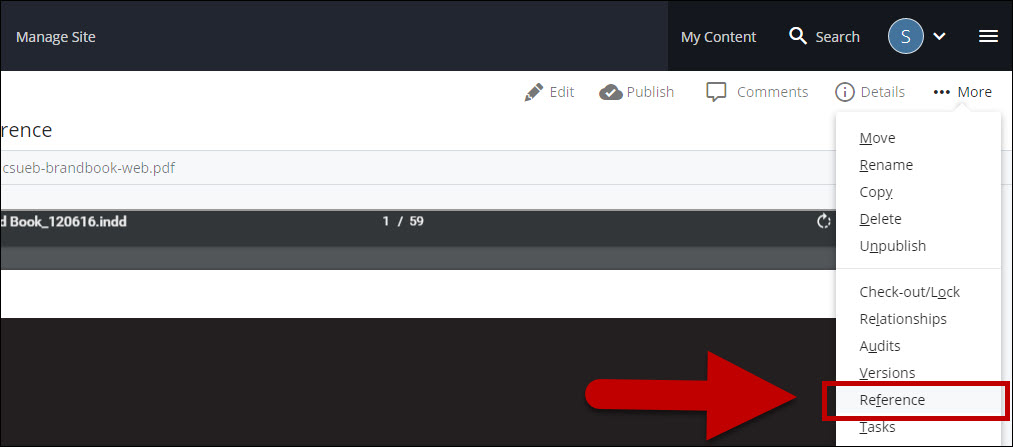
- Select the More.
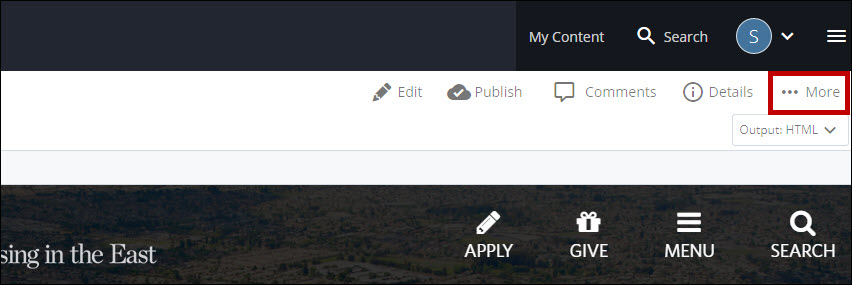
- Select Reference.
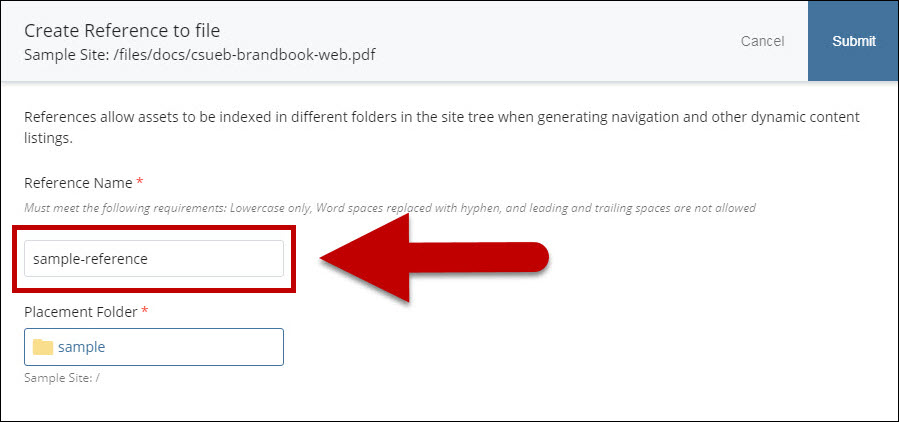
- Add the Reference Name which is also the system name.
Note: Reference names should ONLY consist of lower case letters and dashes. Avoid using numbers for date or the version number.
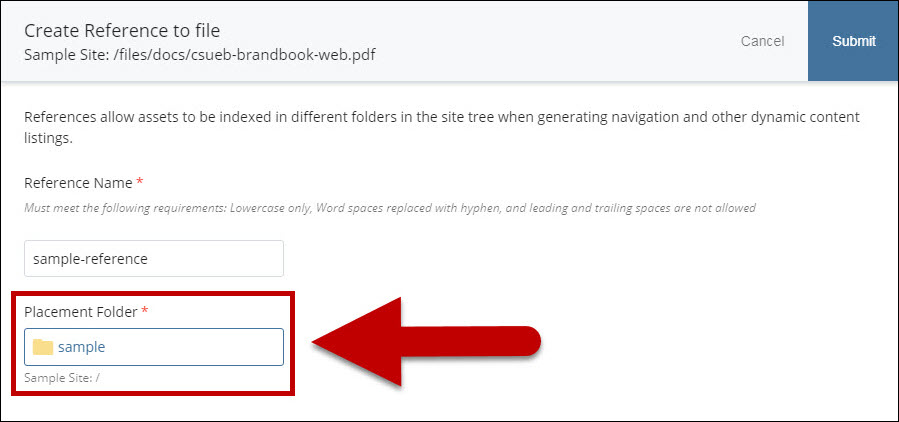
- Select the Placement Folder where the reference would be located.
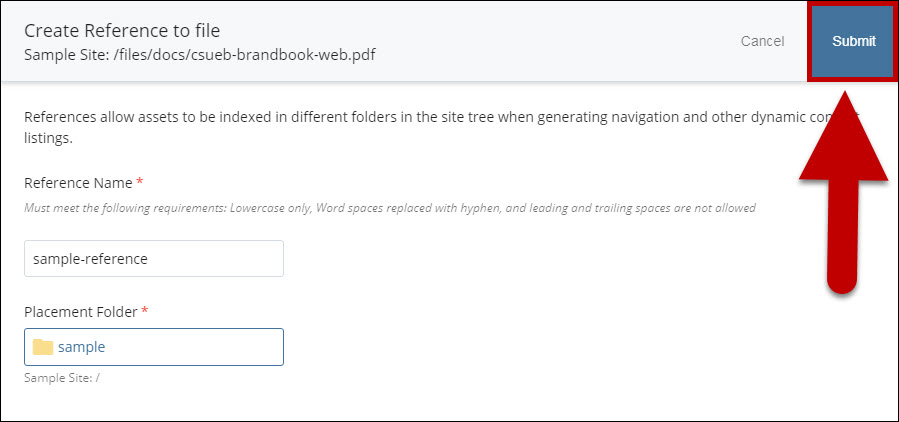
- Select Submit.
- When you're ready to go live, the last step is to Publish the Changes.