Featured Links


Overview

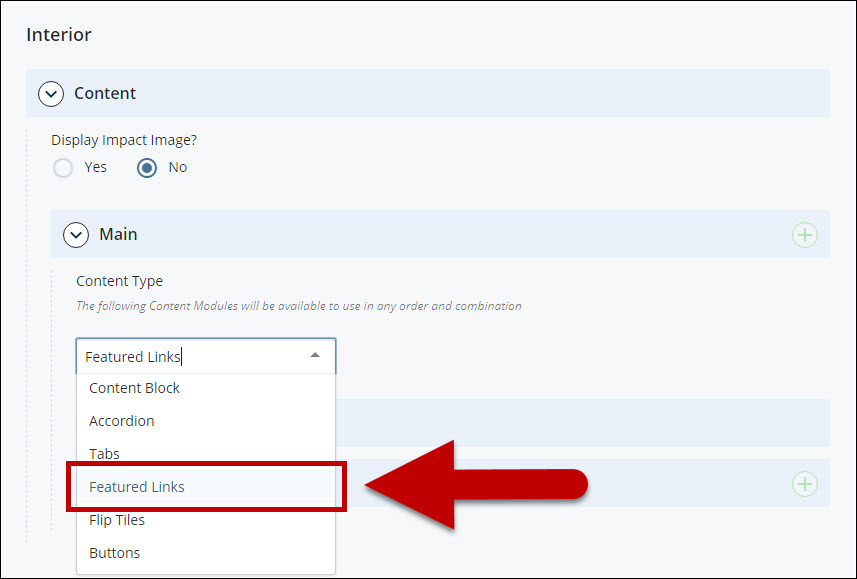
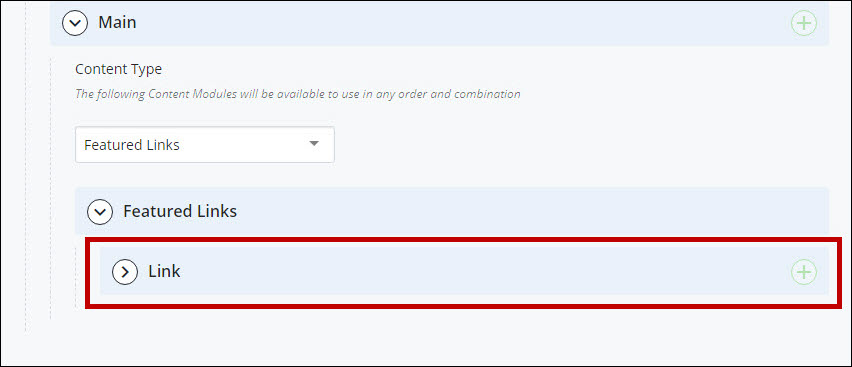
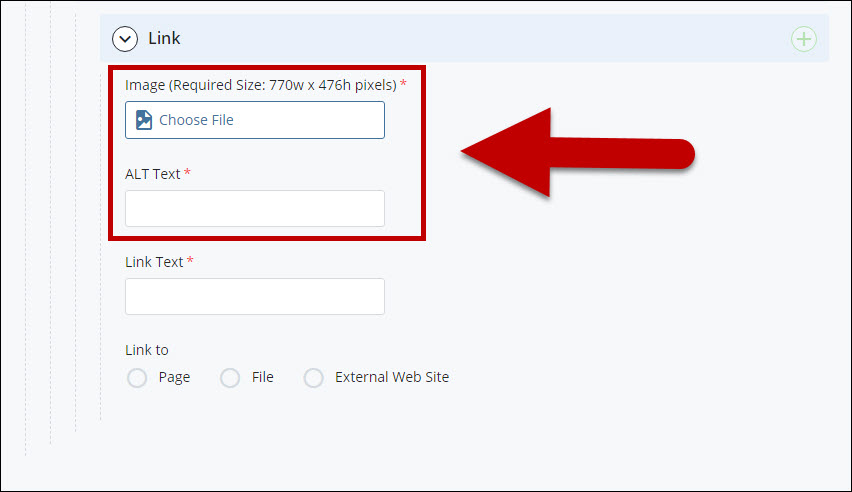
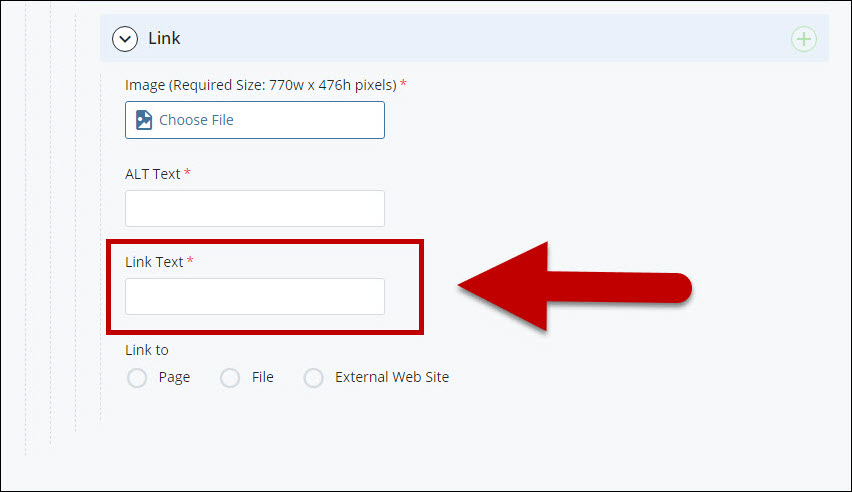
Featured links are available for both the landing page and interior pages. They are important links accompanied by images. The required image size for featured links is 770w x 476h pixels.  See a table of all template image size requirements.
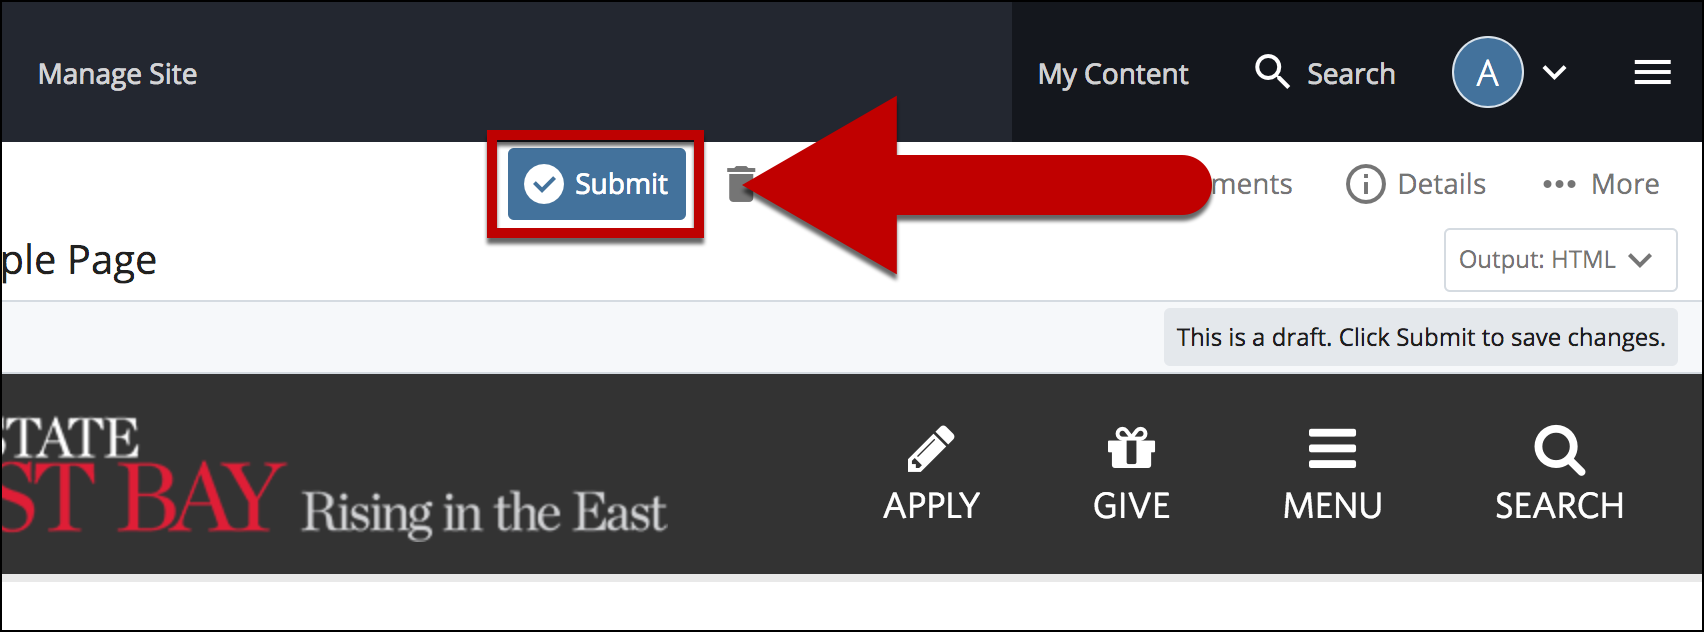
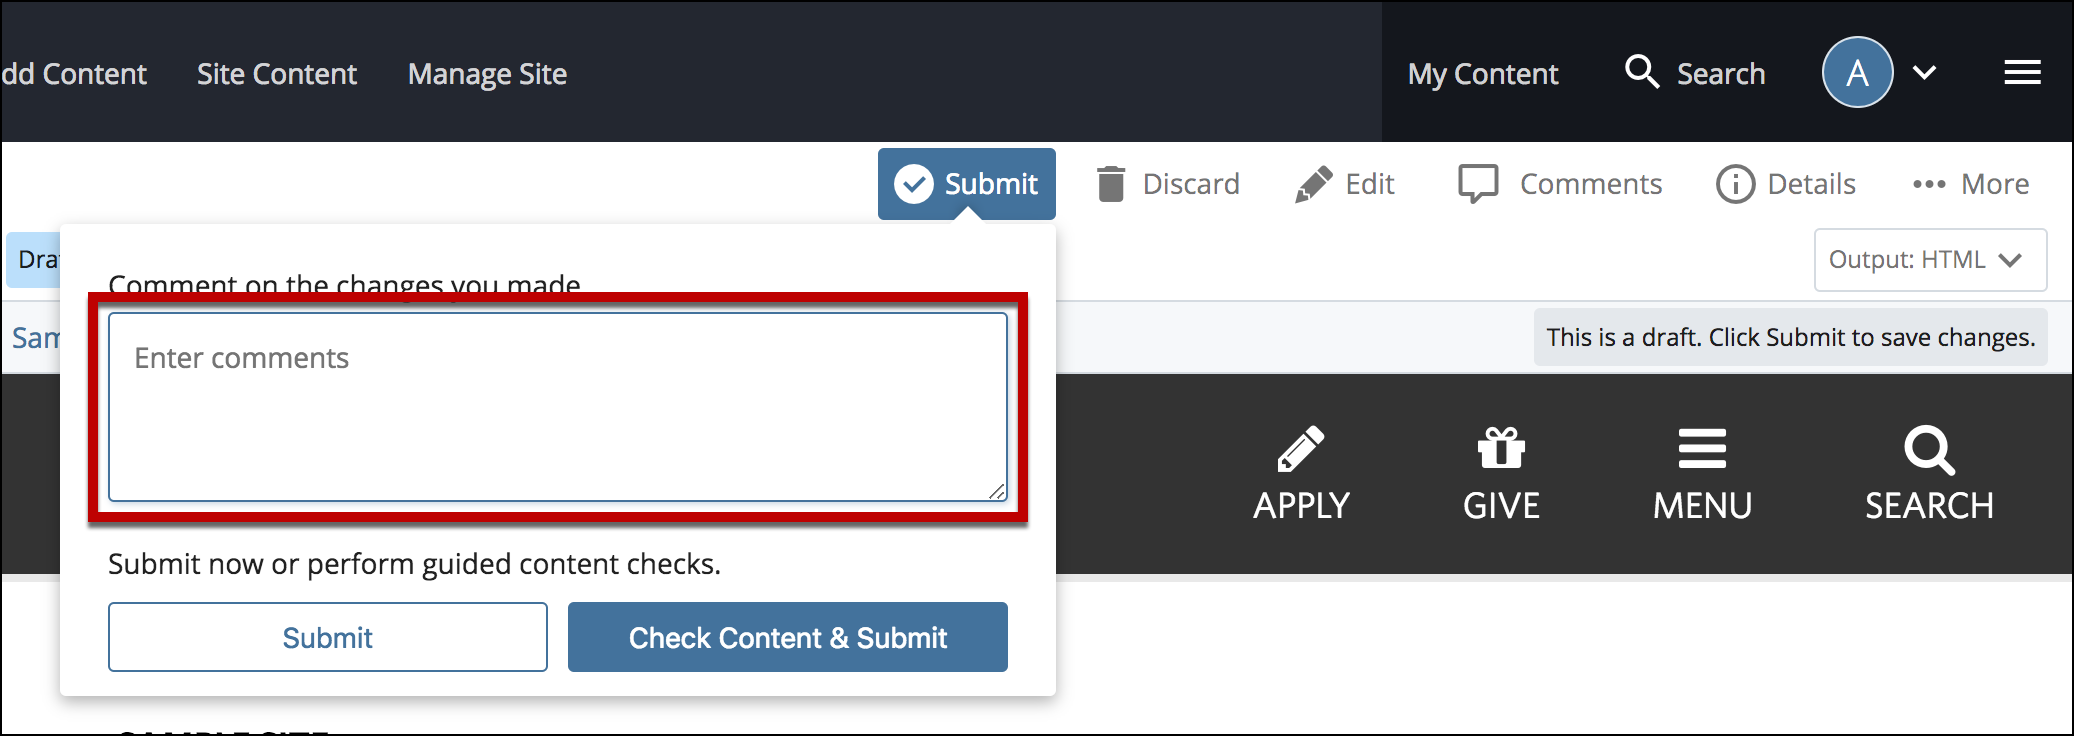
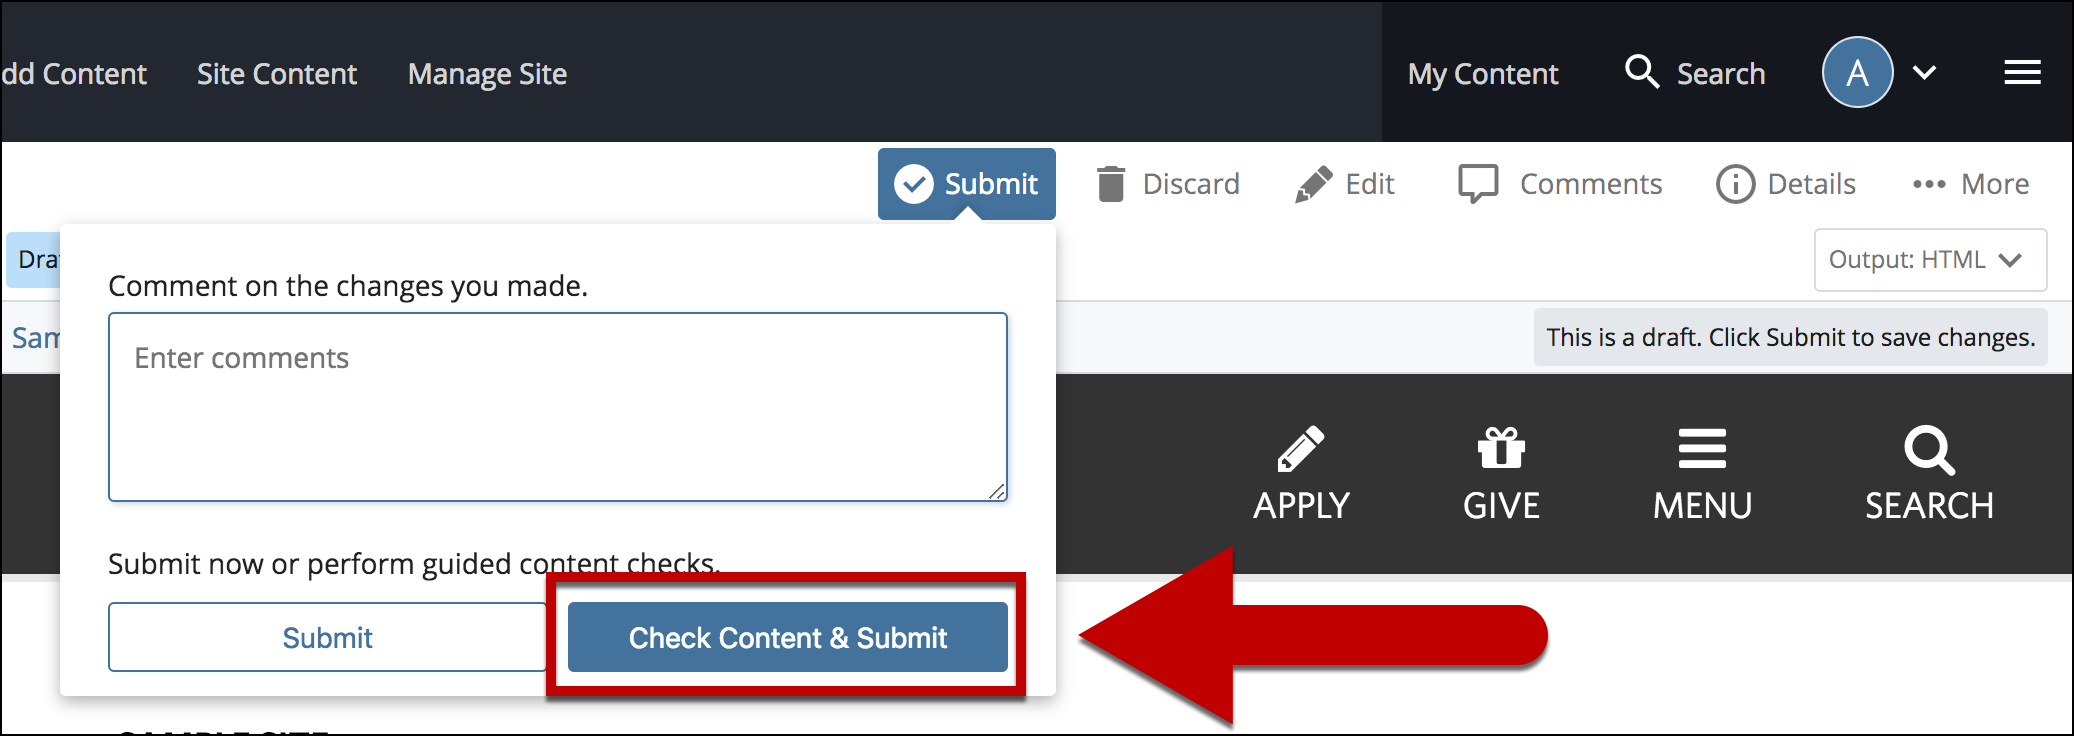
Example

How To Add Featured Links?

  1. Log into Cascade Server and select your site.
  2. Navigate to the page where Featured Links will be added.

    navigate to folder

  3. Select Edit.

    select edit

  4. Select the + icon on Main to add a content type.

    Add a Content Type

  5. Select Featured Links in the newly added content type.

    Dropdown to Select featured links

  6. Expand Featured Links > Link.

    Expand Links

  7. Select Choose File to select an image that is 770w by 476h pixels for the featured link.
  8. Enter a short description for the image in the ALT Text field.

    choose file and alt text highlighted

  9. Enter the Link Text for the link.

    Link Text

  10. Add a link to the Featured Links by selecting:
    • Page, a webpage within Cascade Server (e.g. www.csueastbay.edu/biology)
    • A File such as a Word document or a PDF document
    • An External Web Site outside of the CSUEB (e.g. www.google.com)


    Choose Page,File or External Website

  11. Select the + icon to add more Featured Links.

    Add More Featured Links

  12. Select Preview Draft.

    preview draft button

  13. After previewing changes made, select Submit to confirm the changes.

    Select Submit

  14. Enter Comments for changes made.

    Enter Comments

  15. Select Check Content & Submit to add changes to your site.

    Check Content and Submit

  16. Select the Check Box.

    SpellCheck Checkbox

  17. When you are ready to go live, the last step is to publish the changes.