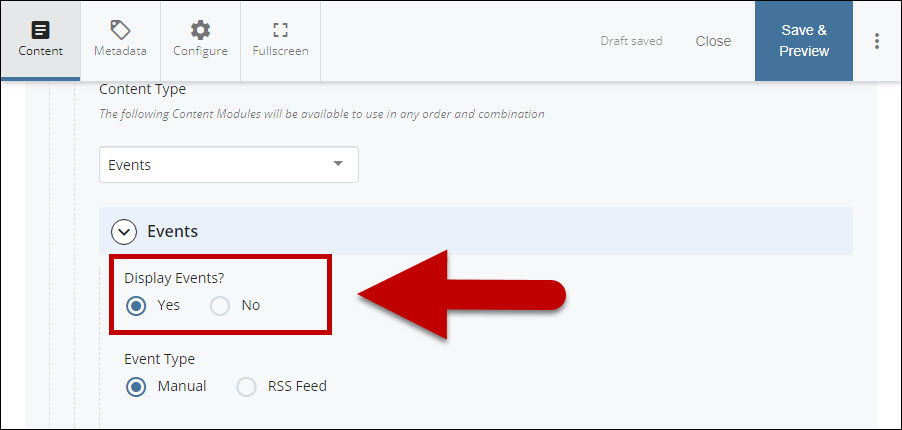
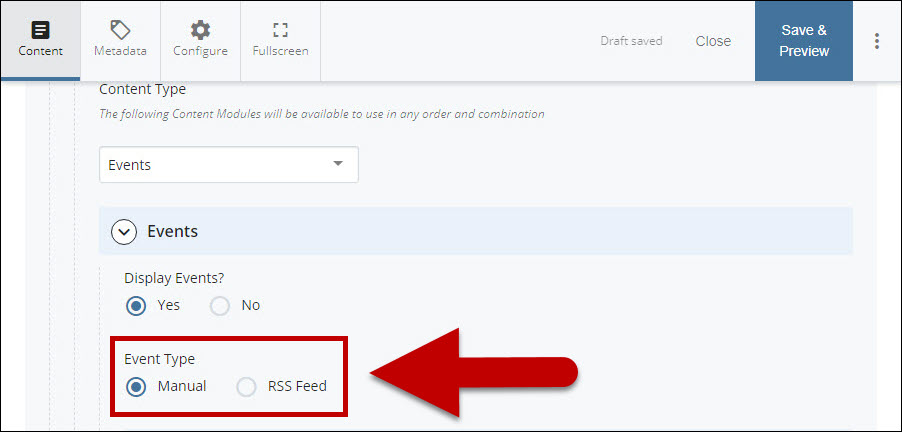
Events


Overview

The Events content type is an optional section available on both the landing and interior pages that allows a department to highlight upcoming events with date, title timeframe, and description. Site editors can choose to display any number of events according to their preferences. 

Example

Events

Jul08

CVHCare - Info Session

CVHCare (Compassionate Visionary Health Care) is looking for outstanding Healthcare Professionals (new grads are welcome) to provide compassionate, visionary care to their patients. Their wonderful and responsive internal team truly allows you to function remotely and independently, with the flexibility to make your own schedule and plan patient visits around other commitments if needed.

Feb28

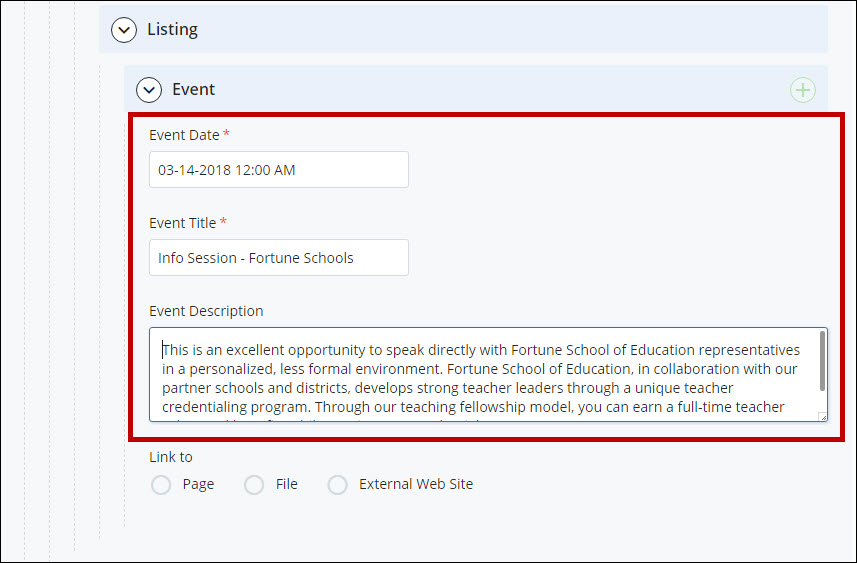
Info Session - Fortune Schools

This is an excellent opportunity to speak directly with Fortune School of Education representatives in a personalized, less formal environment. Fortune School of Education, in collaboration with our partner schools and districts, develops strong teacher leaders through a unique teacher credentialing program.

Mar09

East Bay Veterans Career Fair

All students are welcome to attend.

How To Add An Event

  1. Log in to Cascade CMS and select your site.
  2. Navigate to the page where Events will be added.

    navigate to folder

  3. Select Edit.

    select edit

  4. Select + icon on Main to add a new content type.

    add new content type

  5. Select Events in the newly added content type.

    Select Events from DropDown

  6. Select Yes under Display Events? to enable events.

    Display Events

  7. Select an Event Type.

    Event Type

  8. *Optional but Recommended 
    Add title in the Title field and select a text color for the title.

    Title and Text Color

  9. Expand Listing > Event.

    Expand Event

  10. Add Event DateEvent Title and Event Description.
    *Note : Event Date and Event Title are required.

    Event Fields

  11. *Optional*
    Add a link to the event by selecting:
    1. Page, a webpage within Cascade Server (e.g. www.csueastbay.edu/biology)
    2. File such as a Word document or a PDF document
    3. An External Web Site outside of the CSUEB (e.g. www.google.com)

    Select Link

  12. Select the + icon to add more events.

    green plus icon highlighted

  13. Select Preview Draft.

    preview draft button

  14. After previewing changes made, select Submit to confirm the changes.

    Select Submit

  15. Enter Comments for changes made.

    Enter Comments

  16. Select Check Content & Submit to add changes to your site.

    Check Content and Submit

  17. Select the Check Box.

    SpellCheck Checkbox

  18. When you're ready to go live, the last step is to publish the changes.