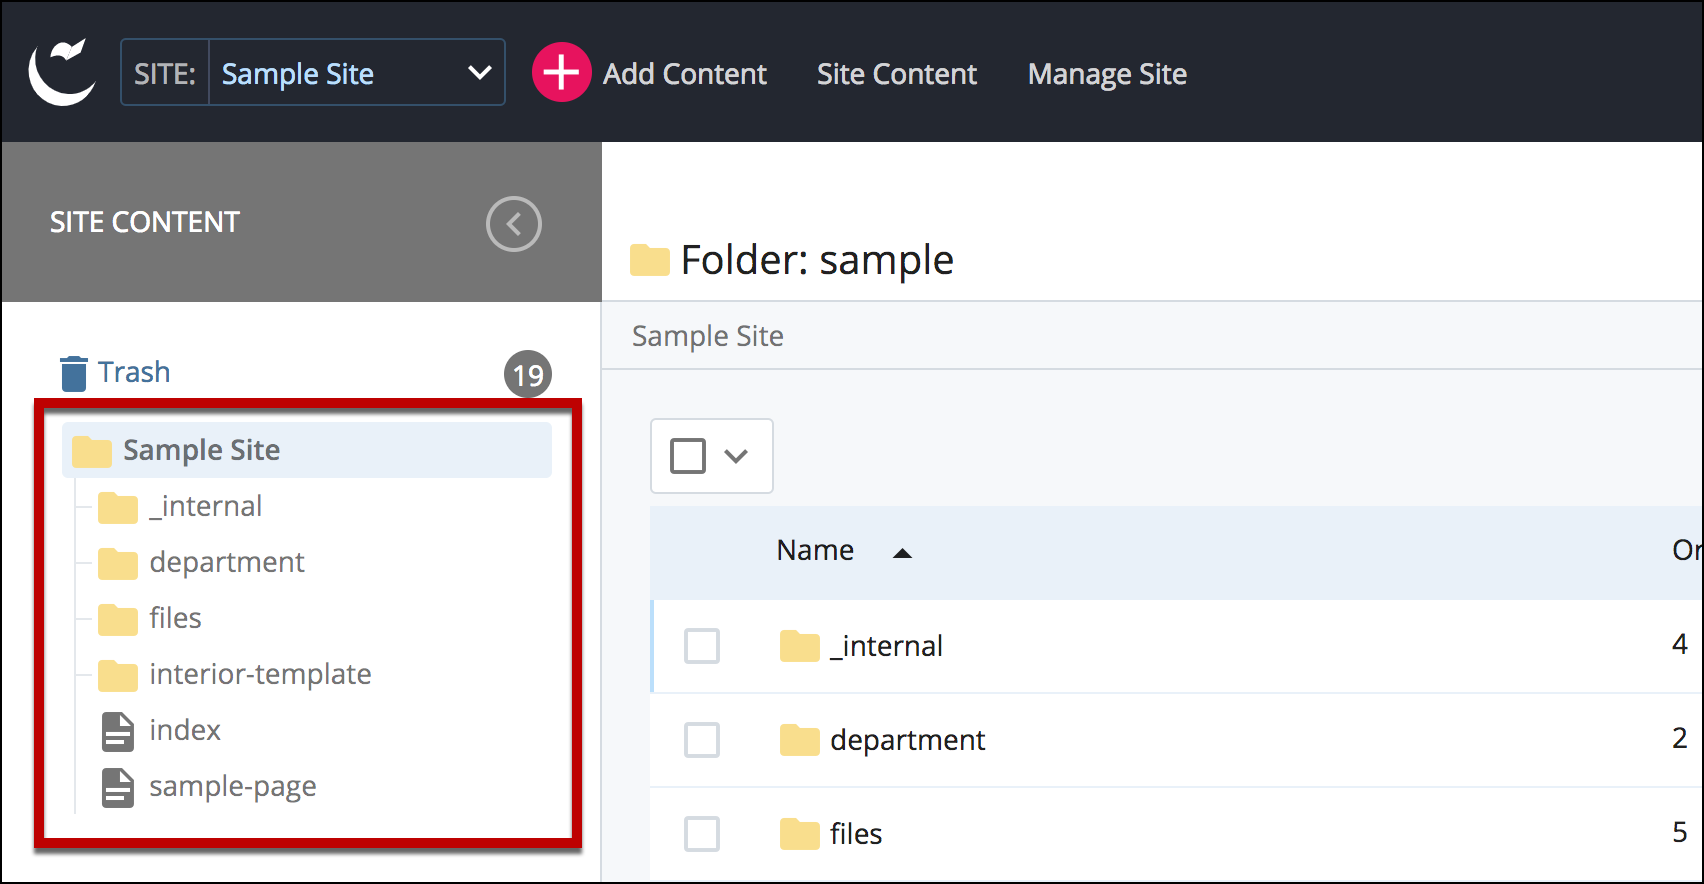
Navigate to the page where the Table will be added.
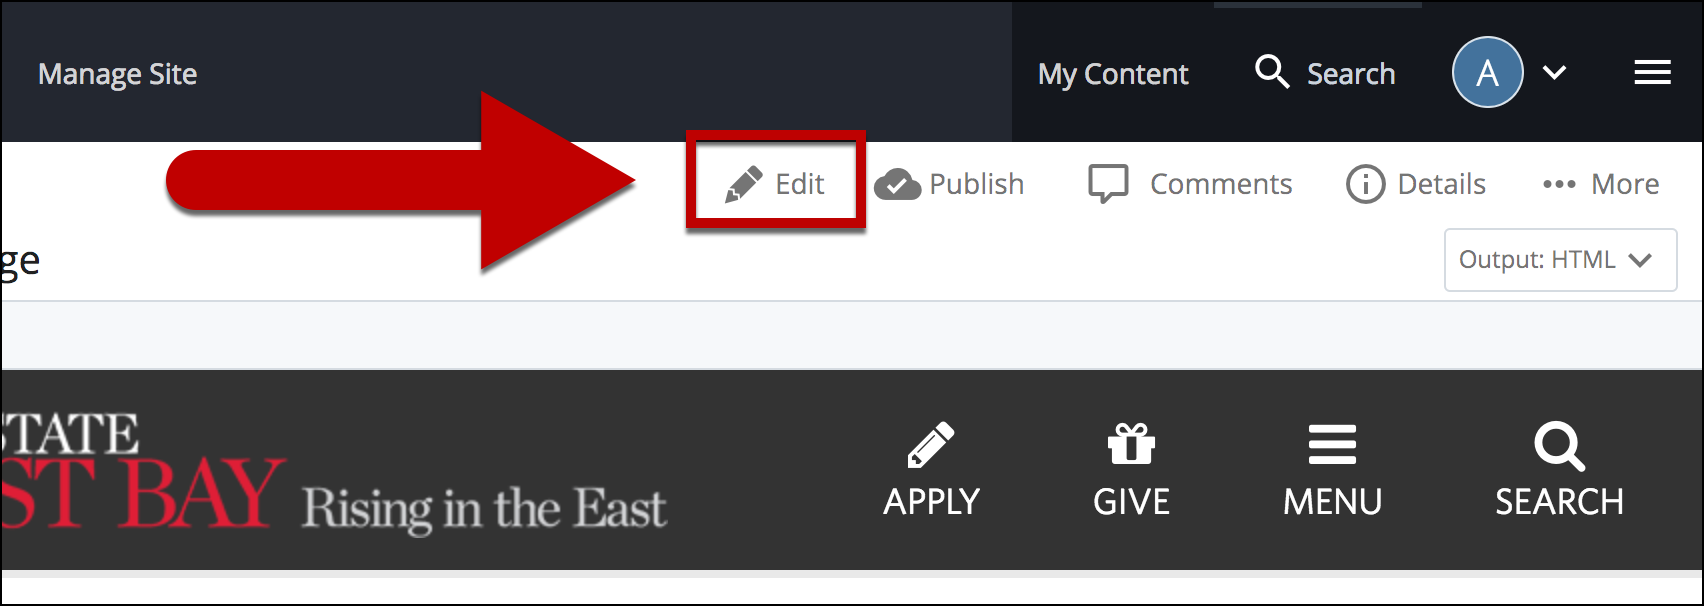
Select Edit.
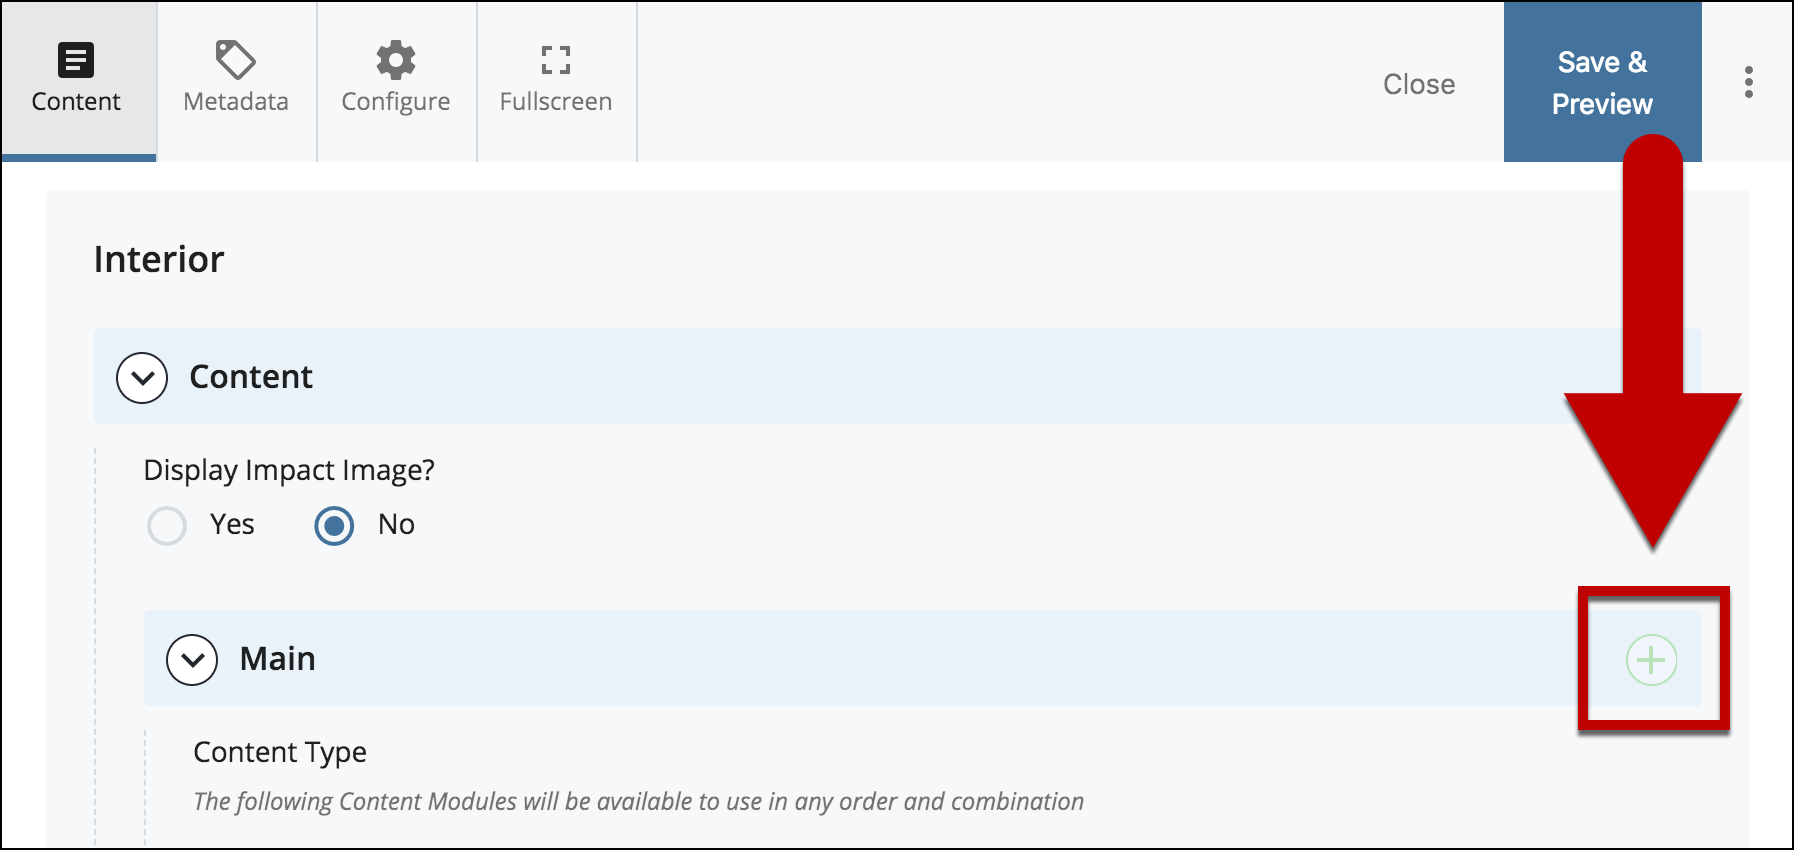
Select + icon on "Main" to add a new content type.
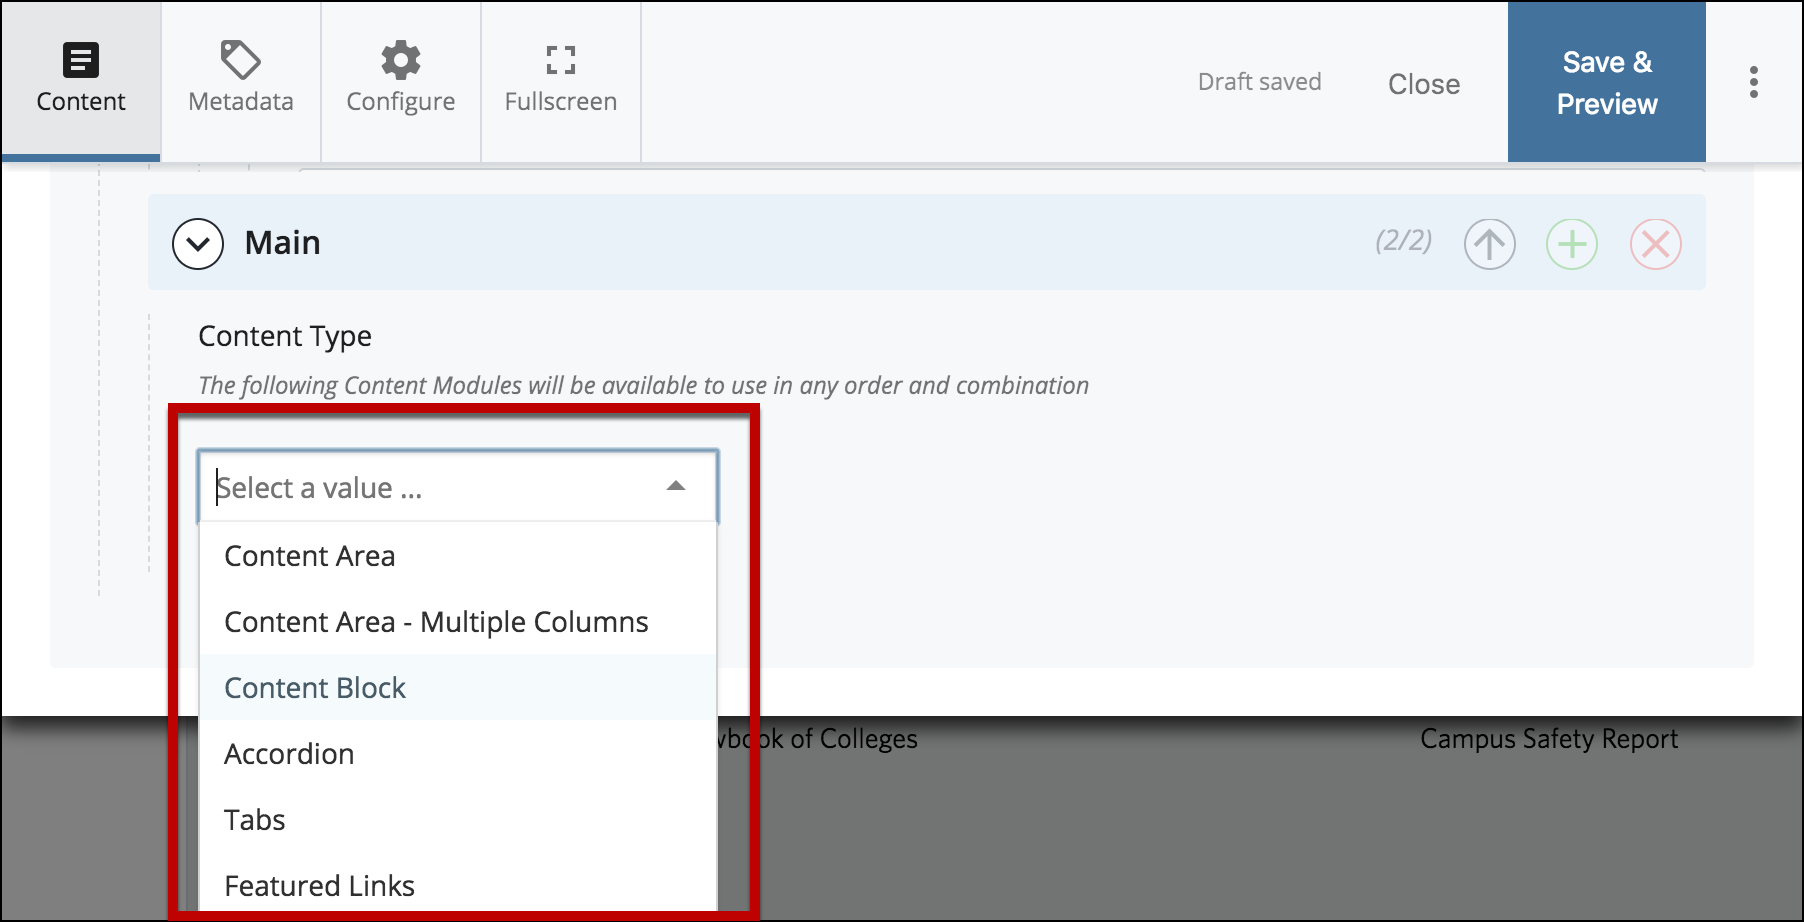
Use the drop-down menu to select any template that has a WYSIWYG. The most popular content types for Tables are Content Area, Accordion and Tabs.
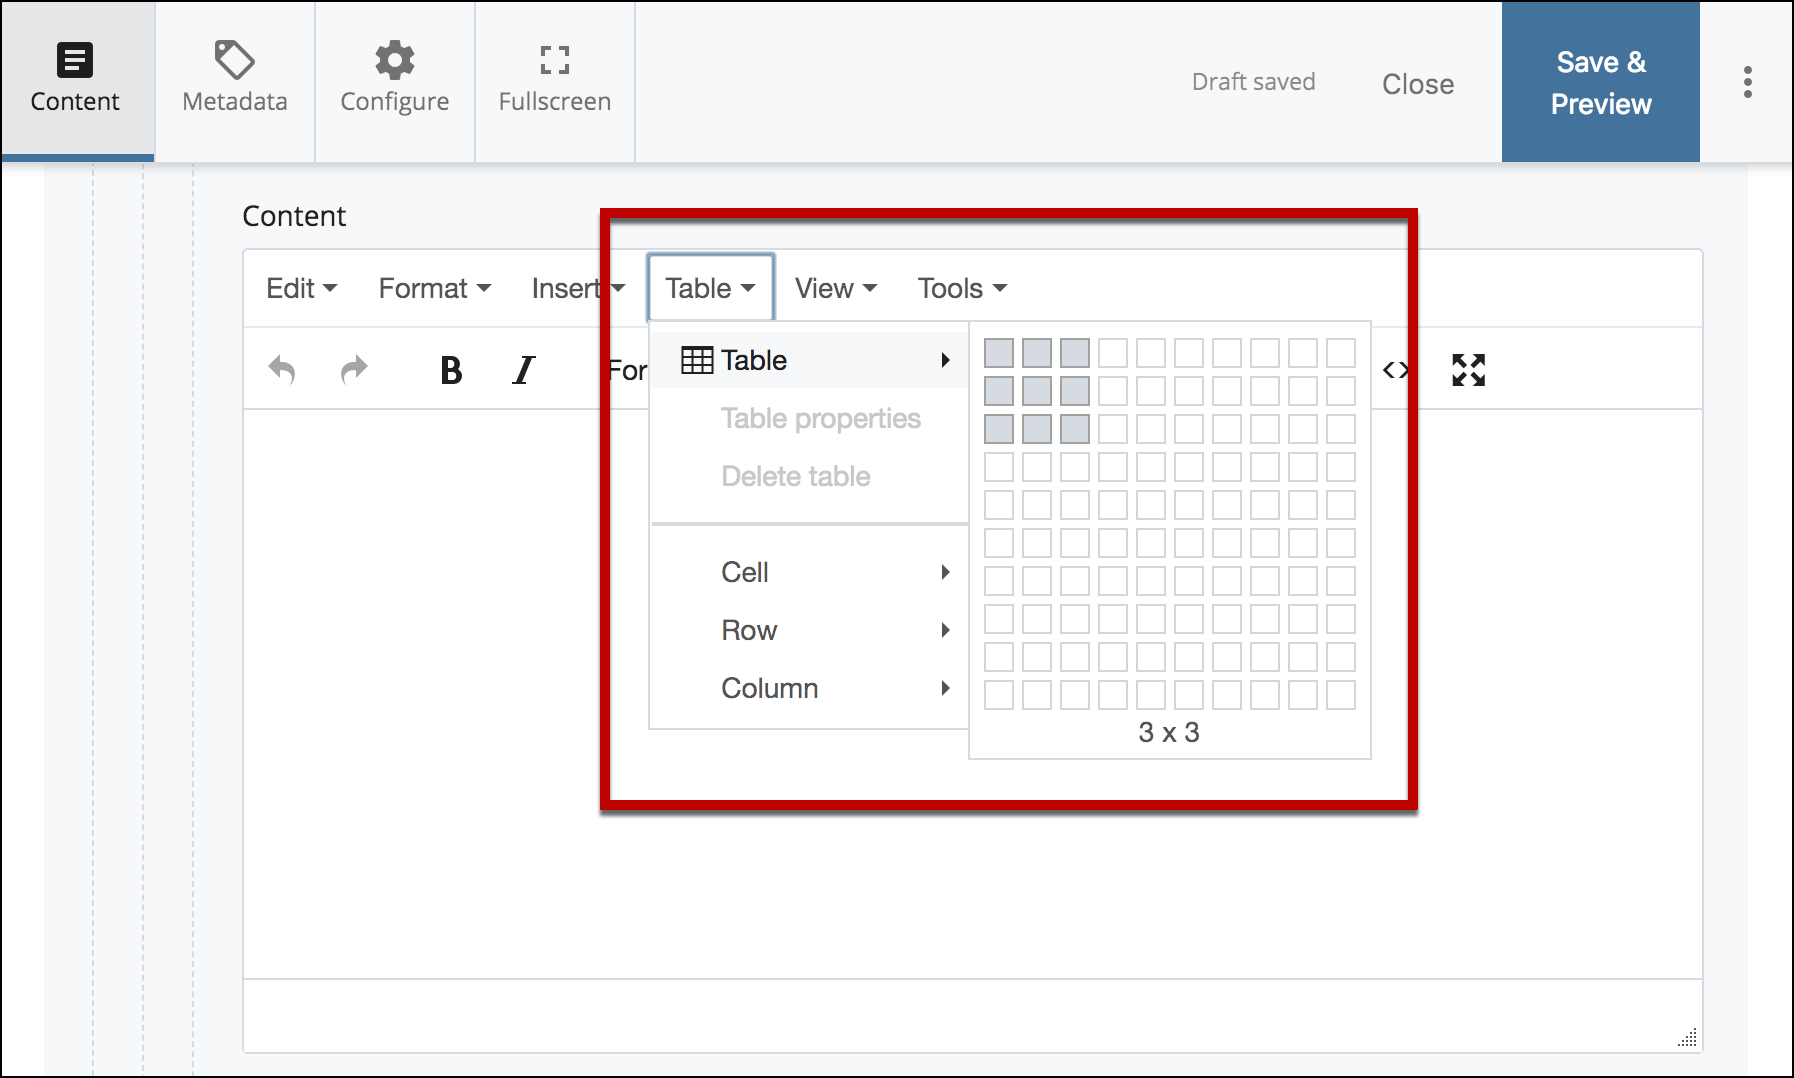
In the WYSIWYG. Select Table, select Table and select the size of the table. Note: If the incorrect table size has been selected you can always add and delete rows and columns.
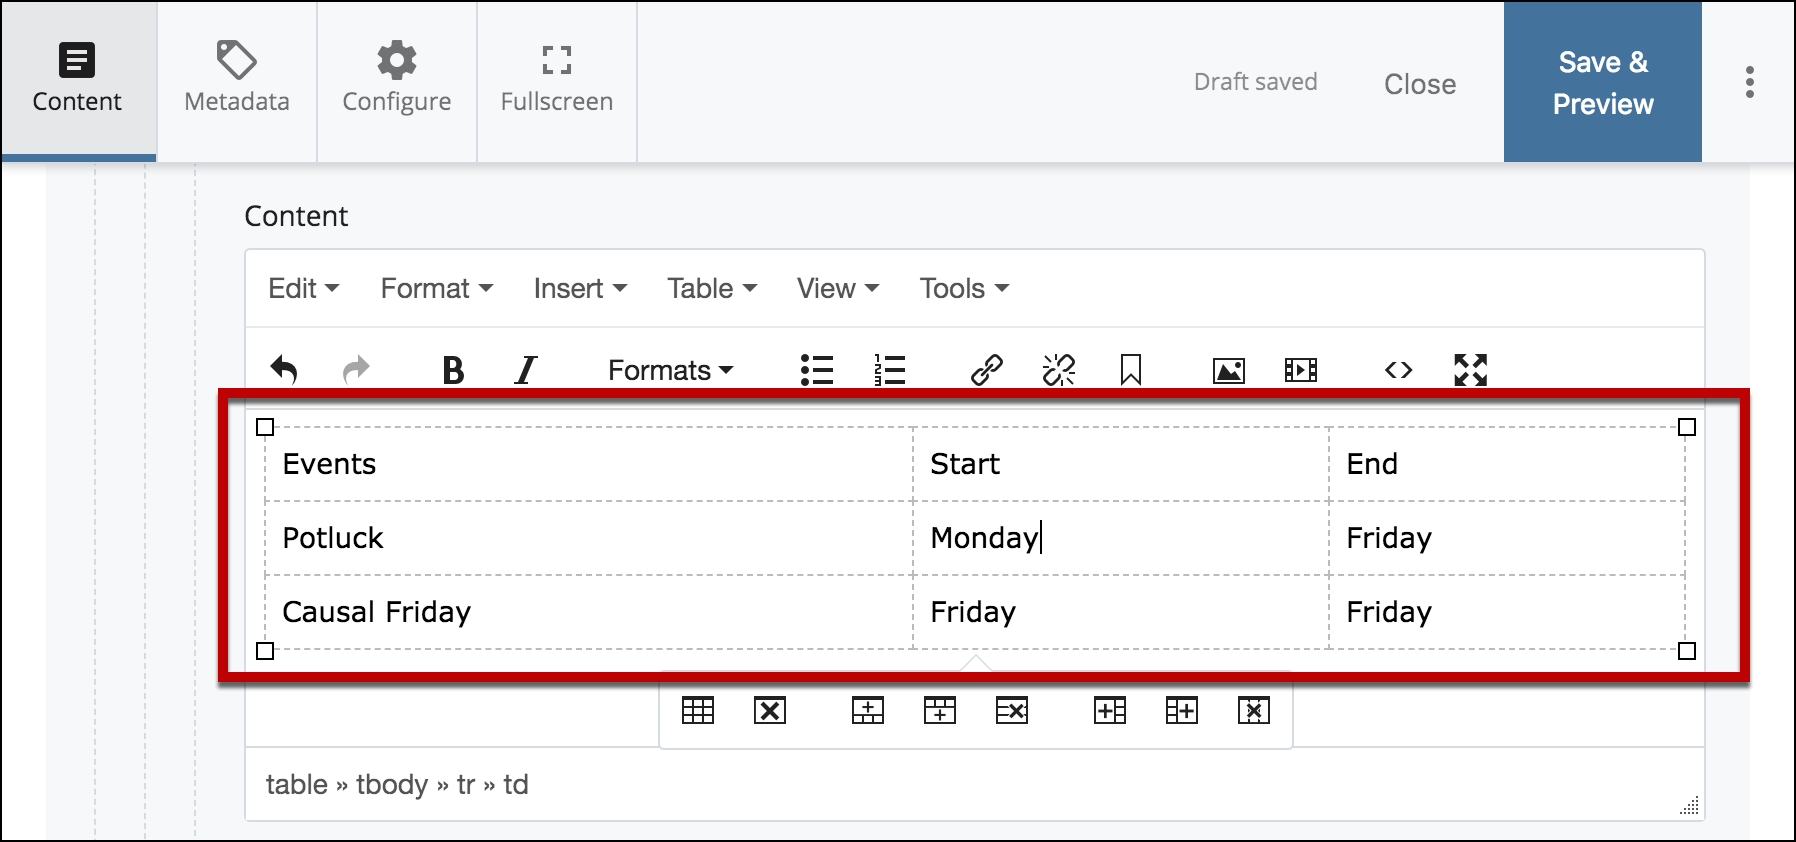
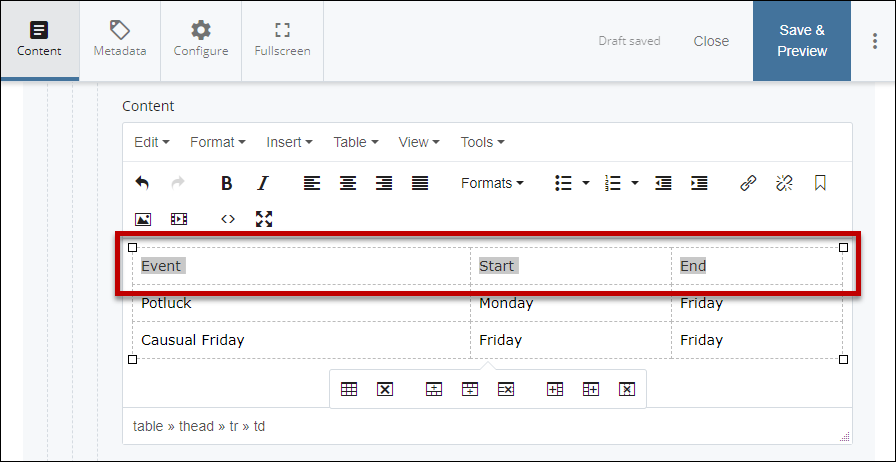
Add any relevant data to the cells.
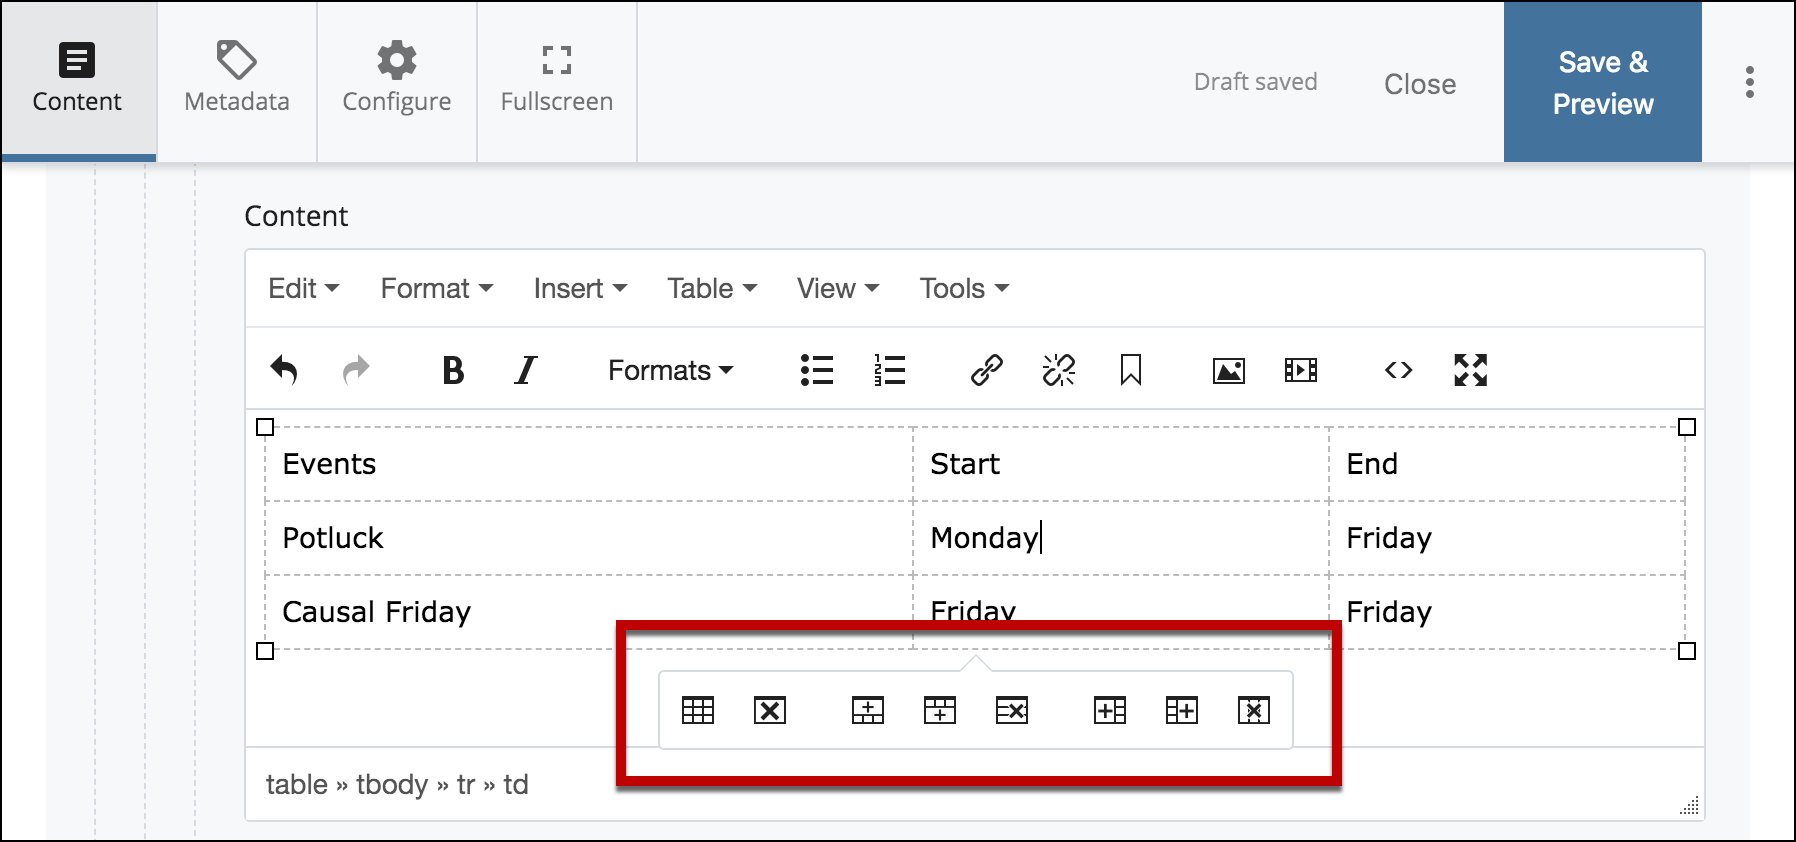
Select a cell and additional options will appear.
Add a table
Icon
Action
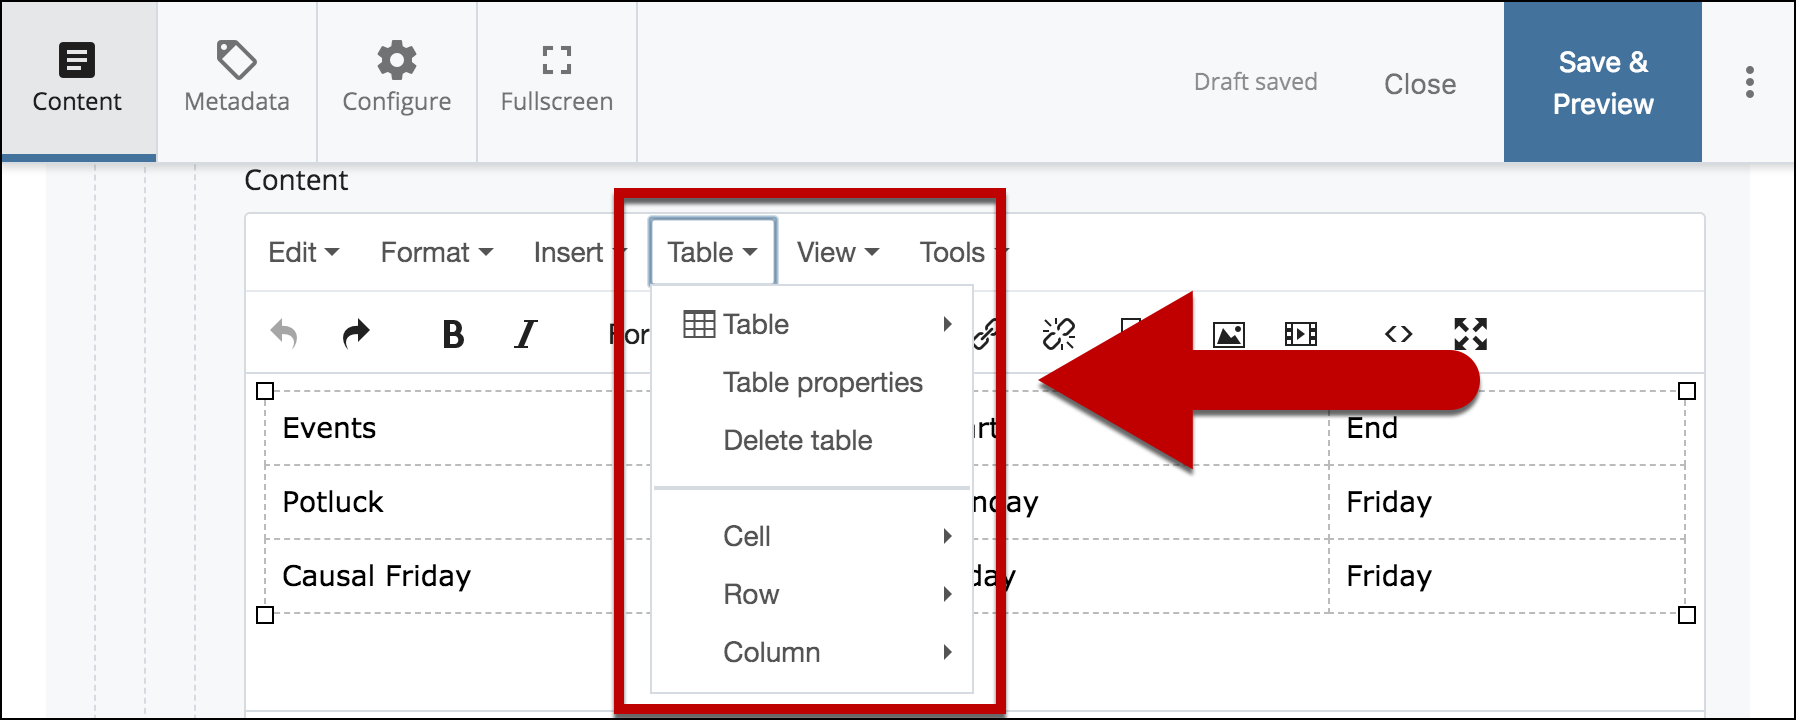
Table Properties
Delete Table
Insert Row Before
Insert Row Below
Delete Row
Insert Column Before
Insert Column After
Delete Column
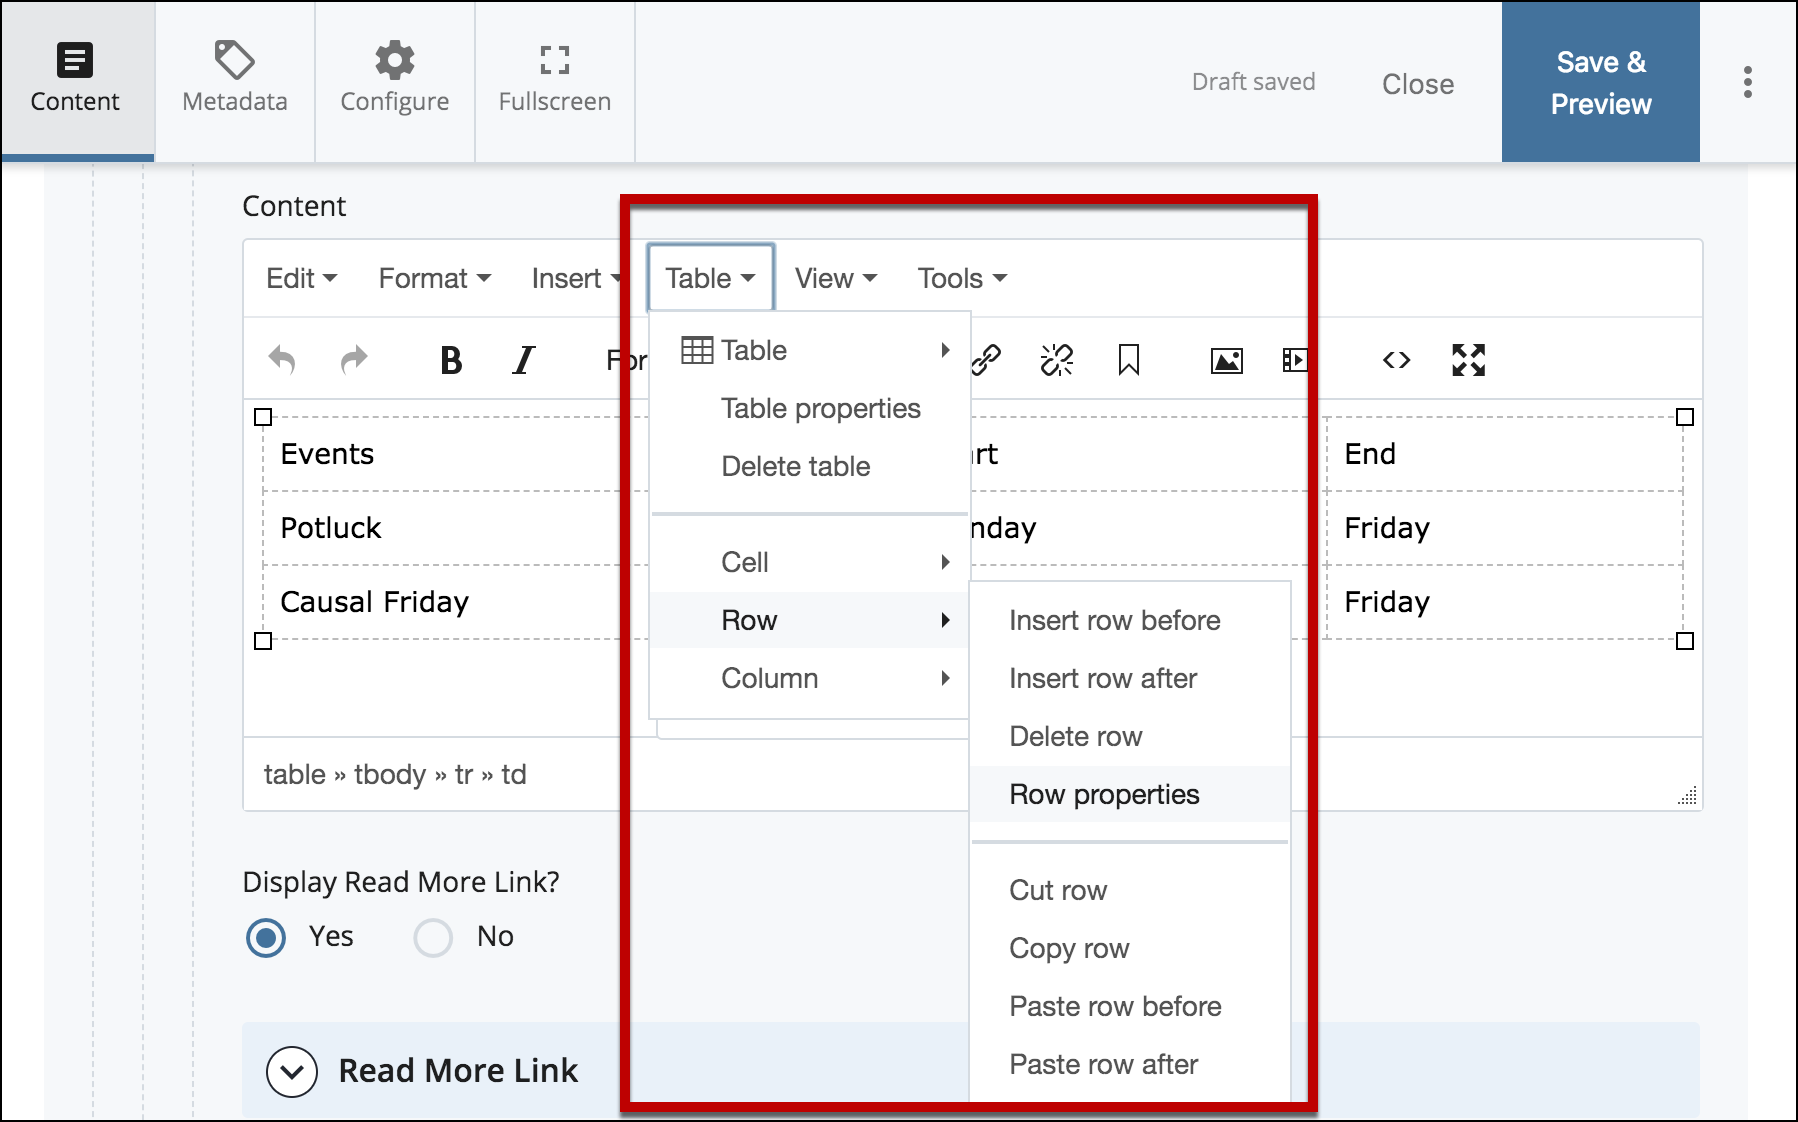
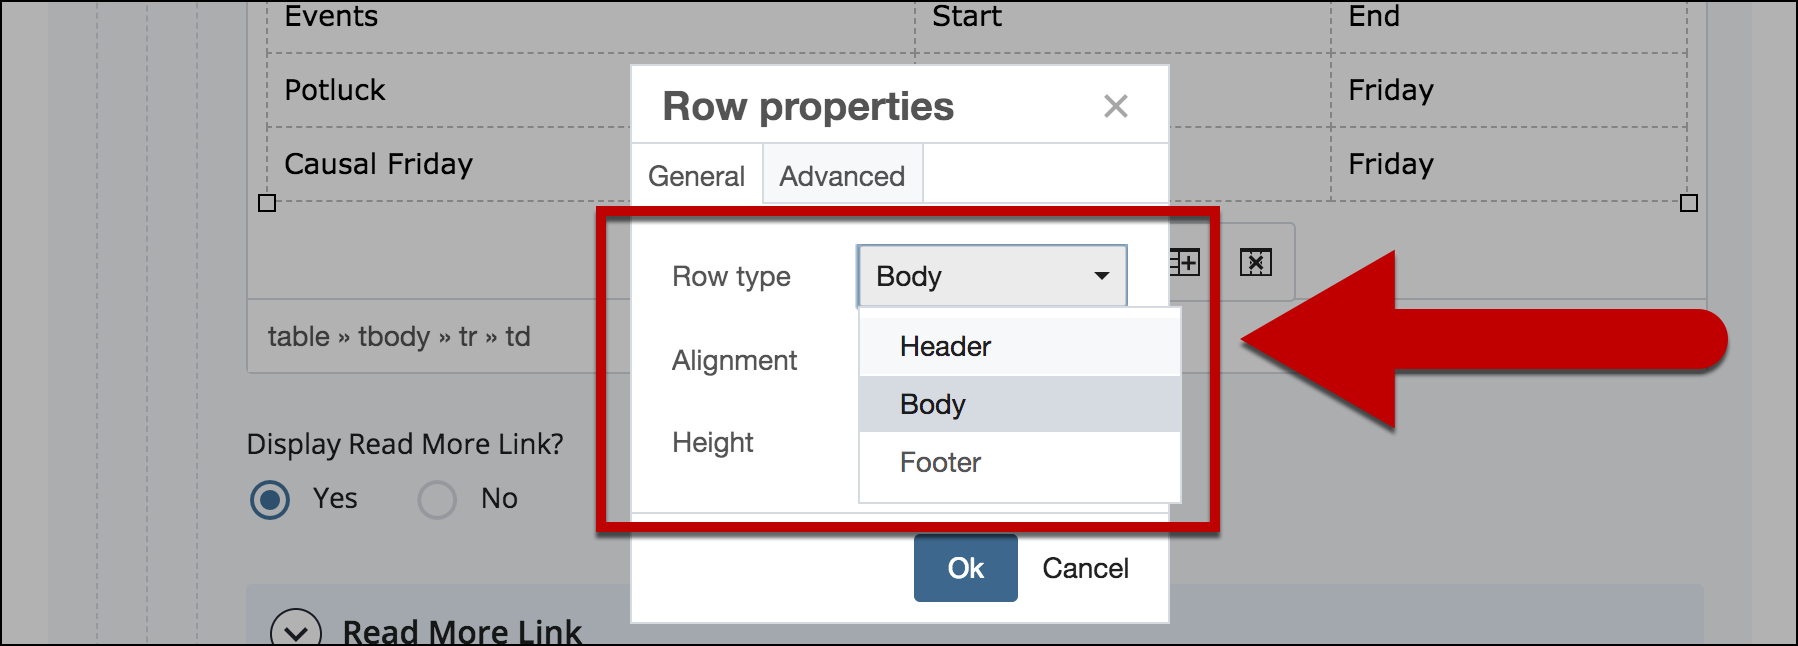
To make the top row the Header. Select any cell on the top row, select Table, select Row and select Row properties.
On the General Tab, change Row type from Body to Header. Select OK when this is completed.
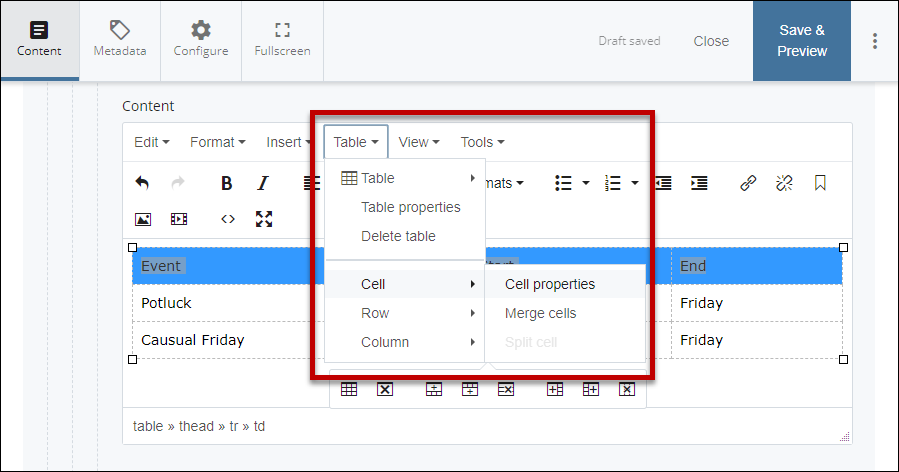
Now that we designated the top row to be a header row, we will now designate which cell on the top row will be the Header. Begin by selecting all the cell in the top row.
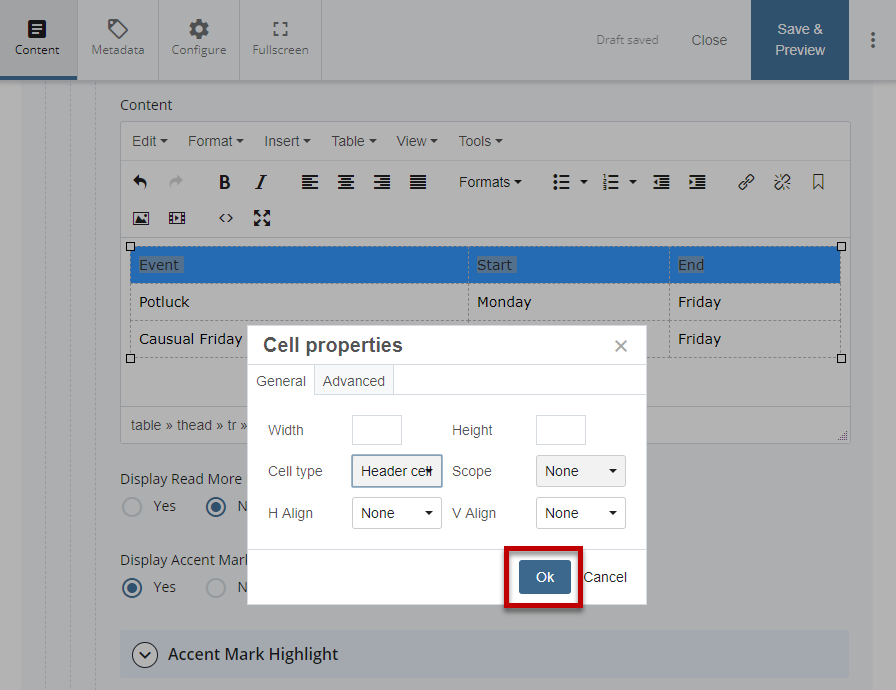
Select Tables from the toolbar, select Cell and select Cell properties.
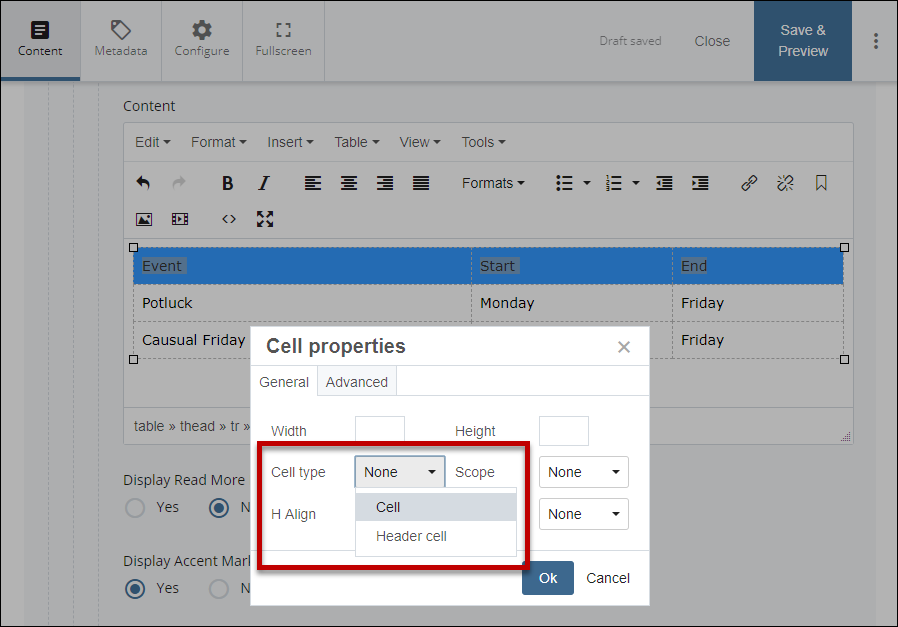
Change Cell type from Cell to Header Cell.
Select Ok.
To add Caption to the table. Select Table, select Table Properties. Note: Adding a Caption conveys information about the table and acts like a header for the table.
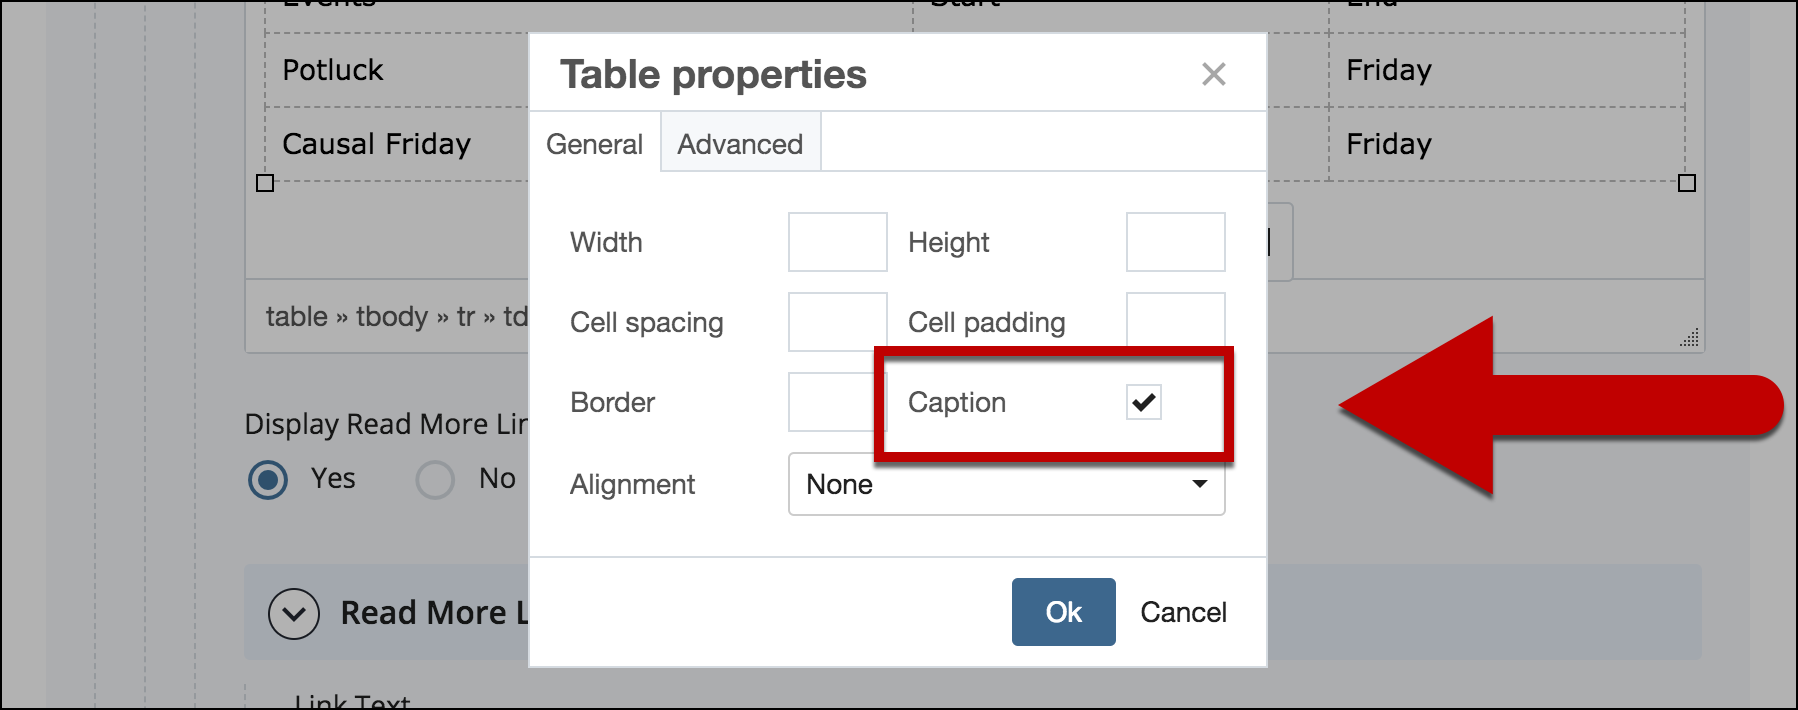
On the General Tab, select the box next to Caption to enable captions.
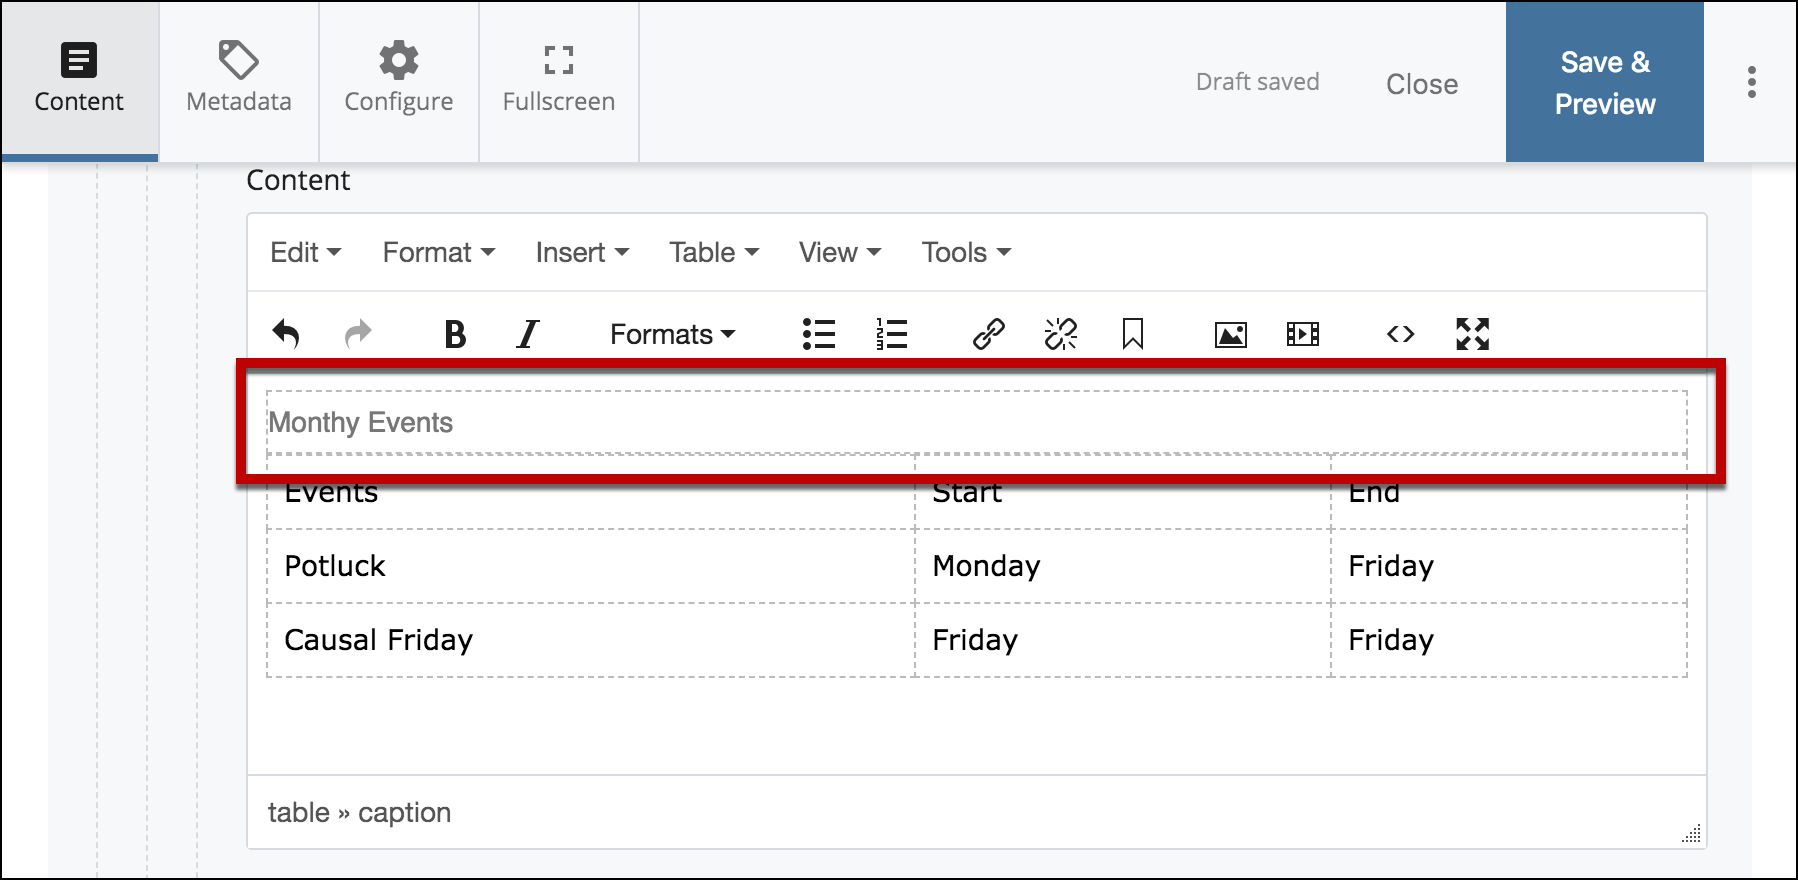
You will see a new cell on top of your table, and then add your Caption in the new box.
Select Preview Draft.
Your table will look very plain out of the box. To add style, use the add table styling tutorial to make the table look styled and professional.
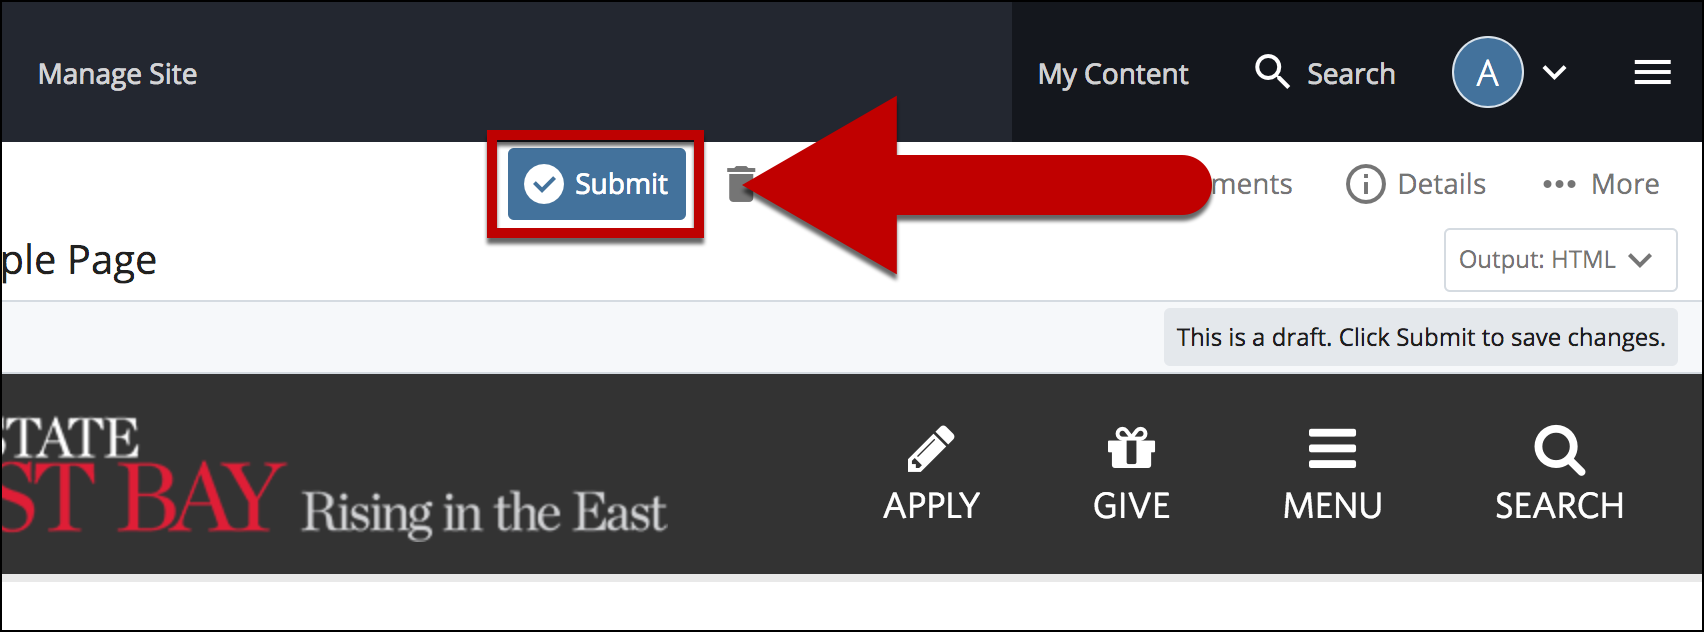
After previewing changes made on your draft, select Submit.
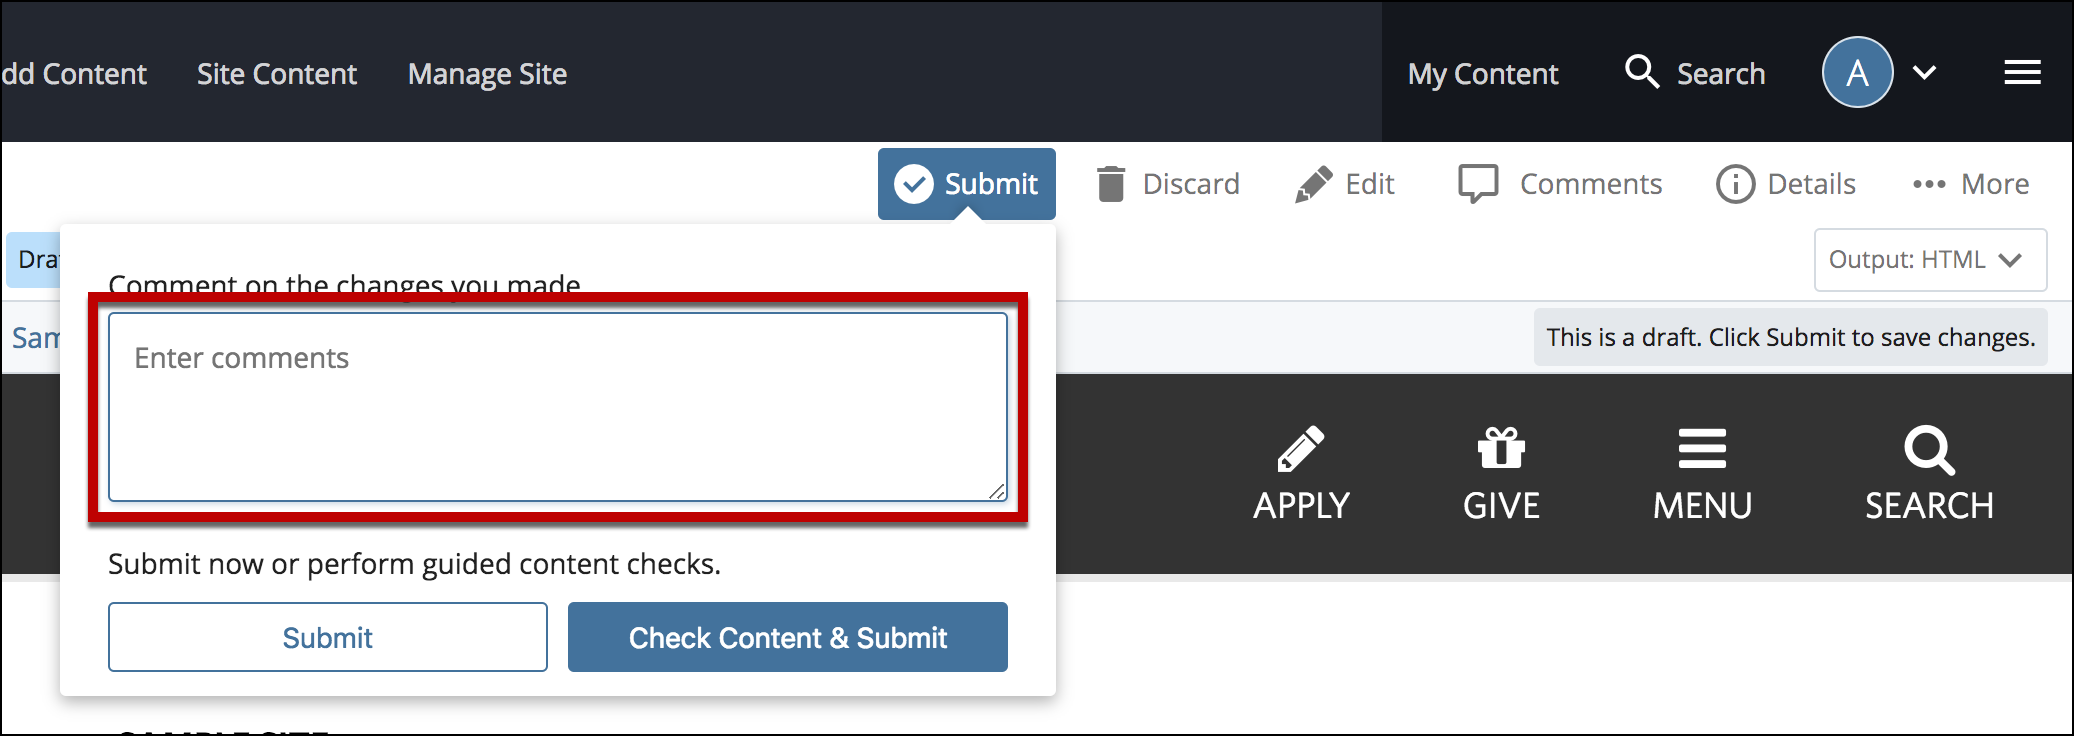
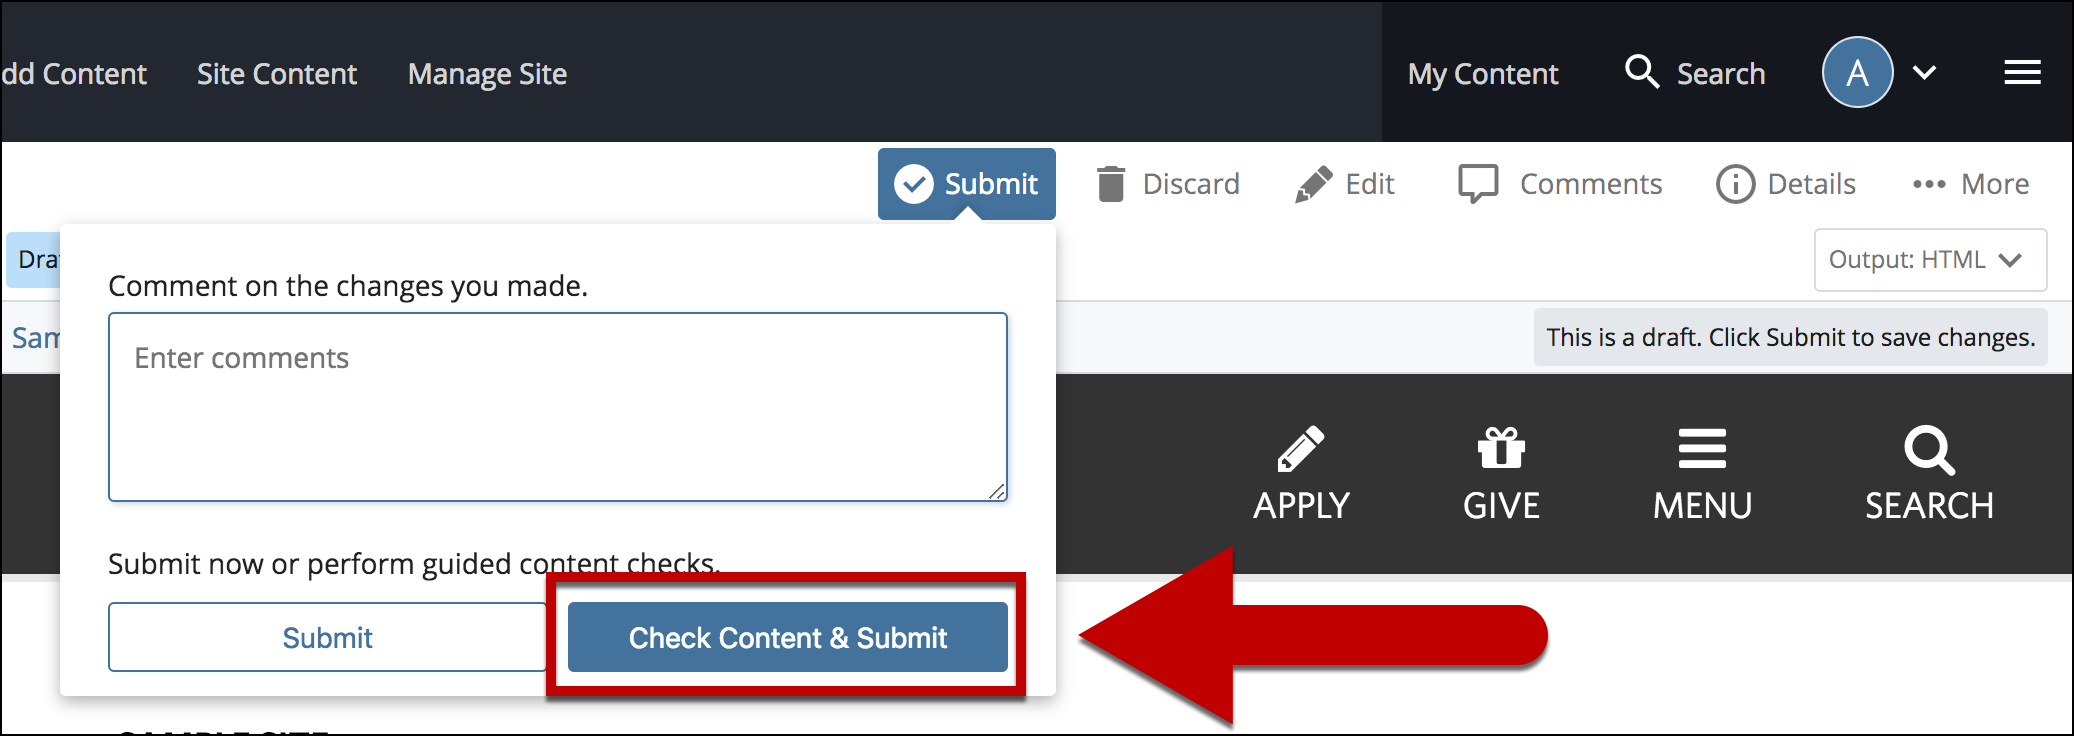
Enter Comments for changes made.
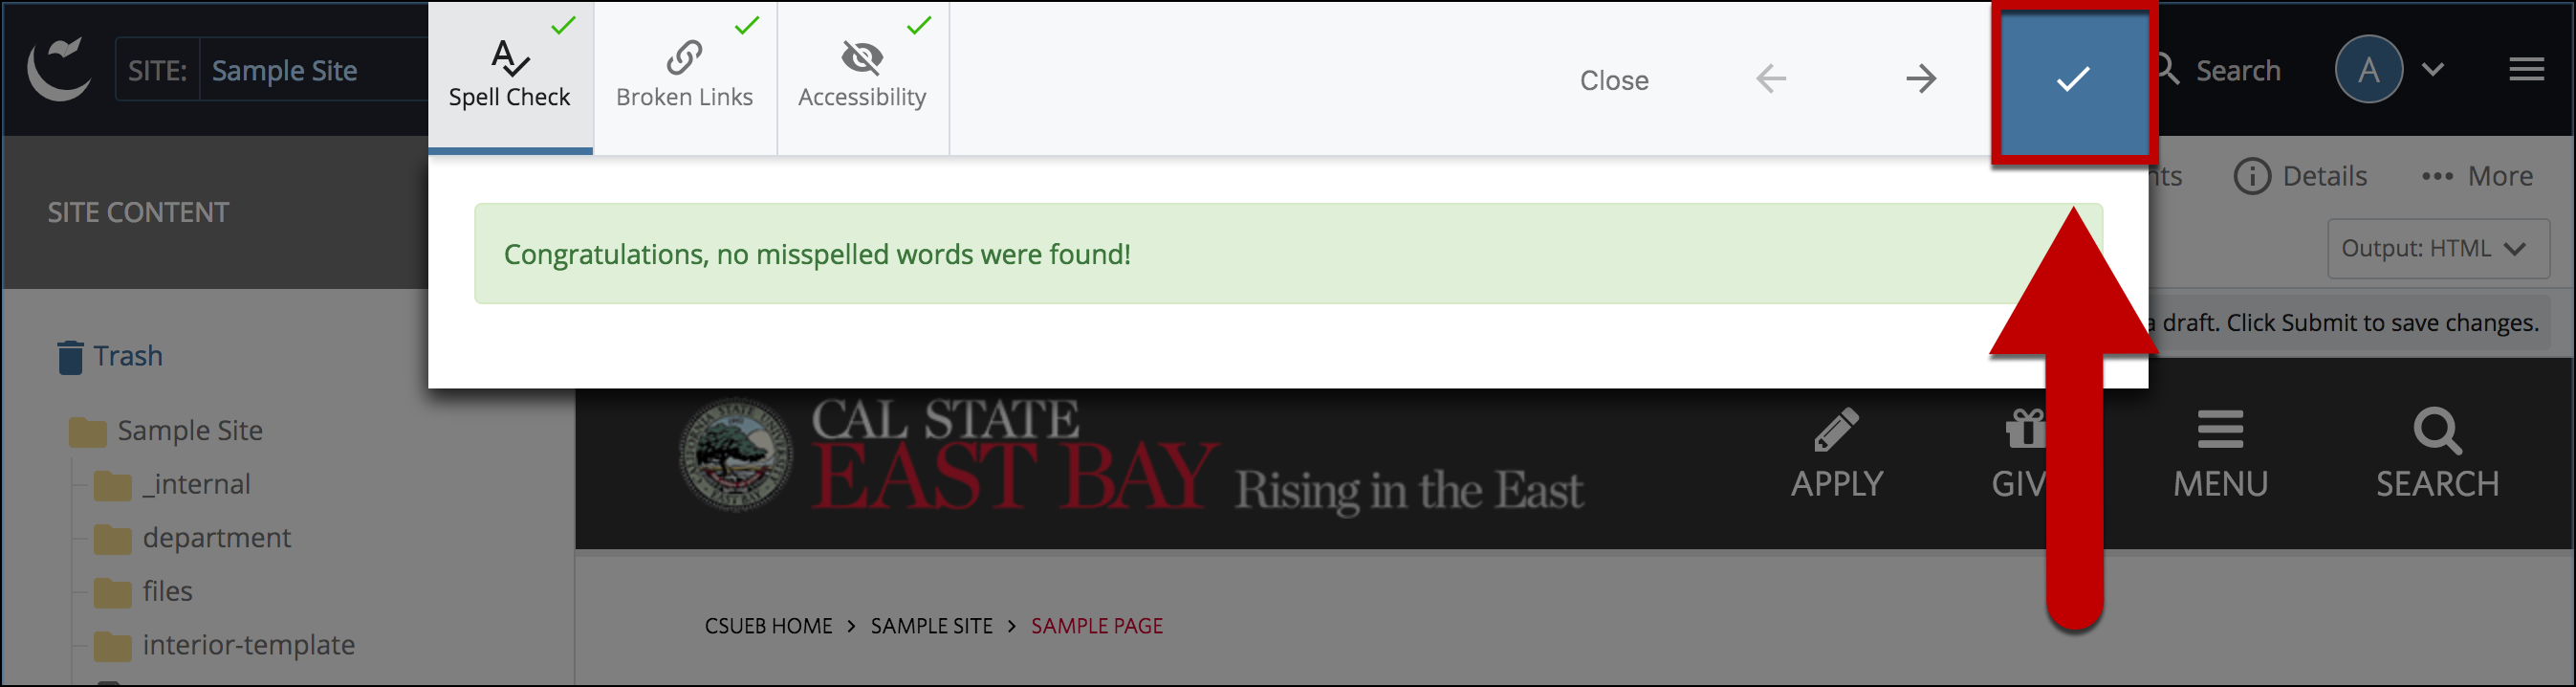
Select Check Content & Submit to add changes to your site.