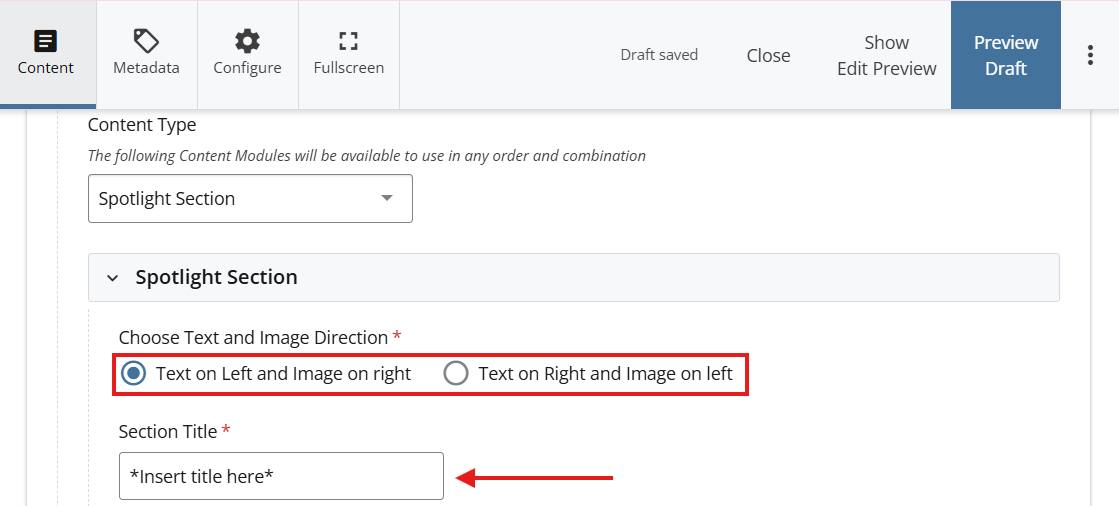
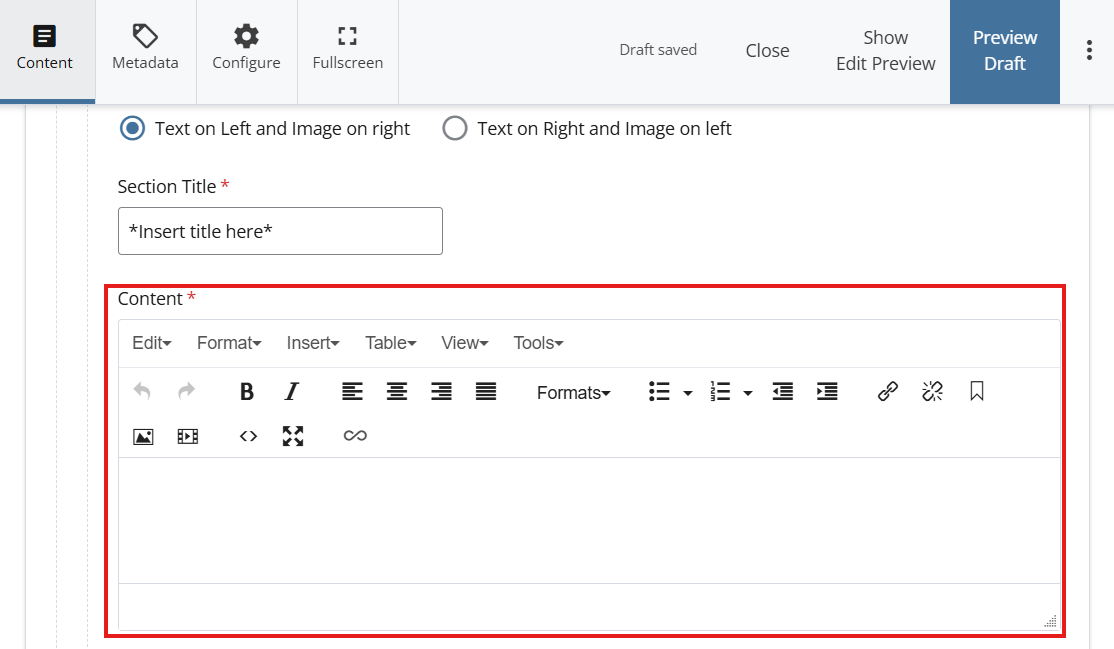
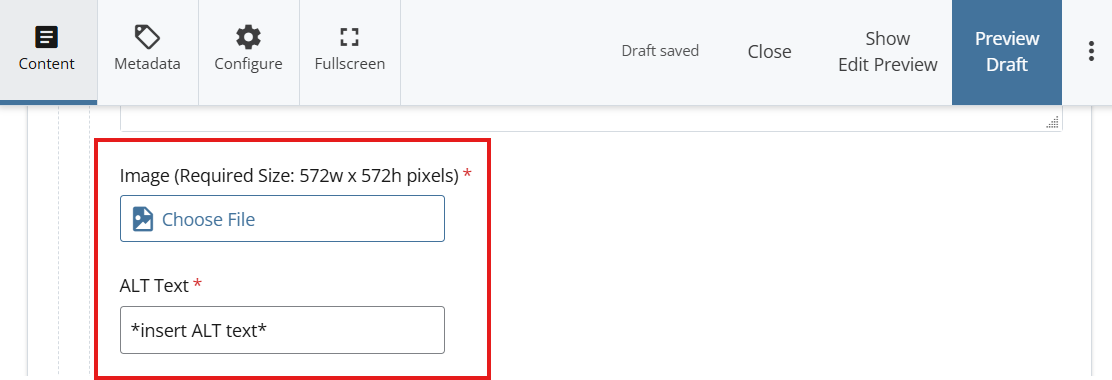
Spotlight Section

Overview

A balanced layout that pairs imagery with concise text. This component features an image on the left or right and supporting content on the opposite side, ideal for showcasing programs, services, events, or key institutional highlights.

Example

How to add a Spotlight Section

  1. Log into Cascade CMS and select your site.
  2. Navigate to the page where the Spotlight Section will be added.

    Step 1

  3. Select Edit.

    Step 3

  4. Select + icon on Main to add a new content type.

    step 4

  5. Select Spotlight Section in the newly added content type.

    step 5

  6. Under Choose Text and Image Direction select where you would like to have to text and image displayed on the screen 
  7. Add a Section Title for the Spotlight

    step 6
  8. Under Content, add the text on the WYSIWYG editor.

    step 7

  9. Select Choose File to select an image that is 572w by 572h pixels for the image.
  10. Add a short description of the image in the ALT Text field.

    step 8
  11. *OPTIONAL STEP: Add a link*
    Add a title under Link Text
  12. Attach a link using one of the options under Link to
    optional step
  13. Select Preview Draft.

    Preview draft

  14. After previewing changes made, select Submit.

    submit

  15. Enter Comments for changes made.

    enter comments

  16. Select Check Content & Submit to add changes to your site.

    check content

  17. Select the Check Box.

    check box

  18. When you're ready to go live, the last step is to publish the changes.