Tiles

Overview

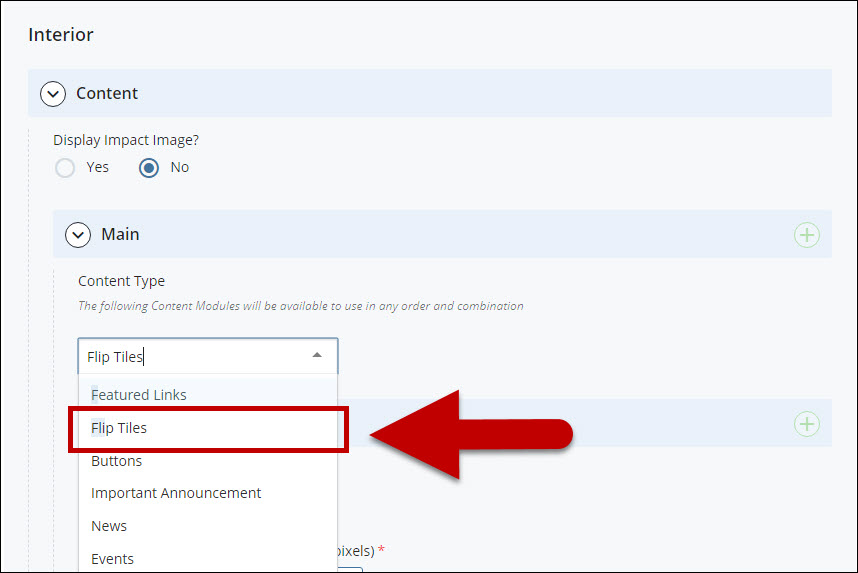
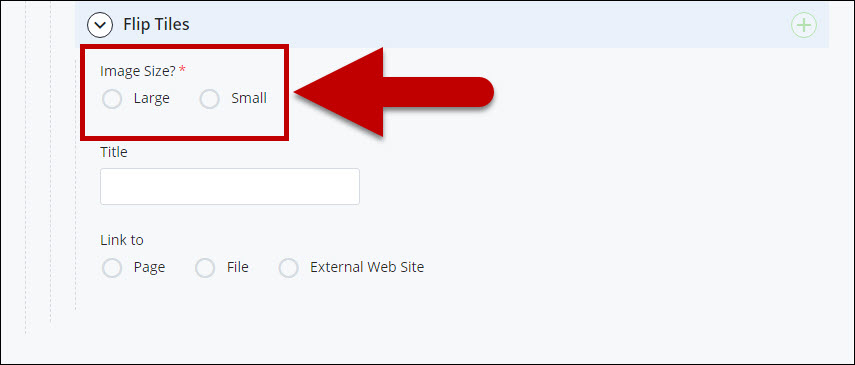
The Tiles content type is an image area that contains multiple columns worth of images of varying dimensions. Each of the images contains a title. Tiles are available for both the landing and interior pages.

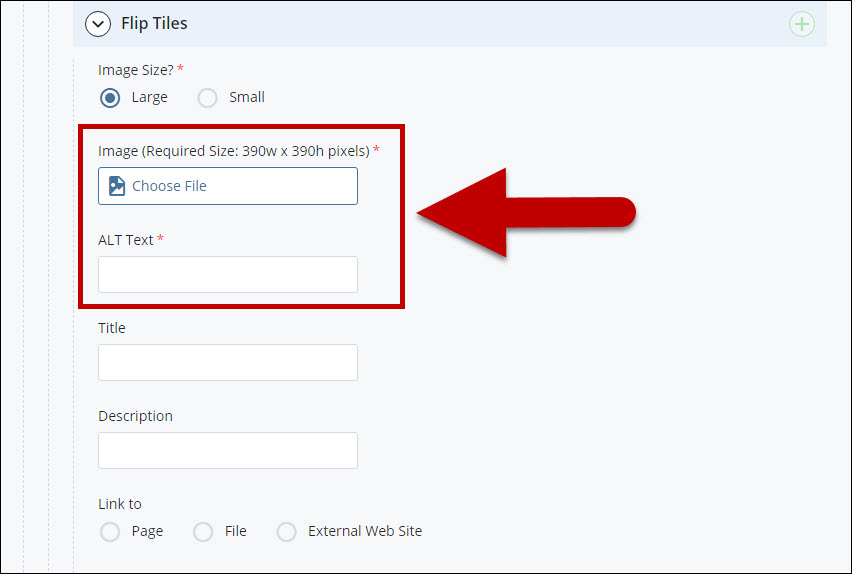
Tiles are available in two sizes: large and small. The required size for large tiles is 390w x 390h pixels, and the required size for small tiles is 190w x 190h pixels.  See a table of all template image size requirements.

Example

How To Add Tiles?

  1. Log in to Cascade CMS and select your site.
  2. Navigate to the page where the Tiles will be added.

    navigate to folder

  3. Select Edit.

    select edit

  4. Select + icon on Main to add a new content type.

    add new content type

  5. Select Tiles in the newly added content type.

    Dropdown

  6. Expand Content > Main > Tiles.

    Expand

  7. Select the preferred Image Size. (Large: 390 x 390 px | Small: 190 x 190 px).

    select size


  8. Select Choose File to add an image for the Tiles.
    Enter a short description for the image in the ALT Text field.

    choose and Alt text field highlighted

  9. Add Title and Description for the Tiles.

    Title and Desc'

  10. Add a link to the tile by selecting:
    • A Page, A webpage within Cascade Server
    • A File such as a Word document or a PDF document
    • An External Web Site outside of Cascade Server


    Link

  11. Select Preview Draft.

    preview draft button

  12. After previewing changes made on your draft, select Submit.

    select submit

  13. Enter Comments for changes made.

    enter comments in comments box

  14. Select Check Content & Submit to add changes to your site.

    select check content and submit

  15. Select the Check Box.

    select check box

  16. When you're ready to go live, the last step is to publish the changes.